This post contains affiliate links. We may earn money or products contained in this post. Please click my disclosure policy to learn more.
How to Start an Art Journaling an Old Book
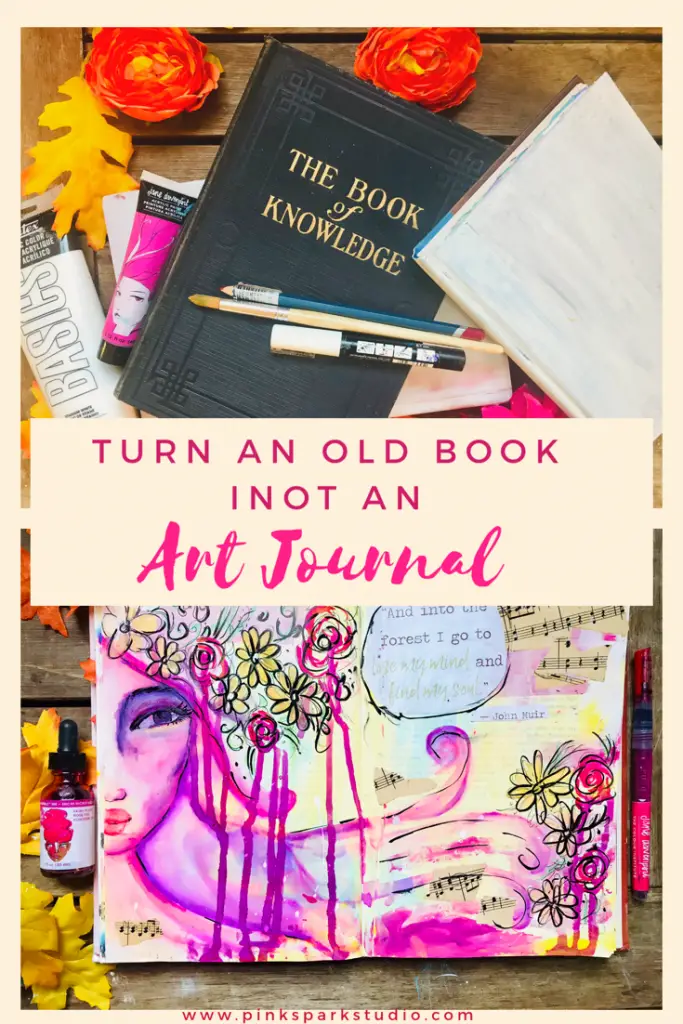
I looooove art journaling. It’s one of my all time favorite creative activities. It’s an amazing activity that everyone can do. Making an art journal in an old book is something that every art journal lover should try at least once.
So, What is an art journal?
An art journal is a creative dairy that lets you get as imaginative, daring, and creative as you want. You can collage, paint, scrapbook pictures. You can explore different methods of creating art. It helps grow your skill and your creativity by the continuous practice. It’s also very therapeutic for those dealing with stress, depression, or any type of drama. It can be created in various ways. It’s play with texture, color, and images. You can document events in your life, ideas, feelings. An art journal is open to whatever you want to express.
Art Journaling in an old book
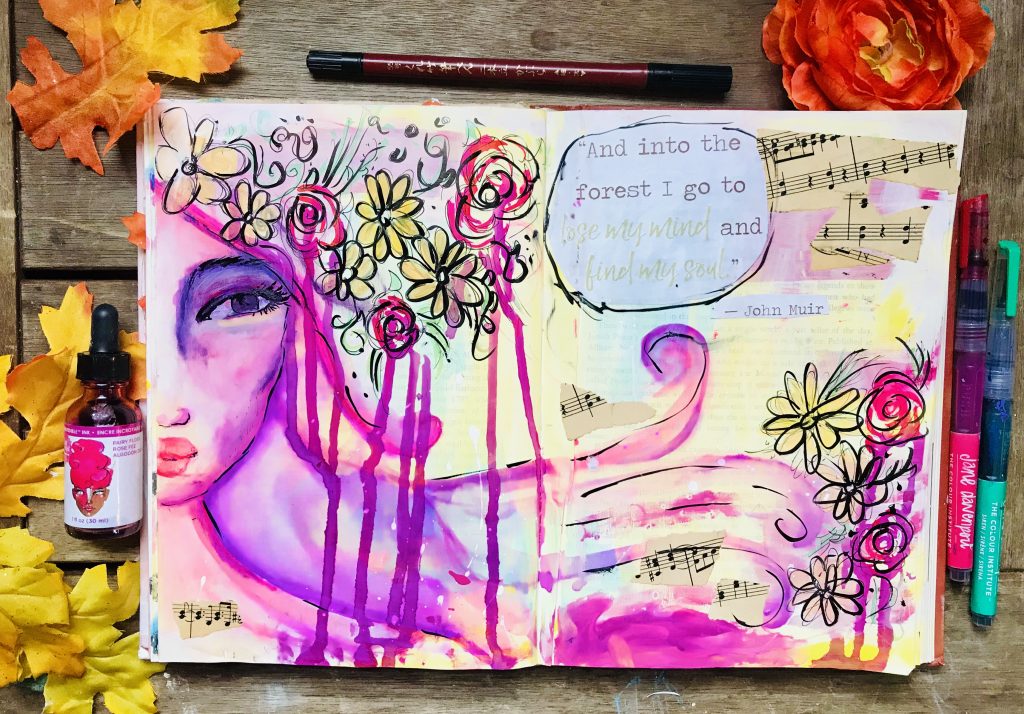
This is my favorite way to art journal. I love books, I love art, I love making art in books. Don’t feel bad about it, some people cringe at the thought of using a book for something other than reading. However, you’re just showing the world another purpose for the book.
“When the artist is alive in any person, whatever his kind of work may be, he becomes an inventive, searching, daring, self-expressive creature. He becomes interesting to other people. He disturbs, upsets, enlightens, and opens ways for better understanding. Where those who are not artists are trying to close the book, he opens it and shows there are still more pages possible.”
― Robert Henri”
There’s a certain kind of beauty of making art over art. I have so many sketch books that I struggle to fill. Is it the fear of a blank page? I’m not sure. I just know I find more inspiration creating art when there is something already on the page. Often when I prime canvases for painting I either put on some charcoal or add some color from acrylic paint and let the images inspire me.
Finding the right old book to alter
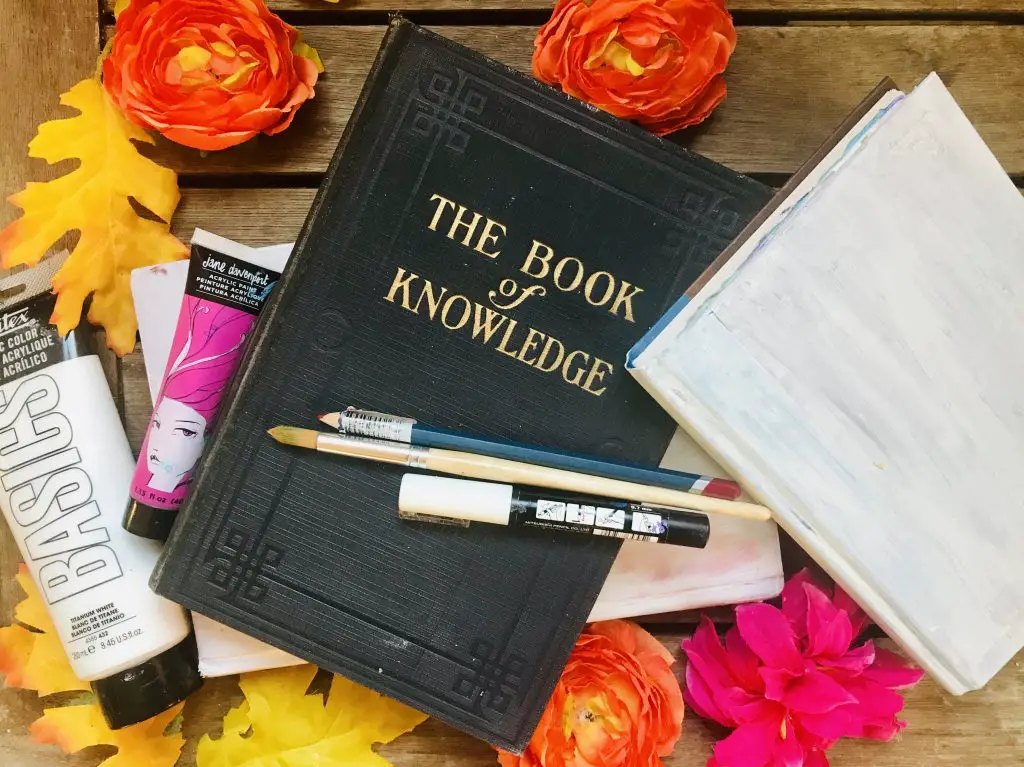
There are so many artists who use old books. I used to always draw in my text books (sorry, teacher). I’ve drawn on or I pretty much everything. Then one day on Pinterest I came across an article about altering an old book. Then another about art journaling, and yet another on journaling in old books. I literally jumped for joy and grabbed an old book and went to town. I don’t remember which articles these were. But, I’ve created boards on my Pinterest account to saving these. Sometimes I’m terrible at pinning an article after I read it and then lose it forever.
So, the general consensus is to use a book with a sewn binding vs a glued binding. This is because glued bindings can fall apart wrecking havoc on your beautiful art.
Here are some books I use as art journals:
- Hardcover books
- Old Hardcover books
- Children’s books
- Cookbooks
Materials I use to alter my old book
To alter your book you don’t really need that many supplies. Here are the tools I use:
It’s really that simple. You don’t need much. However, when you begin to create your art journal spreads you will want more supplies. You can red more about art journals in my How to Start an Art Journal article and my article on Art Journal Supplies.
Prepping your old book to become an art journal
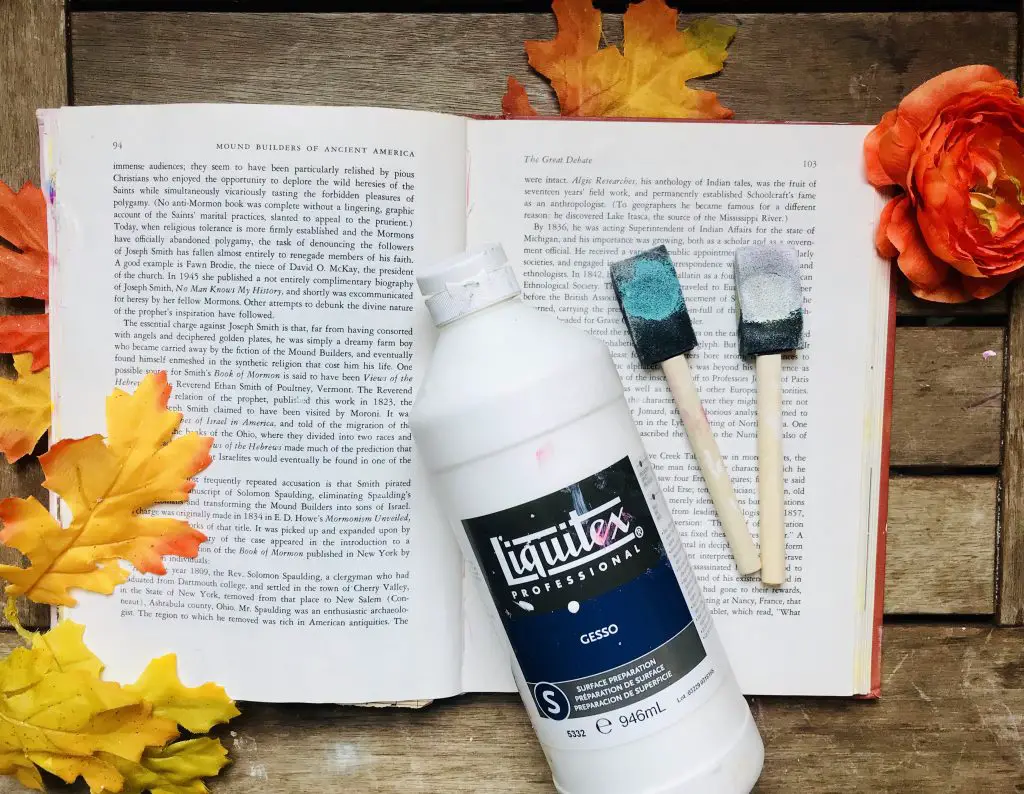
When your are prepping your old book to become an art journal check the front and back cover. Are the pages that connect the book to the cover loose at all? If so just grab some masking tape and run a strip along the center and reinforce the pages. You can also use making tape to reinforce pages, especially if you choose to use a book that has a glue binding.
First, I start by taking pages out of the book if it’s a hardcover novel length book. If its a large hardback children’s book or cookbook I often leave all the pages intact.
I take pages out for a few reasons. One, I don’t want it to get too chunky when I add all my paint and artful goodness. Two, some hardcover books have so many pages it can be cumbersome and almost overwhelming to work with. When you get rid of pages you take your first step in altering the book and taking control of how you want it to look. Let’s look at how I decide where to take the pages out.
How to remove pages from your book
First, I look for the signatures of the signatures of the book and where they are sen in. Signatures the groups of pages that are sewn with other signatures to create the book. Here’s a some pictures to help illustrate what they are.
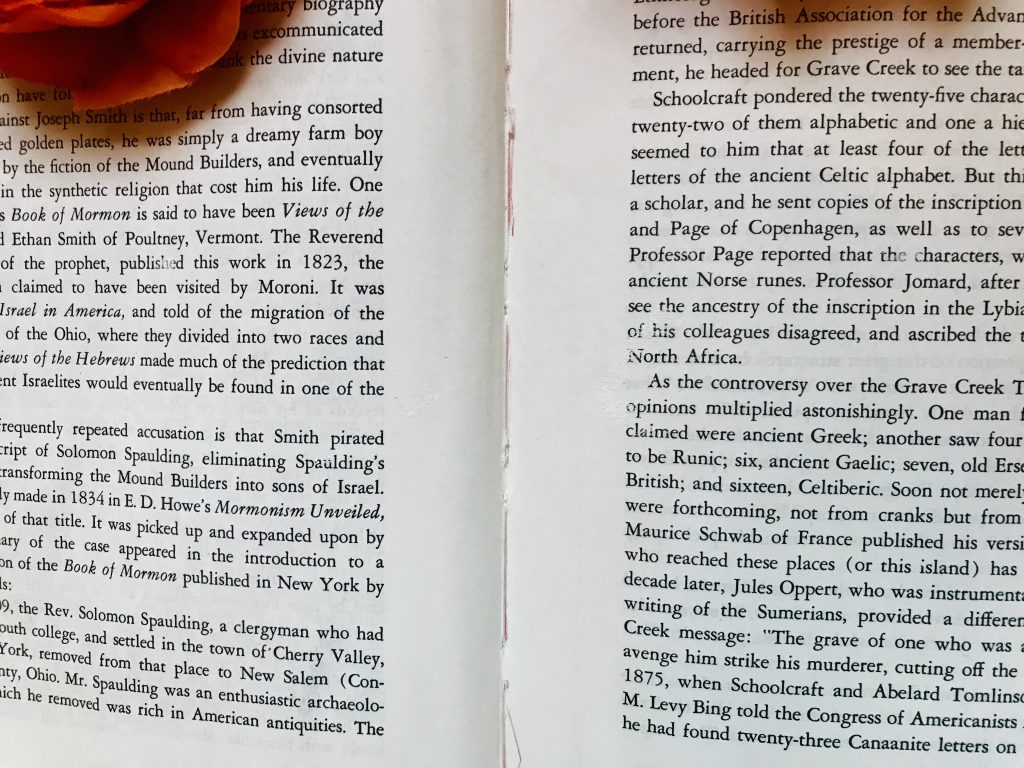
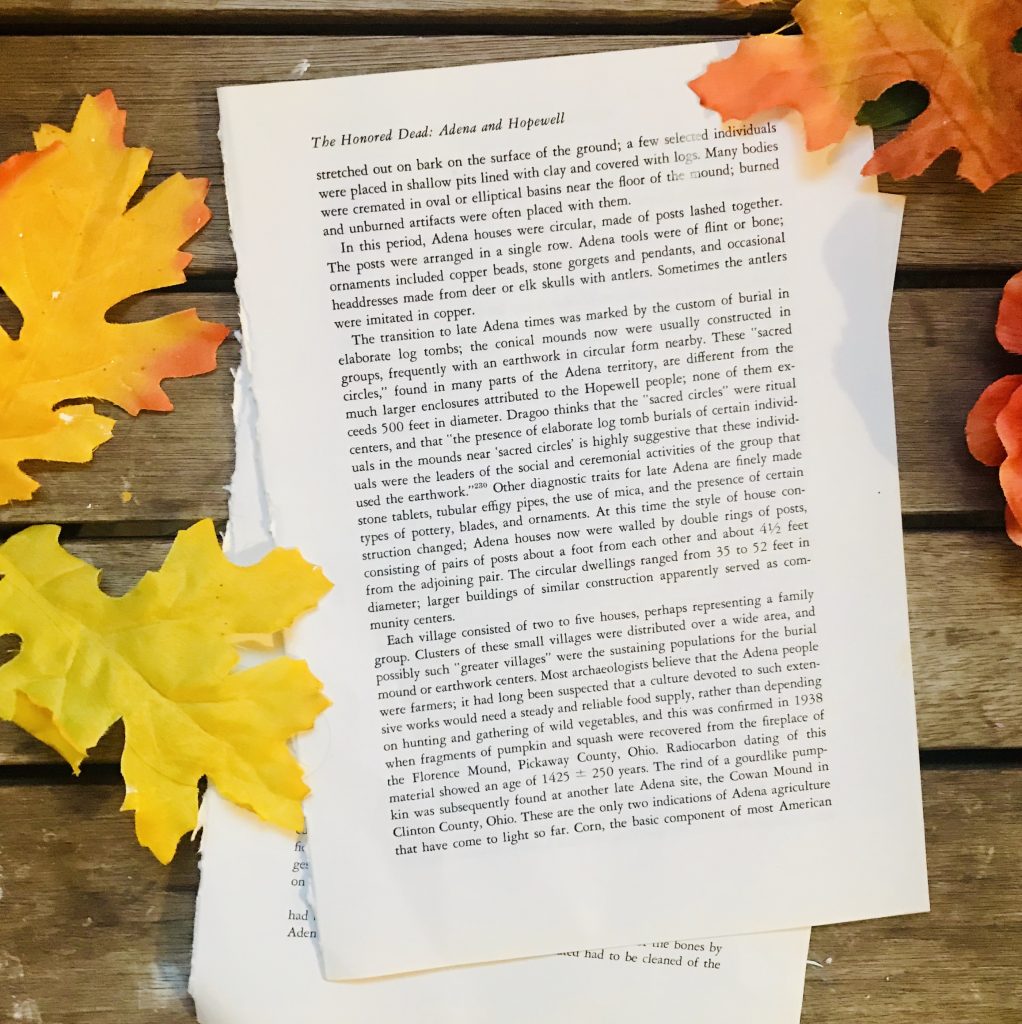
I take pages out of every signature until I feel I have removed enough pages and my book feel comfortable to work with. It’s not a precise science as it’s more of a feeling and a personal choice. Be sure to save the pages you rip out for other collage and other projects! Now, let’s look at some ways I prep the pages to become further art journal pages.
If you found this tutorial helpful please buy me a coffee and help support this blog.
Altering pages
A lot of times book pages are pretty thin and even a little flimsy. I like to have my pages a bit thinker for my art journal spreads. So, I take some gesso paint one side of a page and then glue it to the next page. I smooth the page and even close the book to make sure I don’t get wrinkles or air bubbles. Sometimes I do and its really no big deal. It will just add texture to my art journal layout.
I glue 2-3 pages together depending on how thick the page is and how many pages are in the book.
If you have enough time it’s a good idea to prep all your pages at once. That way You have a nice old book art journal all ready for you when you’re ready to create some art. If you leave it half finished it may end up in your procrastination pile. I know I have a bunch of projects that are half-started. It happens.
Preparing the pages for art journaling
Now, you have all your pages ripped out and glued together. It’s time to get these wonderful substrates ready to be painted on.
I start by adding a light layer of gesso. I just pour some on my page and use a sponge brush or aa large flat brush and spread it around. I don’t always cover every inch of the page. I often leave a little of the bare page showing around the edges. I also like to use a layer that covers, but still allows the words to show through. These words are great for backgrounds and creating interesting depth and patterns to your art journal spreads.
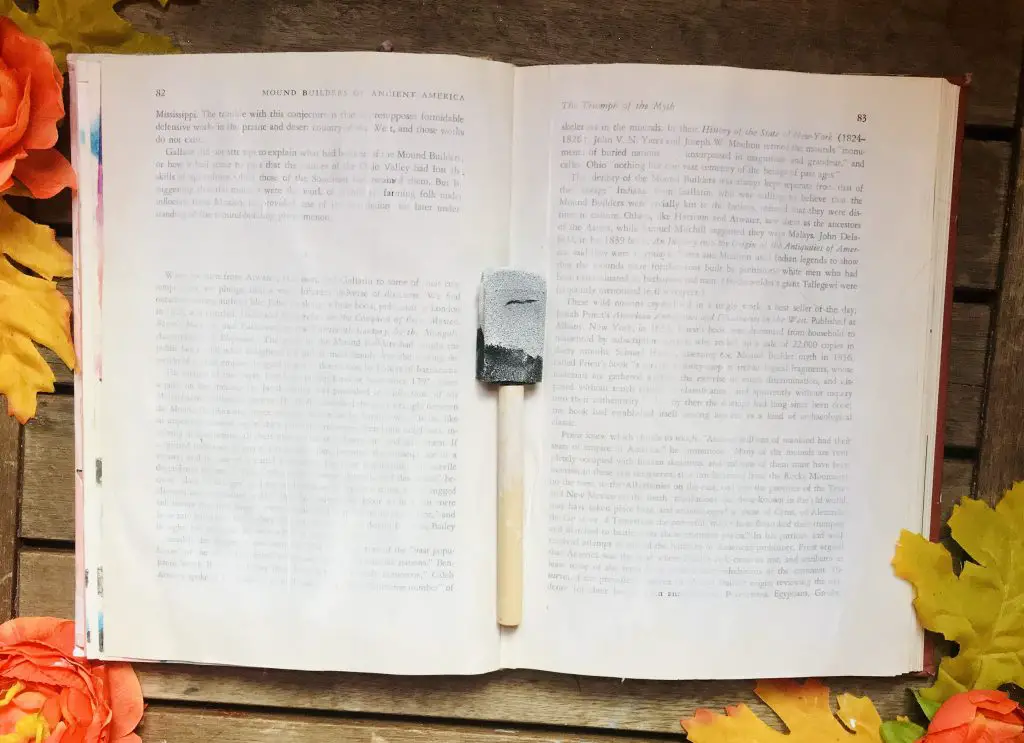
Sometimes I go ahead and add some color to and prep some easy backgrounds ahead of time. Sometimes I do simple color blocking with acrylic paint like below.
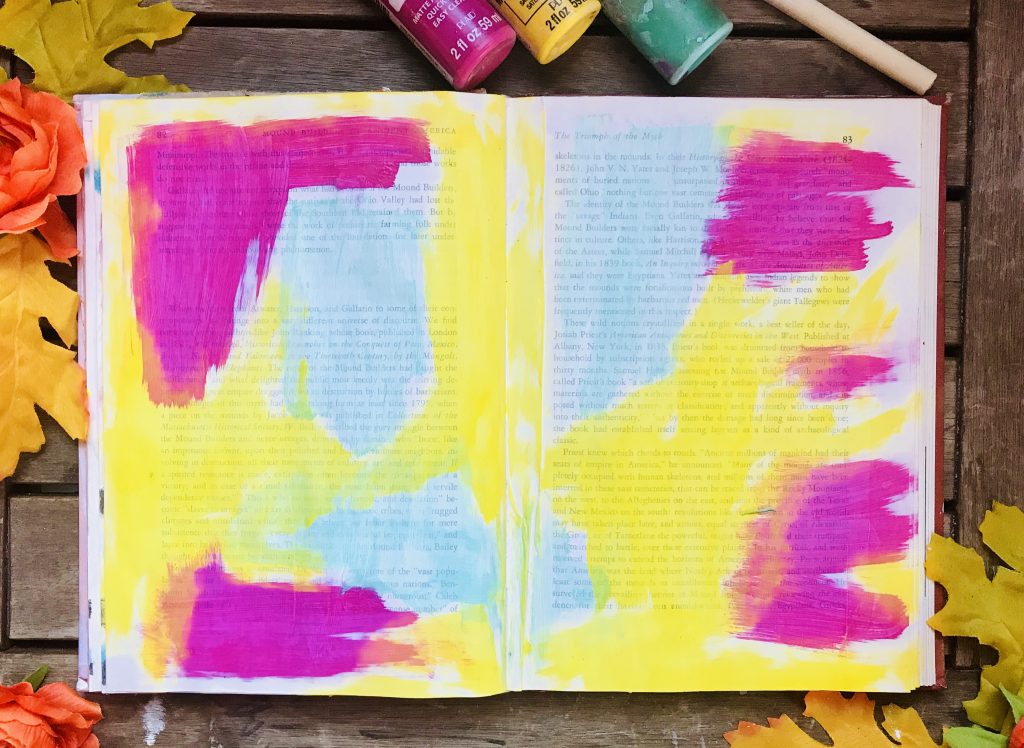
I didn’t do much, just used a little aryl paint and spread it across the page in different directions. I didn’t let the color mix and only let the yellow overlap.
You don’t have to do this. This is just a fun way I like to add a little personality to each page to help spur my creativity on days when creating art can be hard.
Time to alter the cover
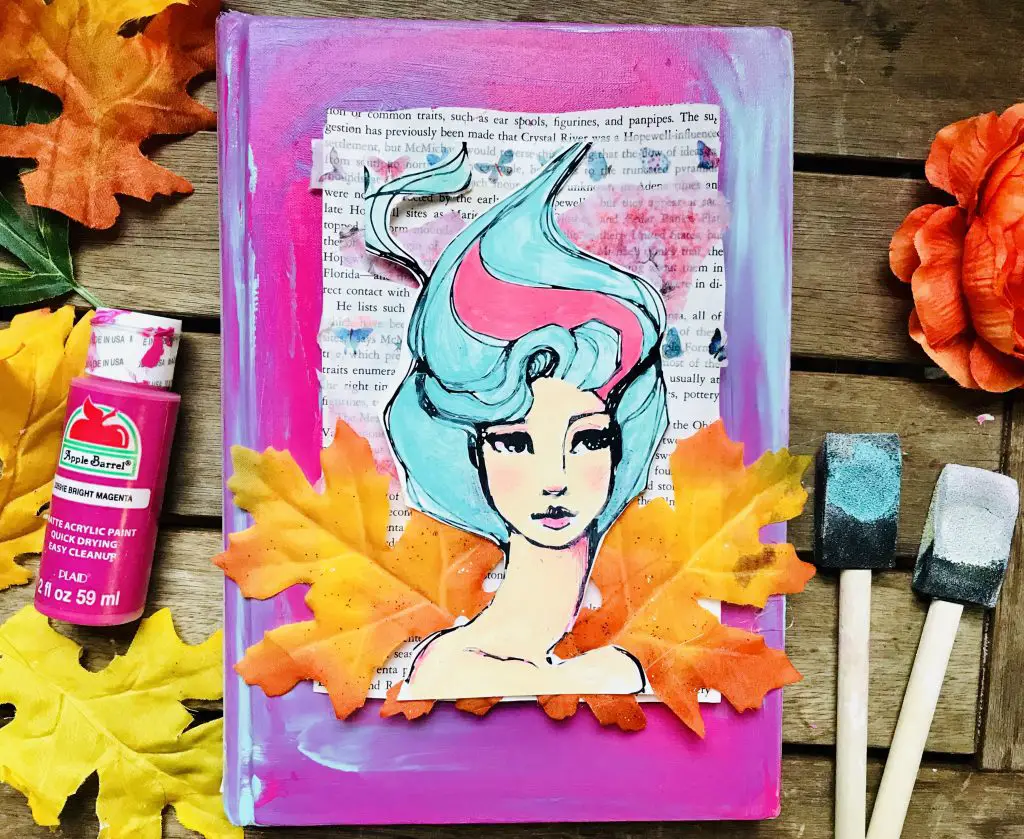
You can work on the cover of the book at any time. Or, you can choose to leave the cover as it is. It’s your art journal, after all.
There are several ways to give your old book altered art journal cover a new life.
One, you can cover it in gesso, and then paint over the cover. You can paint anything and everything you want. You can choose a theme for your book and paint or write that theme on the cover. You can date the cover so you remember when you created. It’s fun to look back at your art and see what you there thinking and feeling at that time in your life.
You can also add embellishments on the top of your cover such as ribbons, buttons, lace, and collage. You can take your old book altered art journal to a whole new level.
You can even cut a section of the cover out completely!
You may want to add straps to wrap around the book to keep it closed and to serve a further decoration.
You can have a look at al altered book cover I did here.
Start Your Old Book Art Journal
Now, all that’s left is for you to start creating in your old book art journal. You have a unique, one of a kind journal that’s ready to become your world of art. If you’d like some fun free printable for your art journal be sure to sign up for my e-mail and get the password for my Resource Library. I’m working on adding a ton more freebies and art journal printable.
Starting an art journal is a wonderful creative activity. I’d love to see your journals! You can hop on over to my Facebook group and share your art or ask any lingering questions. Hope see you there!
If you found this tutorial helpful buy my a coffee and help support my blog.
Brilliant. I can now start with confidence. Xx
Really interesting, will show my granddaughter and have a go myself, mat help with my anxiety and depression. Thank you ,!
I am doing some homework on altered art before I begin a project and read gesso leaves the pages stiff and bumpy while gel medium leaves the page soft and pliable. What is your suggestion of these two for paper art?
I have taken an old cookbook and transformed it following your ideas and it turned out to be fun in preparing it and doodling on the pages I left and covered with gesso. I did collage too and as I took off 1 page out of 2, there is no bulk and it is still easy to draw. Your technic is really what I needed to have all my zentangles and essais in art together without any purchases or courses in bookbinding, which is not interesting for me. As I followed your instructions in preparing all the book in one session, I placed wax paper between each gessoed pages, and a weight till it was dry. Now, it is a joy to handle MY OWN ART JOURNAL, whenever I want, any hour of the day for as long as I wish, thanks to you and your precious « partage » in your blog. I am french canadien and understand english but have no practice in talking or writing it,.. so, excuse my errors. MERCI
Love this have been doing it as many of my better pieces were on regular paper. Always seek out title or name that
Is appropriate. I.e. “Brain Droppings” by Geo. Carlin. Fun to read. And the commentary goes w the art many times.