This post contains affiliate links. We may earn money or products contained in this post. Please click my disclosure policy to learn more.
Watercolor Pumpkin Tutorial
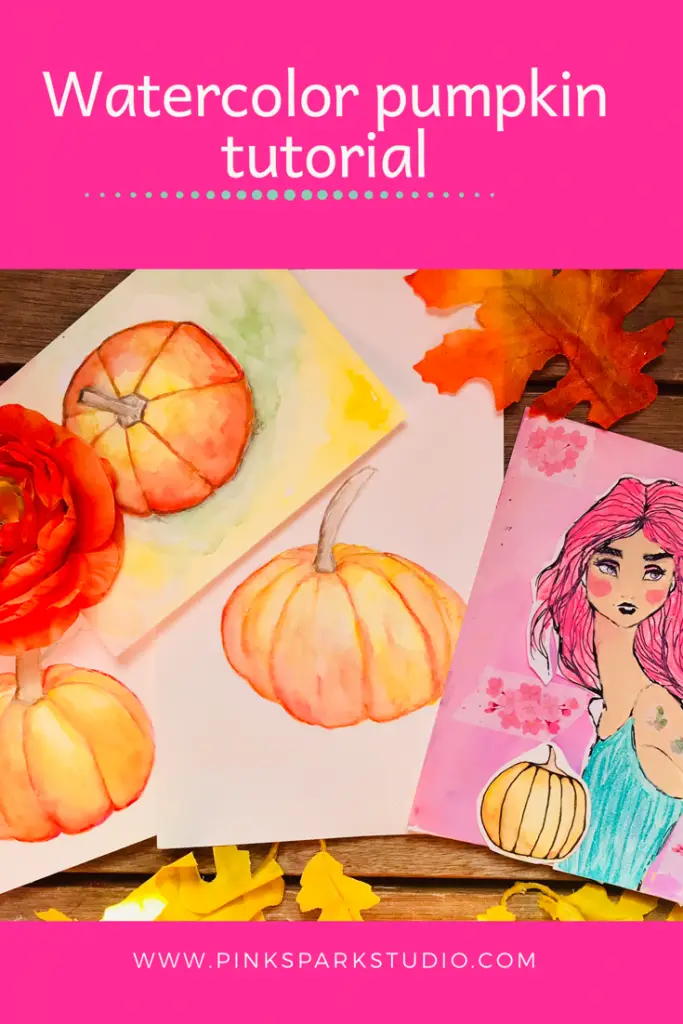
It’s fall! Bring our your pumpkins! This is the time to indulge cozy sweaters, deep rich, oranges and reds. It’s a time to celebrate Thanksgiving and all the fun that comes with it. Autumn is my all time favorite season. Pumpkins are everywhere, they’re in our cookies and in our coffee. Let’s embrace them and make some watercolor pumpkins.
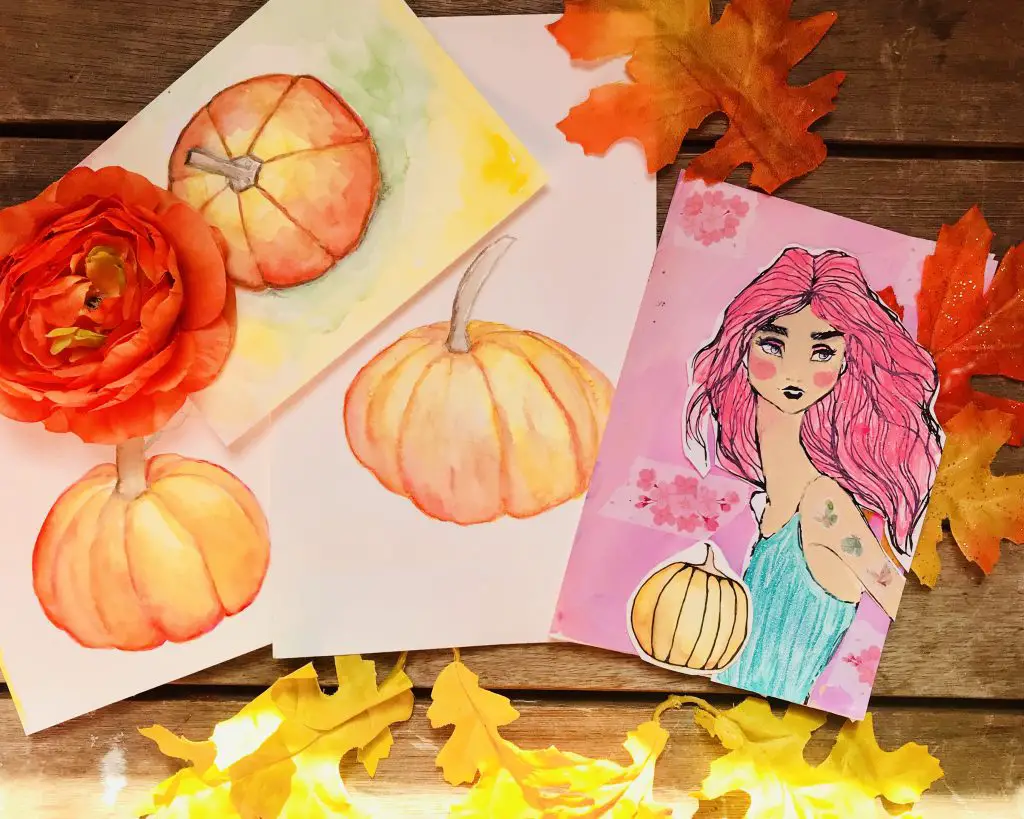
These are pretty fun and easy and the great thing about pumpkins you don’t have to be precise. You don’t even have to be an expert at drawing. Pumpkins come in all shapes. They can be round, oval, funny shaped. So, as long as you get some key elements in your pumpkin will be fabulous. You can use these pumpkins for Halloween illustrations or for fall watercolor paintings.
Materials
You can read my full watercolor tutorial article here. I discuss paper and brushes and fun techniques.
In this tutorial I use the following supplies:
- Canson Watercolor pad
- Arches 140 Cold Pressed Watercolor Paper
- Kuretake Gansi Tambi
- Grace Set watercolor brushes
- Chinese Calligraphy brushes
Step 1 Draw Your Pumpkin
Choose the pumpkin you want to paint. I used a reference from photos. If you would ike to use the same photos you can get them from in my free resource library. Just sign up to the e-mail, confirm subscription, and then you’ll get the password. You can unsubscribe at anytime. Trust me, I do not send out that many e-mails. Make sure to check your Junk Folder for the confirmation e-mail. I use a professional e-mail service, but still, it can be viewed as Junk (sad face).
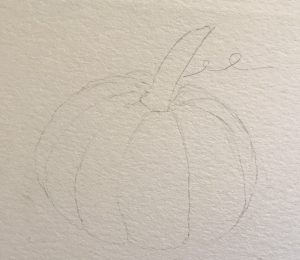
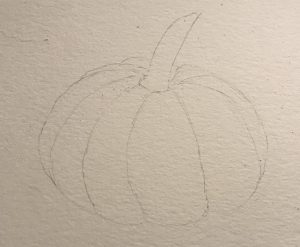
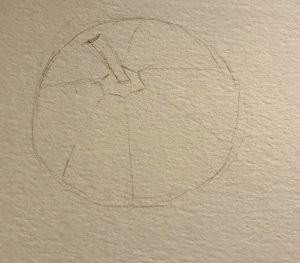
Drawing your pumpkin is simple. Let’s break it down.
For this pumpkin I started with the stalk in the center and drew a circle around it. The stalk is surrounded by curved lines that form a circle. Think of it as almost a star shape.The point on these circles make the cross body lines.
These lines create the curves for the pumpkin. They start out closer to each other at the top, bulge out and curve back towards the bottom.
Once you have all the curves drawn then you can start to edit the shape and define the pumpkin.
Here, you can see the bottom of the pumpkin is no longer a continuous circle, rather each section is separated and accentuated.
Feel free to get creative with your pumpkin. Get it any shape you want.
Step 2 Paint Your Pumpkin’s First Layer
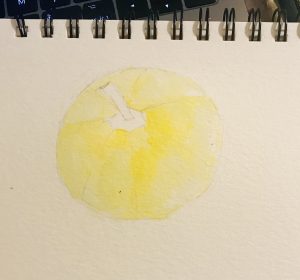
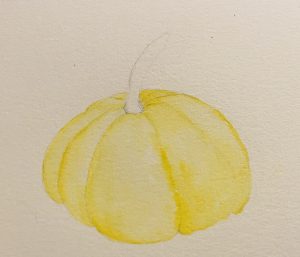
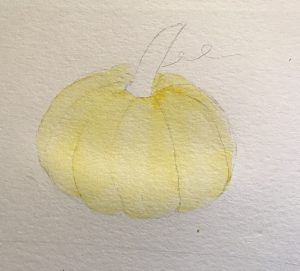
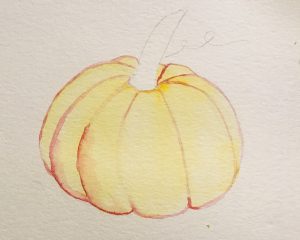
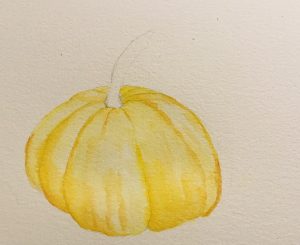
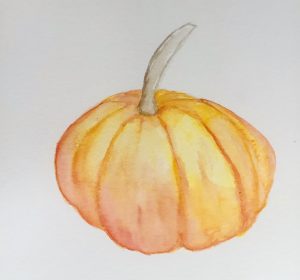
Now that you have your wonderful pumpkin drawn you can begin to add watercolor. For these pumpkins I started with a loose wash of cadmium yellow.
I choose to cover the entire pumpkin in the wash. You can choose to leave the parts where the lightest highlights will be white. Make sure to paint in the direction of the pumpkin curves to help create the shape.
Step 3 Add Definition to Your Pumpkin
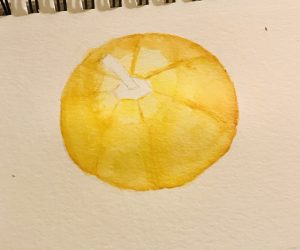
Now that you have a light wash you can start adding the deep color of the bisecting lines of the pumpkin. Sometimes I choose a deep red, other times I choose a dark orange. You can play with the different colors. There is no one way to paint a pumpkin. The colors are up to you and how you want to express them.
Step 4 Add Darker Watercolor to Your Pumpkin
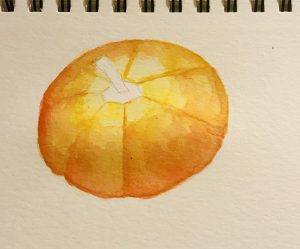
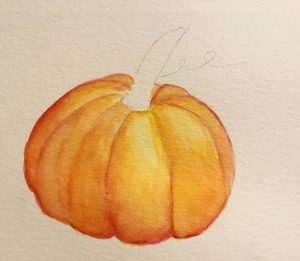
Now, I begin to add the darker orange/red colors darkest at the bottom and using brushstrokes that make the shape of the pumpkin. I gradually paint up making sure to leave the light areas for the highlights. I then paint lighter orange going from the top to the bottom.
Step 5 Touch Up
Now, its time to add touch ups as needed. Look at your pumpkin and see where you need more shadows or definition.
Step 6 Paint Your Pumpkin’s Stem
Paint your stem. You can choose to add some detail and use dark brown to create crevices and lighter brown for the rest. Or just paint it all one color. Sometimes I also choose to add some green with leaves.
Step 7 Add a Background or Words
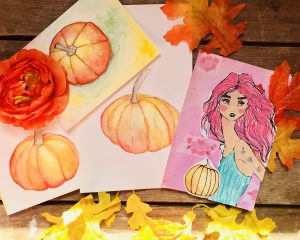
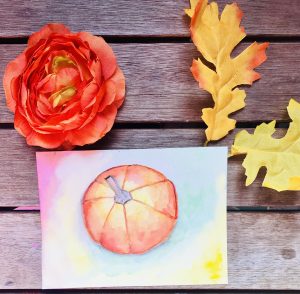
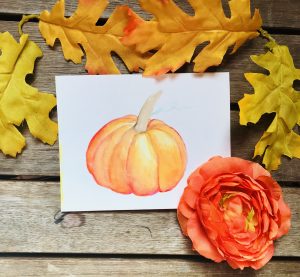
Now, you can paint a background and add words. You can cut out your pumpkin and add it to a homemade care or as ephemera for your art journals or junk journals.
Pumpkins are so fun to paint. Give yourself some practice and room to make mistakes. Remember, your pumpkin doesn’t have to have perfect proportions. Have you ever really looked at a pumpkin? Those things come in some funny shapes.
If you’d like to get more watercolor tutorials I highly suggest Skillshare. They are an on-line streaming service for tons of classes. The classes are all free with a membership. If you follow this link you can get two weeks free. That’s what I did. I binged on a ton of classes and then became addicted to Skillshare. Even after the free trial it stays pretty affordable.
Feel free to jump over to my private Facebook Group and show off your pumpkins or ask any questions!
Leave a Reply