This post contains affiliate links. We may earn money or products contained in this post. Please click my disclosure policy to learn more.
Watercolor sky whale tutorial

Whale hello there! Sorry about the pun, I love puns. I also love to paint with watercolors.
Do you ever get the urge to paint, yet, you don’t know what paint?
I often find myself in that situation. Sometimes I want the paints already sketched out for me so all I have to worry about is the coloring part.
Then, sometimes I get a flood of inspiration and can’t choose which idea to paint.
I know others find them in similar situations. So, I decided to create easy to follow watercolor paints with free downloads to the drawing. All you have to do is transfer the image to your watercolor paper.
You can get the free traceable template by simply signing up for my e-mail. You’ll be sent the password for the resource library once you confirm your e-mail, so be sure to check your junk mail. You can find the resource library in the top menu bar.
And, you can even use the same image as a coloring page! I like making things that can be multi-functional.
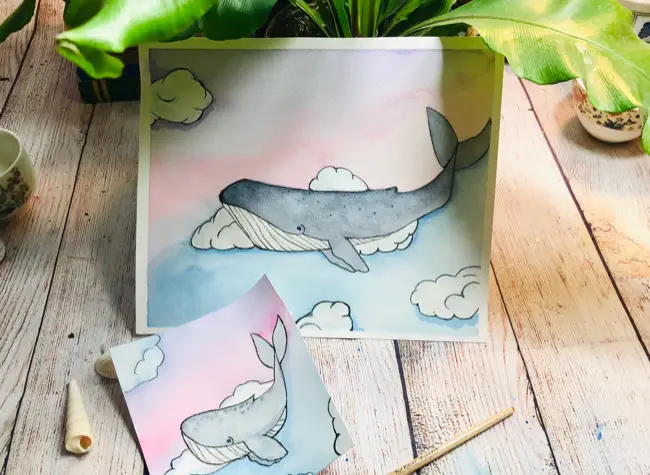
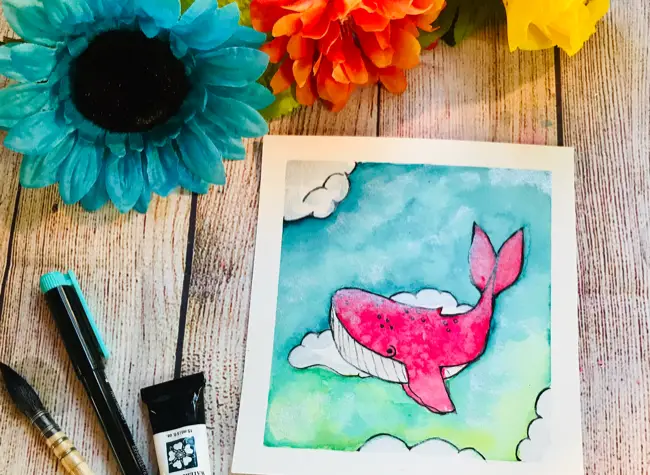
Sky Whale Painting
I’m a whimsical person. I adore fairy tales and fantasy. This Sky Whale makes me think of magical lands. A place where whales can fly.
I hope you like as much as I do.
It’s a fairly easy to follow watercolor tutorial. You are free to change the colors however you want. If you share it on social media please tag me (pibnksparkstudio) so I can see!
How to transfer your drawing to watercolor paper
There are several methods for transferring images.
One, is to cover the back of the image with charcoal and the trace it onto your watercolor paper.
Two, use a light drawing box of you have one.
Three, hold up your drawing behind your watercolor paper against a window when it’s light outside. This acts like a makeshift light box. This is the methods I use.
Watercolor Supplies
Paints
Watercolor Sky Whale Example 1
I found this painting of a watercolor Sky Whale to be really fun. I started making them in smaller sizes and playing with the color.
Happy sky whales is such a whimsical idea, to me. The world needs more innocent happy things.
In this tutorial I used
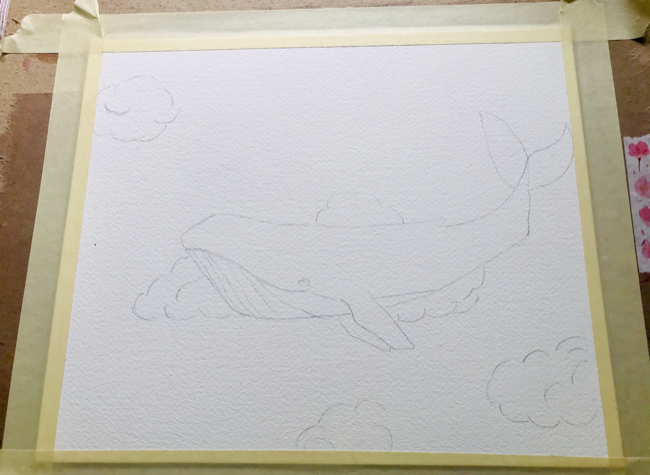
Step 1.)
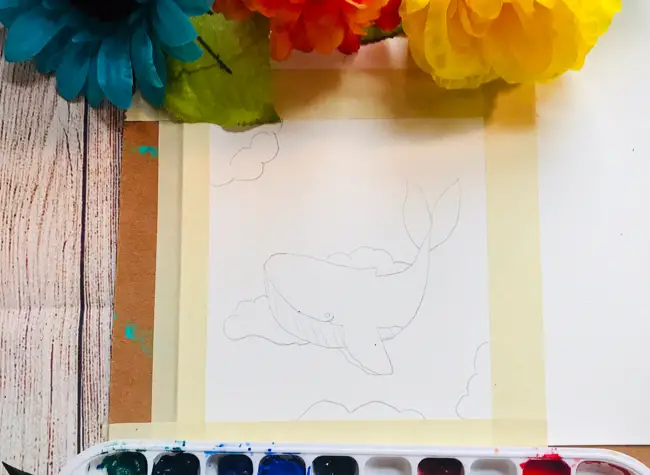
This is the smaller version of the watercolor sky whale. The next example will of the full size version. You can find both of the printable in my resource library. Simply sign up for my e-mail list and the password will be sent to you. Make sure you check your junk e-mail folder.
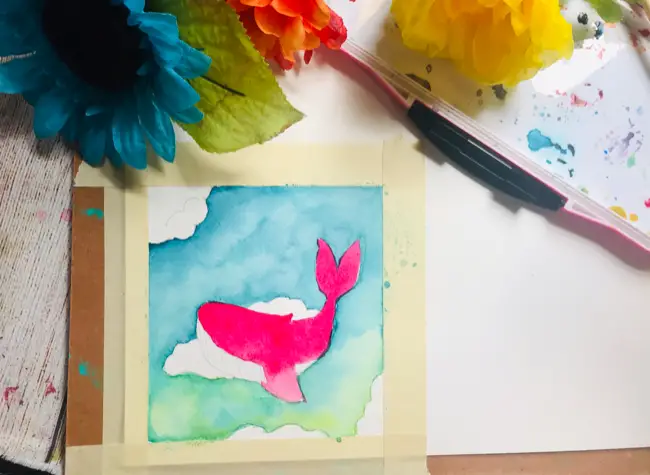
I used masking tape to create a nice white border. I painted one with and without the white border. Both look good. I did use the masking tape on both to ensure clean lines.
Step 2.)
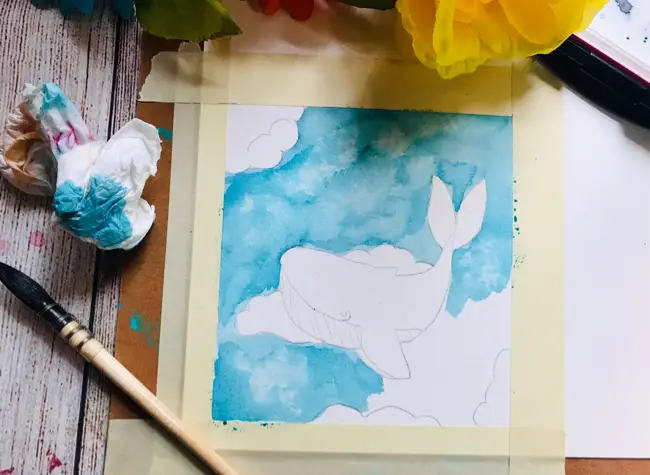
I used a mop brush because it holds so much water. I laid down paint in a sort of blotchy way to create texture.
Next, I used a paper towel to blot the paint to give more texture and interest. This creates a cloudy sky effect.
Step 3.)
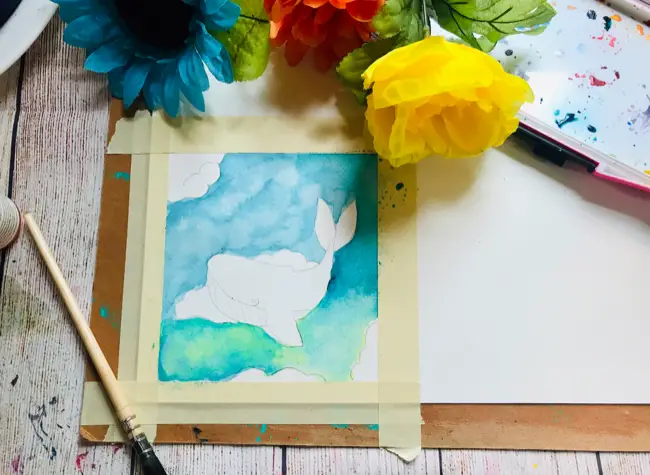
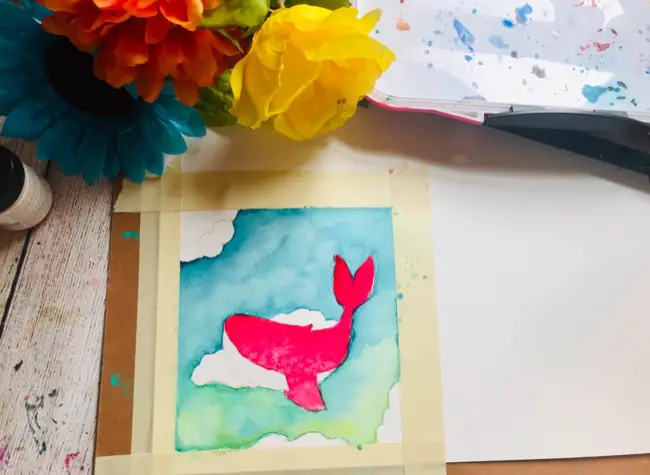
I added yellow at the bottom. I pictures the sun low shining up on our happy little sky whale. You can add the yellow wherever in the sky will make you happy. I blend it to get a greenish look. I also continues to blot.
Step 4.)
Let your background sky dry completely before beginning this step to prevent bleeding.
Now, it’s time to paint the whale. The first thing I did was wet the whale. I used the wet-wet watercolor technique. You can read more about these techniques here.
Then, using my mop brush loaded with rose madder paint, I applies it to the whale. I went a bit heavy on the paint because of the next step.
Step 5.)
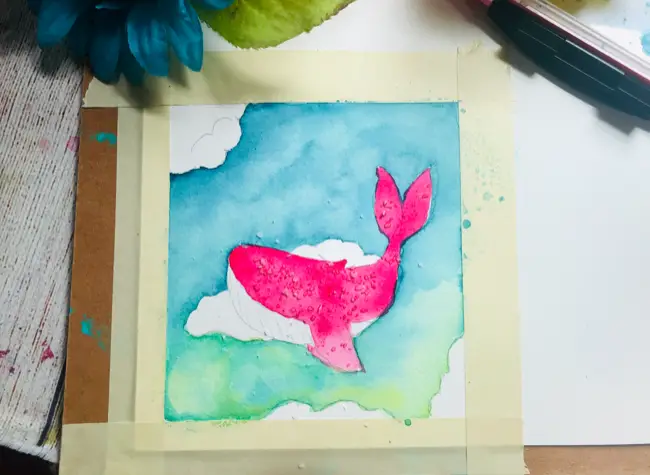
Time to create some fun texture. While your whale is still wet add some salt to areas you want some texture. I added kosher table salt to the entire whale. Bigger salt like kosher salt will create bigger spots and smaller salt such as table salt will create smaller spots.
Let your salt sit on the whale until the whale is completely dry.
Once your paint is dry simply brush the salt off and you’ll see the effects.
Now, you can leave it as is, or add more paint. I choose to add more paint, especially on the tail.
Step 6.)
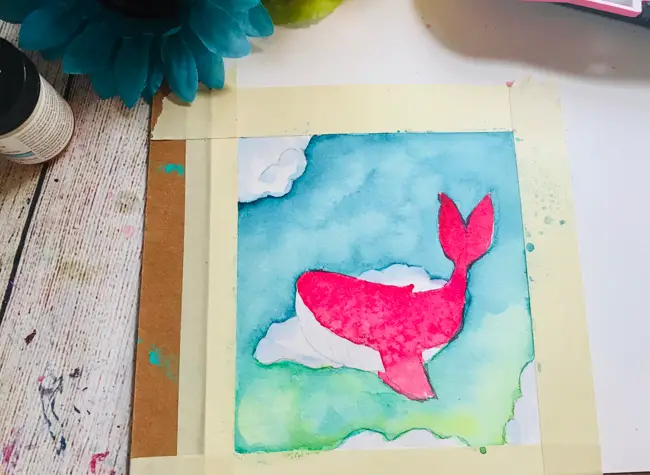
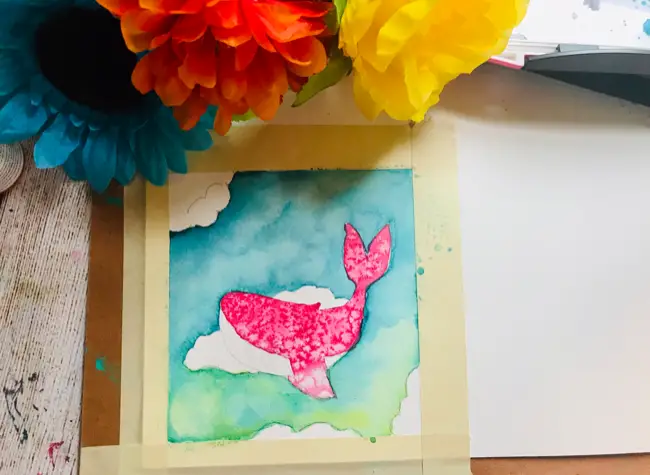
Time to paint the clouds. I kept it simple because I’m going for a more illustrated/cartoonish look. I used a light blue to paint around the borders and that’s it. Pretty simple!
Step 7.)
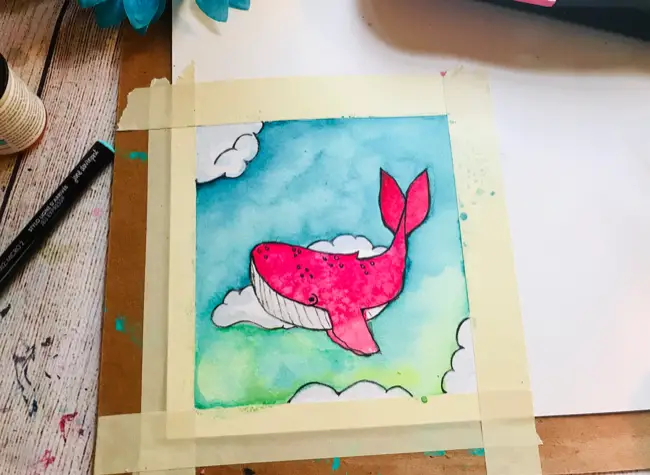
Now, it’s time to have fun with some inking. I used Jane Davenport’s Finishing line pens. These pens are phenomenal, they come in four different tip variations and each variation has several size tips. They go like a dream and they are waterproof. I may start using these more than my micron pens.
Step 8.)
I added some shimmer paint from my Kuretake Gansai Tambi set. It’s hard to capture the effect with a photo, bur let me tell you, they add some really fun glittery shimmer effect.
![]()
If you found this tutorial helpful please buy me a coffee and help support this blog.
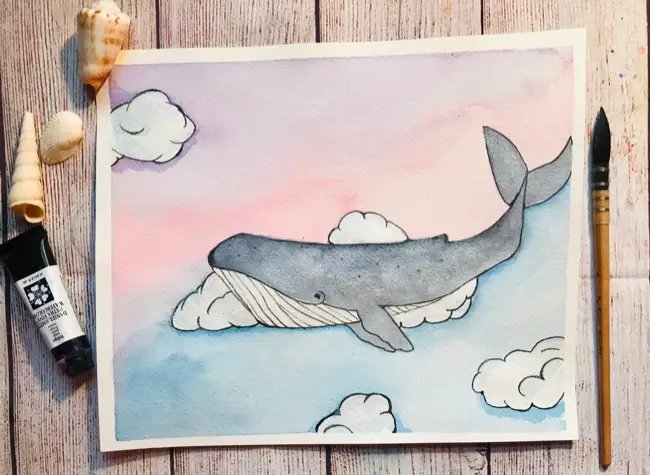
Watercolor Sky Whale Tutorial example 2
This is another fun color variation of the sky whale watercolor painting. I wanted to do two variations to show you the possibilities you have with this and any painting.
Step 1.)
This is the full-size version. It measures 81/2 x 11, your standard printer paper size. You can apply masking fluid on your clouds and whale to prevent any paint overlap.
Step2.)
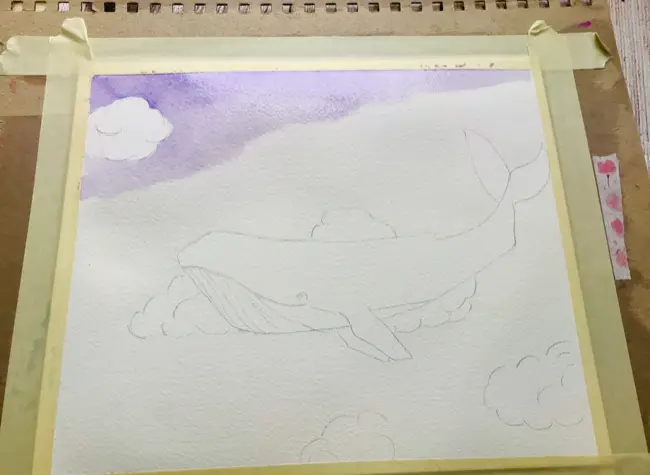
Wet your page. I nice even layer of water, don’t drown your paper. I use a mop brush for this step because it holds a lot of water. I also like the rounded point which makes it easy to brush around details.
Step 3.)
Now, with a wet brush load some purple and begin at the corner and spread the paint out. It’s okay if the coroner stays darker. Try to avoid any hard lines. Blurred watery edges are okay.
Step 4.)
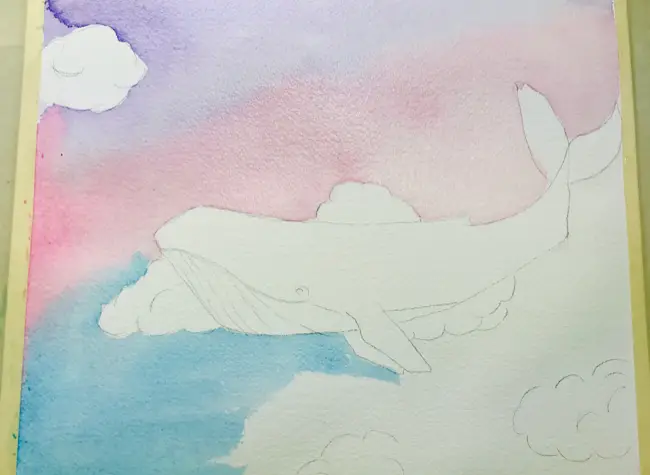
Clean your brush and load some pink. I’m using Rose Madder. I make sure that the pink is watered down when I apply it as I want this section to be lighter. I blend it with the last purple layer and bring it around the clouds and the top of the whale.
Now, it’s time to clean your brush and load some blue paint. I blend the blue with the pink which gives a light purplish color and paint the rest of the page blue.
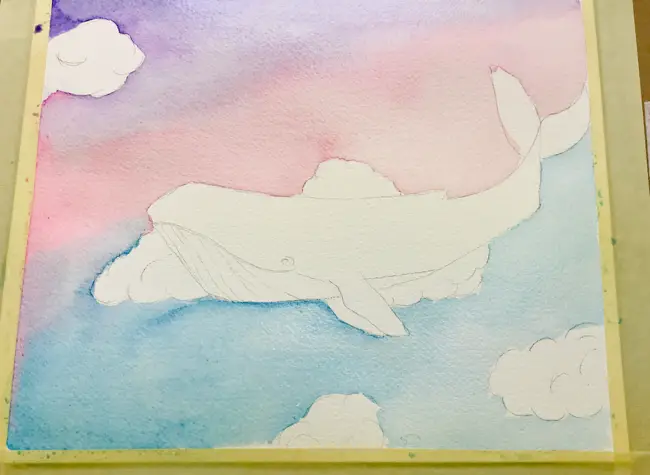
Step 5.)
Let your paper dry. Once it’s dried you can remove the masking fluid. Now, you can begin painting the whale.
Step 6.)
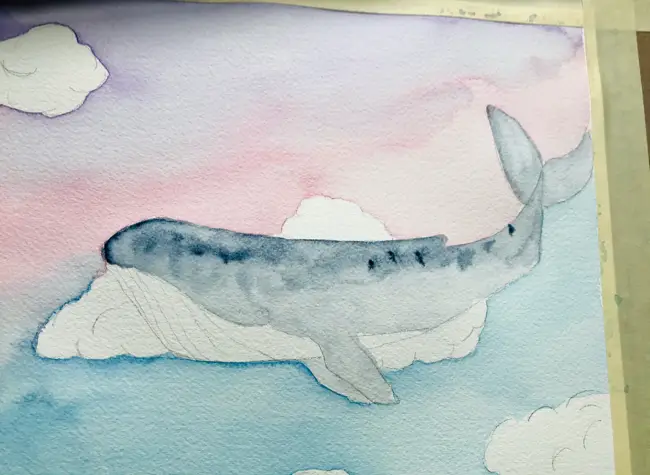
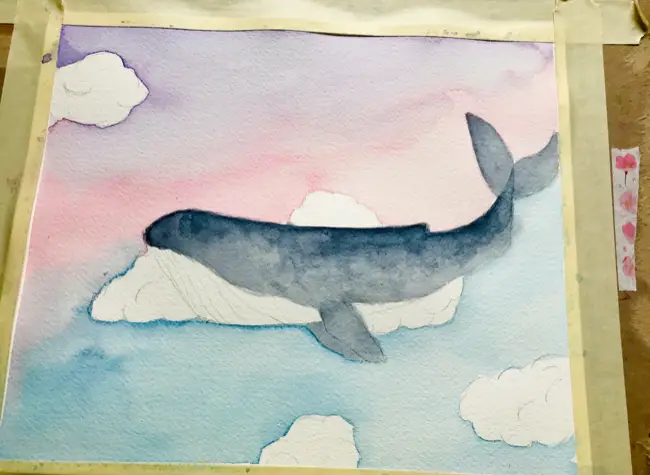
Time to paint our whale. I used the color indigo from Daniel Smith. I used my wet mop brush and started on dry paper. I made sure the darkest color is on the top of the whale and around the mouth.
I blend the paint as I get lower on the whale. I leave the underbelly unpainted.
Step 7.)
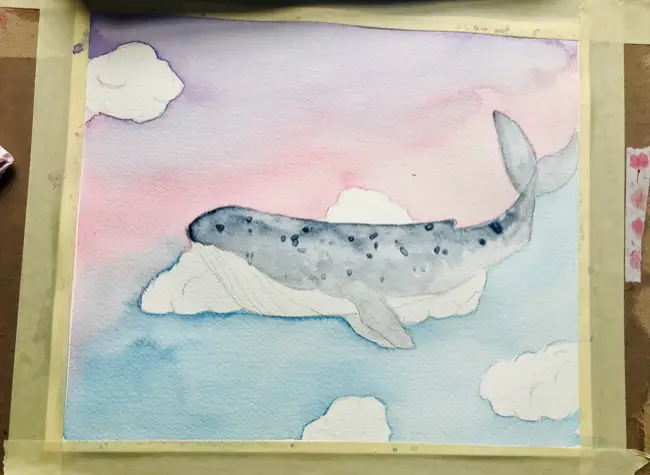
While the watercolor paint is still wet I add some Kosher salt to the whale. Salt gives watercolor interesting texture. Let the paint dry and then lightly remove the salt.
Step 8.)
Now that there’s some texture I’m going back over the whale with another coat. The light spots where the salt was will still be visible. You can repeat the process of adding salt and layers until you are happy. How many layers you use is entirely up to you and your personal preference.
Step 9.)
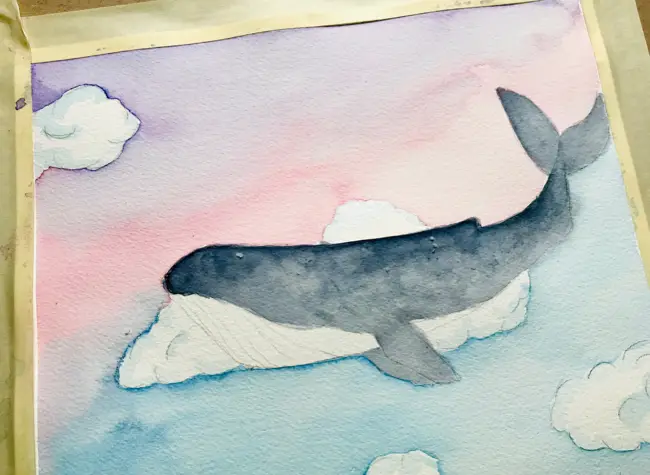
Time to add some color in the clouds. I used a light but bright blue to add some details to the clouds. I then darkened the paint under the clouds and the whale to give some shadows.
Step 10.)
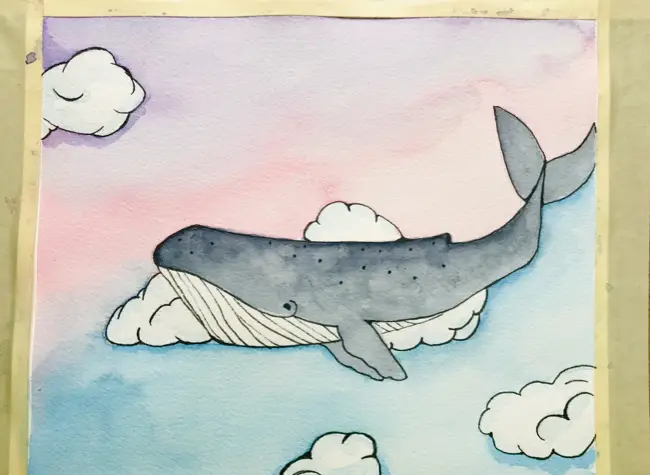
Now, it’s time to have fun with pens. I used Jane Davenport Finishing line lends to outline the whale and clouds and add all the little details.
You can stop here and the painting is beautiful and whimsical. Or, you can take it a bit further.
Step 11.)
I used the shimmer paint from my Kuretake Gamsai Tambi set and painted it over the whale and clouds. I absolutely adore this paint. It doesn’t add any color, just pure, wonderful, shimmer. I add this shimmer to a lot of paintings. I love the extra little detail it gives and the way it shines.
I’d love to see your watercolor sky whales! Feel free to jump over to my Facebook Group and share your art and ask any questions you may have!
Now, you can emote your masking tape and enjoy your sky whale painting. You can hang it up or give it away. It’s sure to add a happy touch to any room it’s in.
I hope you enjoyed this watercolor tutorial.
![]() If you found this tutorial helpful please buy me a coffee and help support my blog.
If you found this tutorial helpful please buy me a coffee and help support my blog.

Leave a Reply