This post contains affiliate links. We may earn money or products contained in this post. Please click my disclosure policy to learn more.
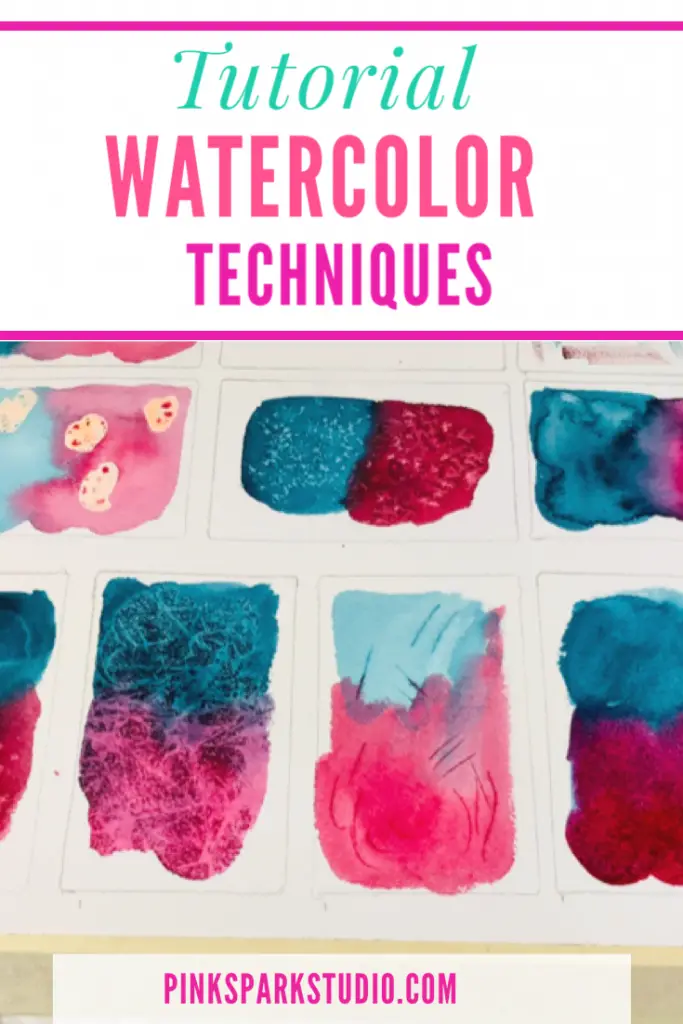
Watercolor Painting Techniques
Painting with watercolors is something everyone should feel confident doing. I know that it can be intimidating at first, however, do not let that stop you from discovering the true joy and magic of watercolor paints.
This tutorial on watercolor techniques is to help you understand how watercolor works and the different things you can do with these paints. Part of what makes watercolors so fun and whimsical to work with is how unpredictable it is. So, feel free to play mourn with your watercolors as much as you want. Make mistakes, experiment, that is how you grow as an artist.
If you need some help choosing watercolor paints, brushes, or paper you can check out my tutorial Watercolors For Beginners.
Watercolor Supplies
The supplies I used for this tutorial are:
- Canson Watercolor Paper
- Mijello Mission Watercolor
- Daniel Smith Watercolor Pthalo Turquoise
- Masking Fluid
- Paul Ruebens Mop Brush
- Masking Tape
Watercolor Techniques
1.) Wet on Wet watercolor technique
Wet on wet watercolor technique is a great way to get soft edges and feathery blends. You can create beautiful wet on wet watercolor paintings with ease after you learn this watercolor method.
First, wet your paper. I use a large round brush or mop brush. You want your paper to be shiny, but make sure you avoid pools or puddles of water. Pools or puddles of water will gather more paint in the area. So, if that is what you want, then go ahead and let your water pool.
Now, while the paper is wet load your wet brush with some paint and apply it to the paper. You’ll see that the paint spreads out where the water is but doesn’t spread on the dry area.
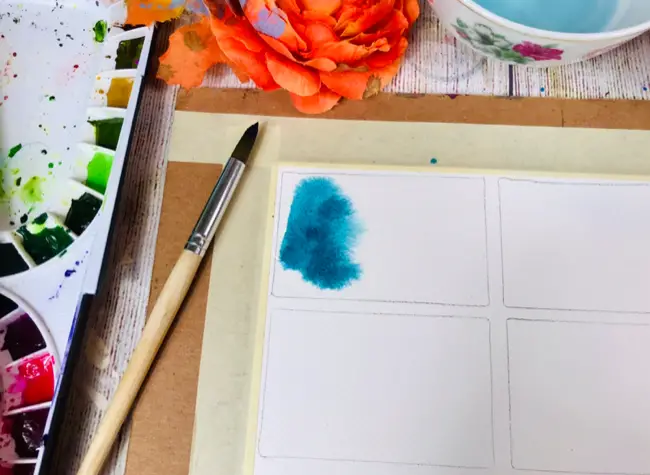
You can also apply wet paint to wet paint with this technique. The paint will have soft feathery edges bleeding into the bottom paint.
This creates soft, diffused, blended edges and effects. You will not get fine lines or fine details with this method so keep that in mind.
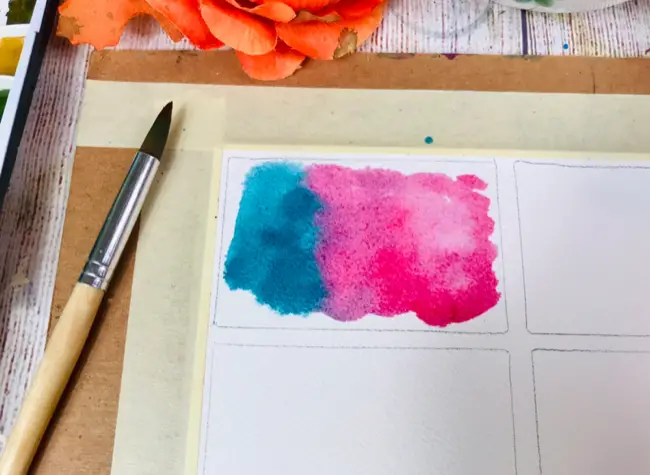
2.) Wet on Dry Watercolor Technique
Wet on Dry is where you have a wet brush and you’re painting on dry paper. You can achieve very fine edges and have a lot of control with wet on dry watercolor technique.
You can easily achieve darker, bolder colors very quickly with this method.
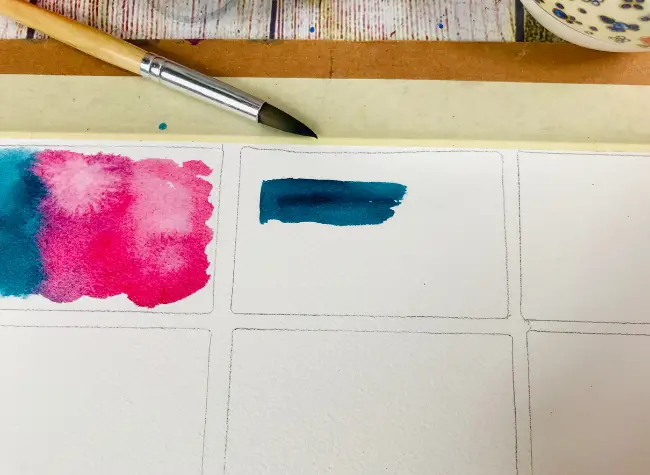
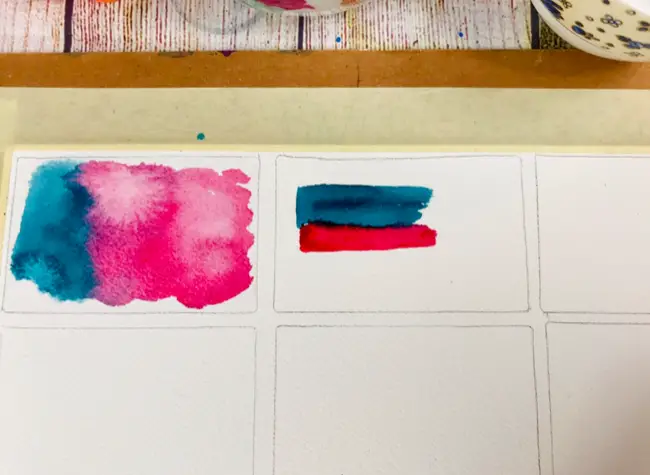
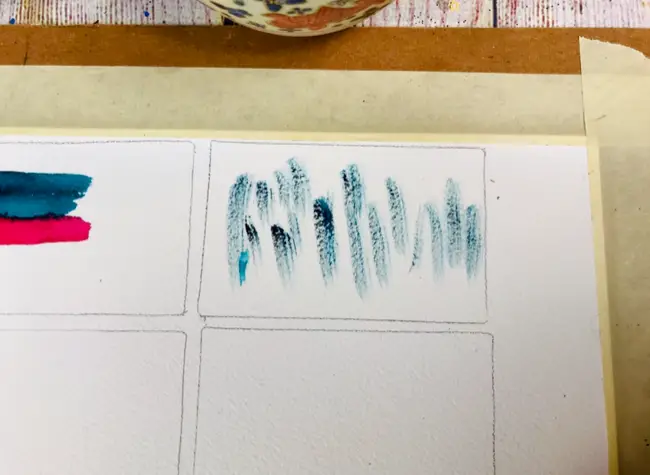
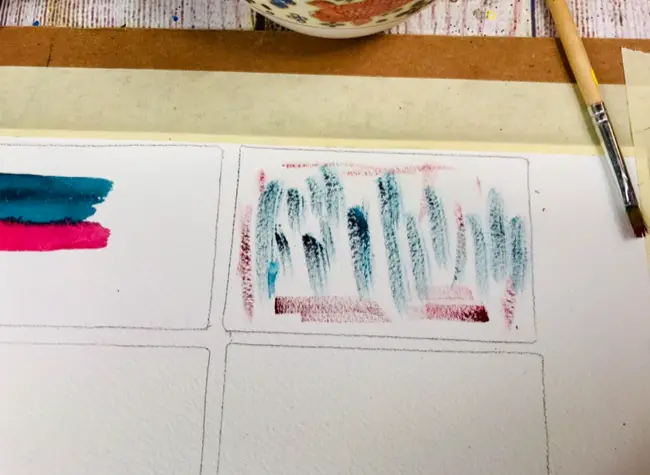
3.) Dry Brush Watercolor Technique
This is where you are using a mostly dry brush (since you’re using watercolor there will still be some water present) on dry paper.
This method is great for adding details as you have control over exactly where the paint goes. You also can get interesting texture.
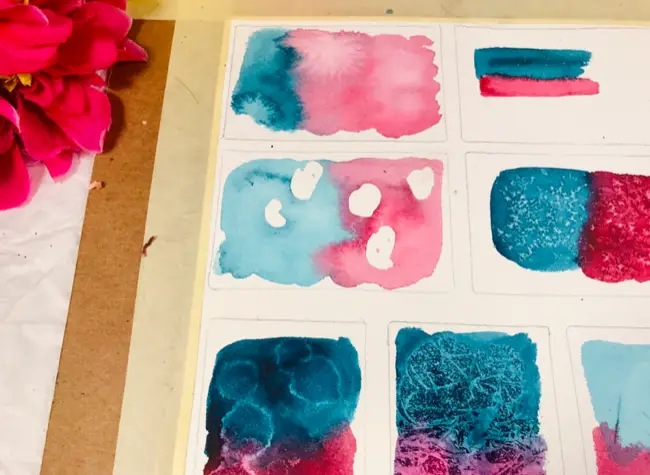
4.) Masking Fluid and Watercolor Painting
Masking fluid is is a latex fluid that allows you to paint it on areas of your paper you want to keep white.
This is the perfect solution to paint freely without worrying you’ll paint over small details.
Masking fluid allows you to plan out highlights and create fun patterns.
Using masking fluid is simple and easy. First, use a paintbrush you don’t care about because masking fluid can wreck your brushes. You can also buy bottles specifically for applying masking fluid. Optionally, you can use alternative tools like paper clips to apply small details.
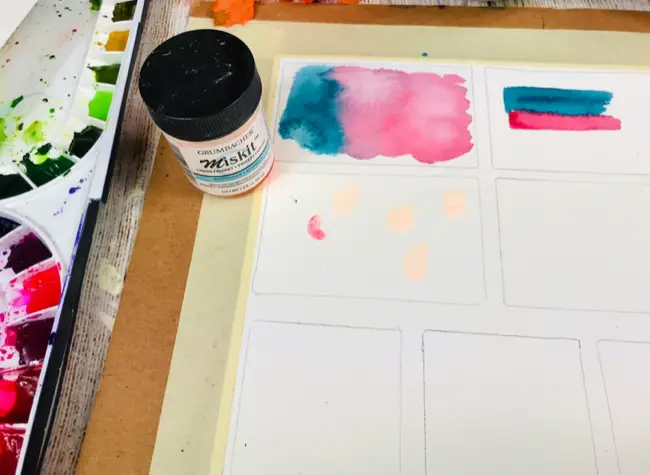
Once dry you can paint as normal without worrying about the paper underneath getting painted on.
Let your paint dry. When your paint is dry you can remove your masking fluid.
To remove you can use your finger or an eraser.
![]()
If you found this tutorial helpful please buy me a virtual coffee and help support my blog.
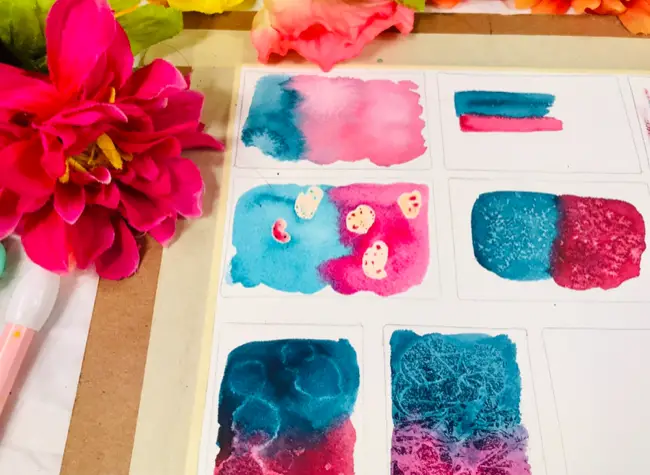
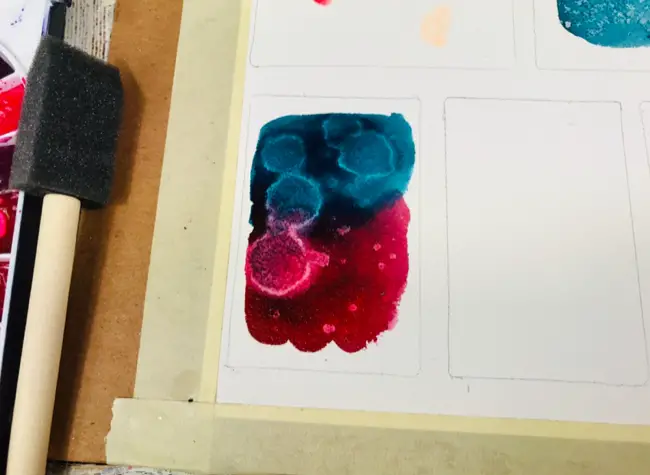
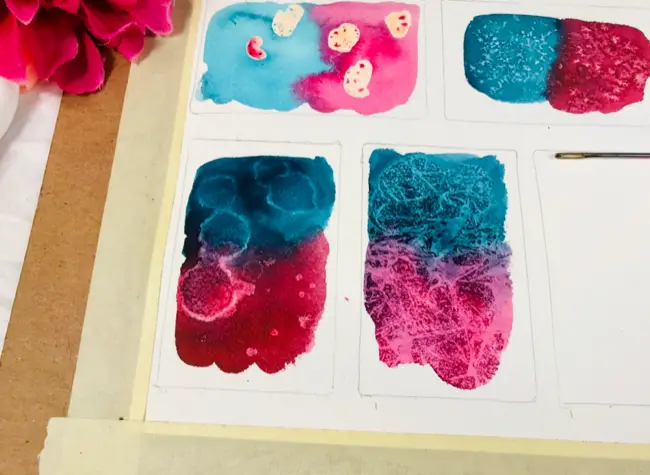
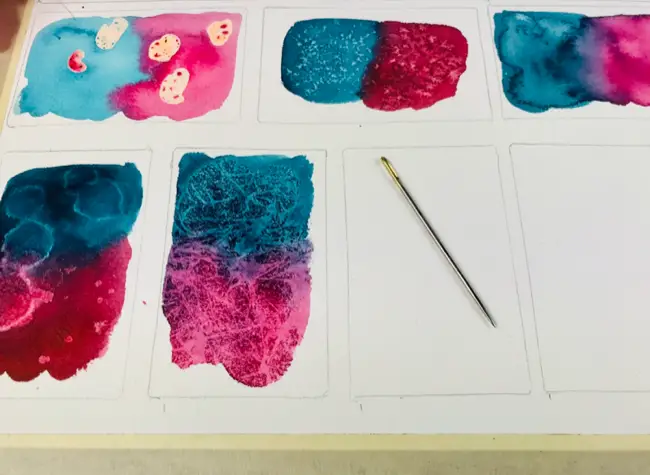
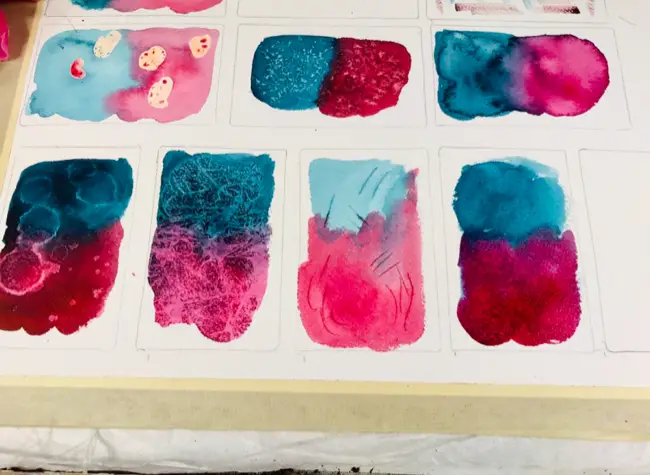
5.) Salt on Watercolor Technique
There are a couple of ways to use salt with watercolors. Using salt on watercolor paint gives beautiful textures which can be used to create sand, snow and other effects in your paintings.
The first method is to apply your paint. Use a bit more color than normal. While your paint is nice and wet sprinkle your salt across your paint. I use Kosher salt to get bigger salt affects. However, you can also use regular table salt.
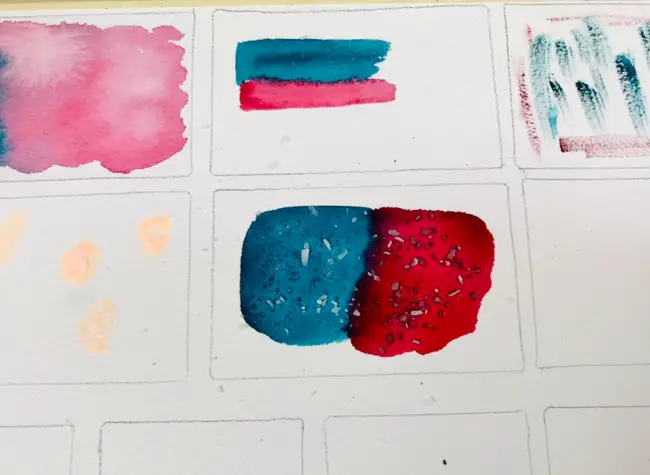
Let your paint completely dry.
Once dry you can brush the salt off.
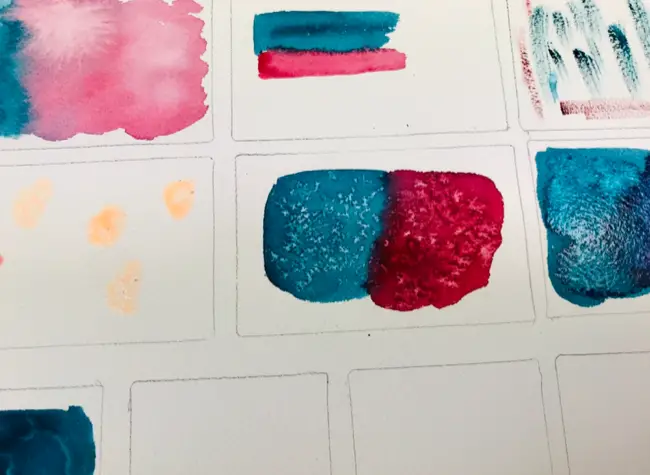
6.) Salt Water and Watercolor Technique
This will give you less control than the previous salt method, however, it is a great way to get interesting textures and patterns.
Saltwater mixed with watercolor paints create magical crystallized effect.
For this method you simply fill a cup of water and then add about a teaspoon of water. Stir the salt until it dissolves. Now,
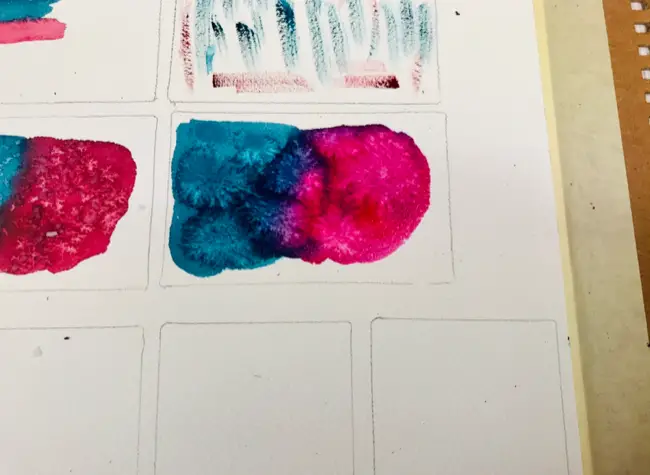
7.) Alcohol on Watercolor Technique
Alcohol on watercolor creates blooms of patterns and textures that are delightful and varied. To paint with this method first paint on a layer of watercolor paint on your paper.
Now, you can sprinkle or spray on the alcohol. You’ll notice the areas the alcohol touches have little bursts where the paint spreads away. Also your paint will not go on over the alcohol areas, so keep that in mind.
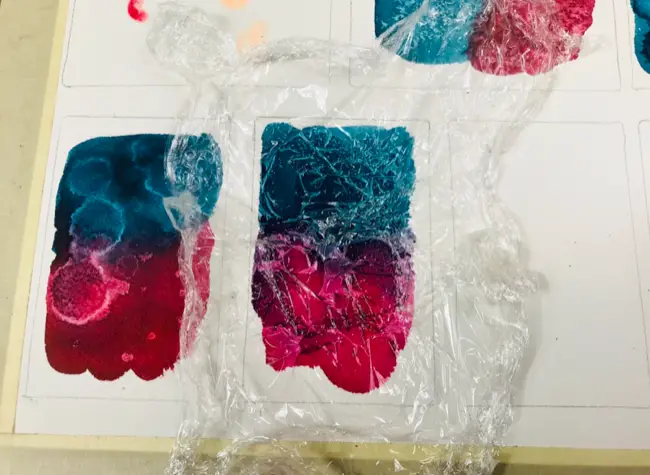
8.) Plastic Wrap and Watercolor Technique
Plastic wrap on watercolor is a technique that can give a ton of different outcomes. You can use this watercolor technique to create different textures to represent landscape textures such as snow or grass. You can also use plastic wrap on watercolor for more abstract paintings.
The trick is to play around and experiment with this method.
To do plastic wrap on watercolor you first paint a section of your paper with watercolor, I tend to paint it with a bit more water and paint. Now, lay down your plastic wrap. You can scrunch it up tightly or loosely. The paint will gather and lift with the creases if the plastic. Once you have your plastic wrap on the watercolor, let it dry completely.
Once dry, remove the plastic wrap and enjoy the texture.
9.) Sgrafitto
Sgrafitto is an Italian word that means, “to scratch.” This watercolor method is done by taking a sharp object like a need,e or pallet knife, and scratching into wet paint to create different textures.
This watercolor technique is great for natural patterns such as tress or grass.
I used my book binding needle for this example. I have seen some people scratch into the paper before they paint on it. You have to scratch really hard, though. I tried it on this example and you can even tell I scratched the paper. Scratching after you paint is much more effective and you have more control.
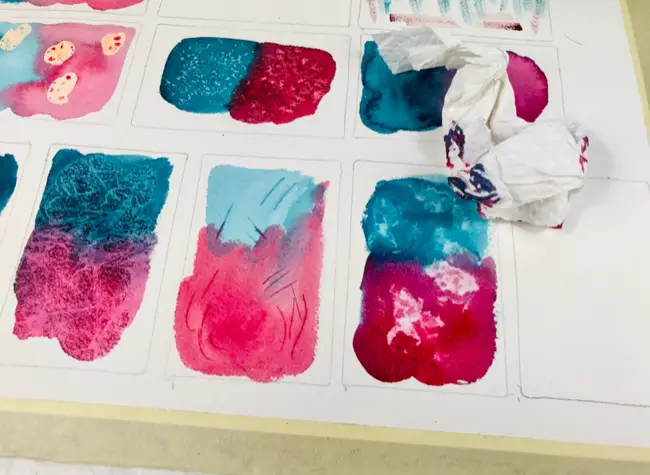
10.) Blotting
Blotting is a watercolor technique where you use a paper towel to blot sections of your watercolor. Blotting will lift off paint and leave an interesting texture behind.
I use this watercolor technique of lifting to create clouds and different sea scapes.
To achieve this watercolor technique you simply use a scrunched up pice of paper towel and blot the wet watercolor paint.
The paper towel I used for this example was really stiff and created sharp edges. Sometimes I use a a paper towel that is softer or just a tiny bit damp. This gives me a softer look.
The longer you hold your paper towel to your watercolor the more paint will come off. You can vary the pressure you use and how long you hold the paper towel on the watercolor.
11.) Tape
I was tape on with my watercolor paintings to create interesting patterns and to endure I get none, crips lines. All you need is some masking or wash tape, tape down sections of your paper. Then, paint around the tape, let dry and remove. The places that had tape on them will be white creating a nice visual effect.
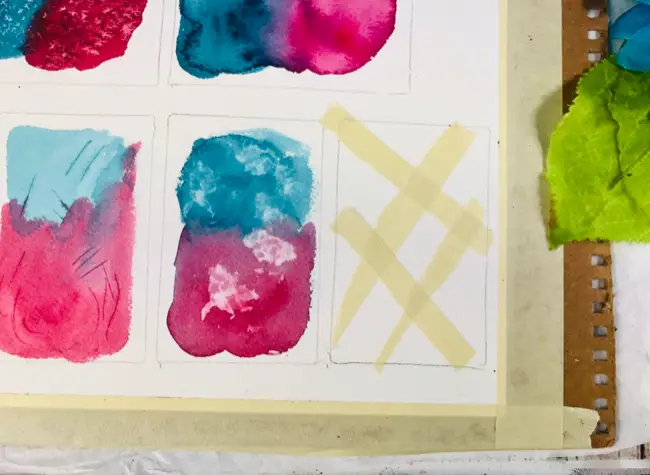
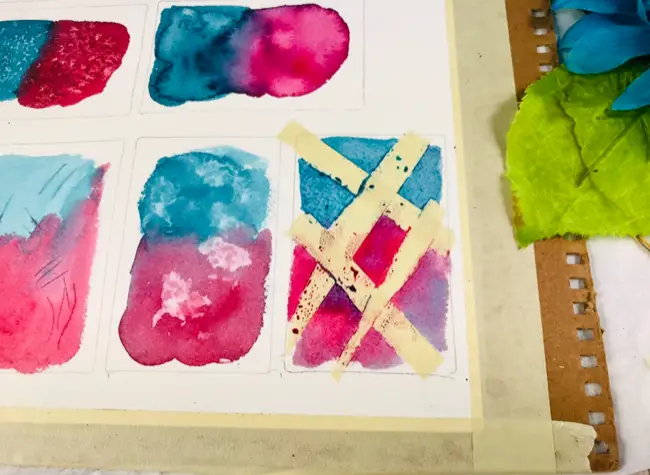
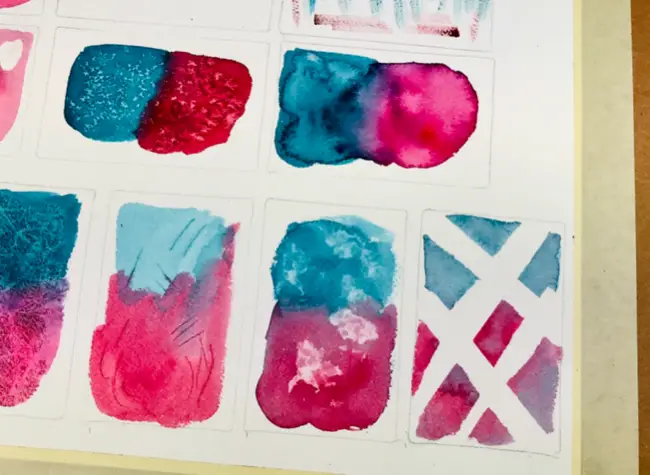
I often tale down the edges of my watercolor paper to create a nice clean border. You can do this however you want. Your creativity will lead you as you explore this method.
Watercolor Painting Techniques
These techniques will give you ;lot of ways to play and experiment with watercolors. Allow yourself plenty of time to play around with these methods. Don’t be afraid to try them different ways than listed above. Also, don’t be afraid to use your good watercolor paper. Your art supplies want to be used.
I’d love to see your artwork and also answer any questions you may have. Feel free to come join me in my private Facebook group.
Your art deserve to be made. Break out your watercolor paint and paint until you can’t paint anymore. Develop that creativity you have inside of you and let your art shine. I hope this tutorial on watercolor techniques helps you out.
![]()
If you found this tutorial helpful, please buy me a virtual coffee and help support my blog.

Leave a Reply