This post contains affiliate links. We may earn money or products contained in this post. Please click my disclosure policy to learn more.
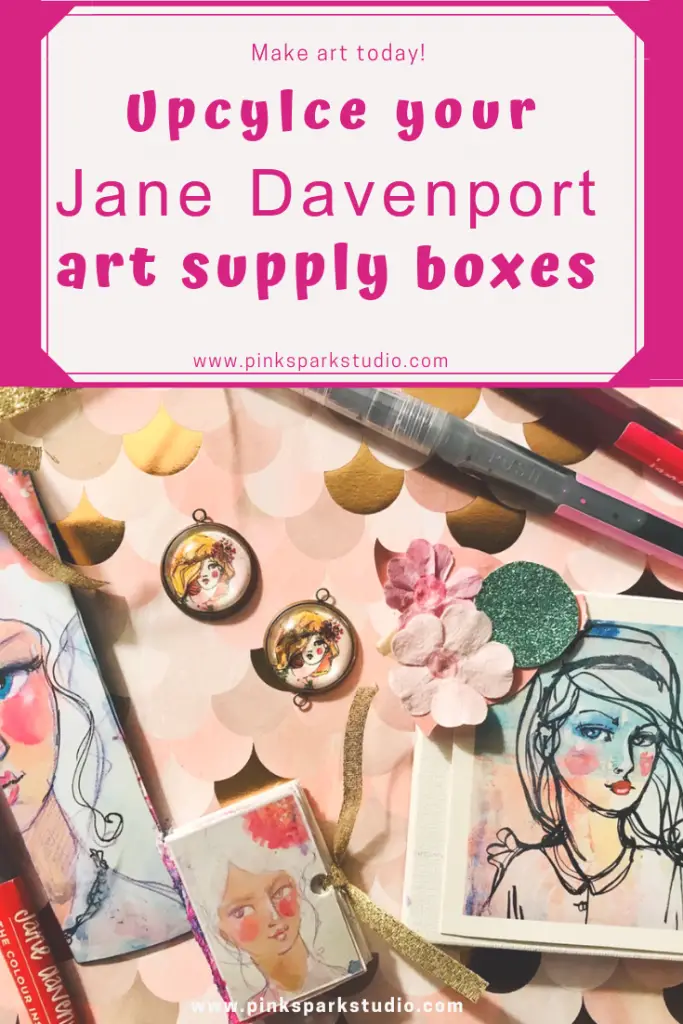
Upcylce Your Pretty packaging
Upcycling has so many uses. It helps reduce waste, it allows you to recycle directly without having to send your old belongings to someone else and hope it gets properly recycled. And, it’s fun to give old things a new life. I love upcycling my pretty packaging. I always save pretty boxes and they pile up in a corner or in another box. Instead of saving them, I’m finally giving them a new life.
The packers I’m upcycling for this article art from Jane Davenport art supplies. Jane’s products helped reawaken my art life after it had been crushed for so many years. Her products are amazing quality and so much fun. I adore her art supplies, books, and workshops. You can read my review on some of her products here My Favorite Jane Davenport Art Supplies .
The beauty of packages that are artfully created is that it’s so easy to turn them into art that you can use. I love to upcycle cereal boxes, but I usually cover the images and create a whole new look. With pretty boxes you can can not only create art with the contents, but with the packaging!
Heres a list of the products whose packages I used:
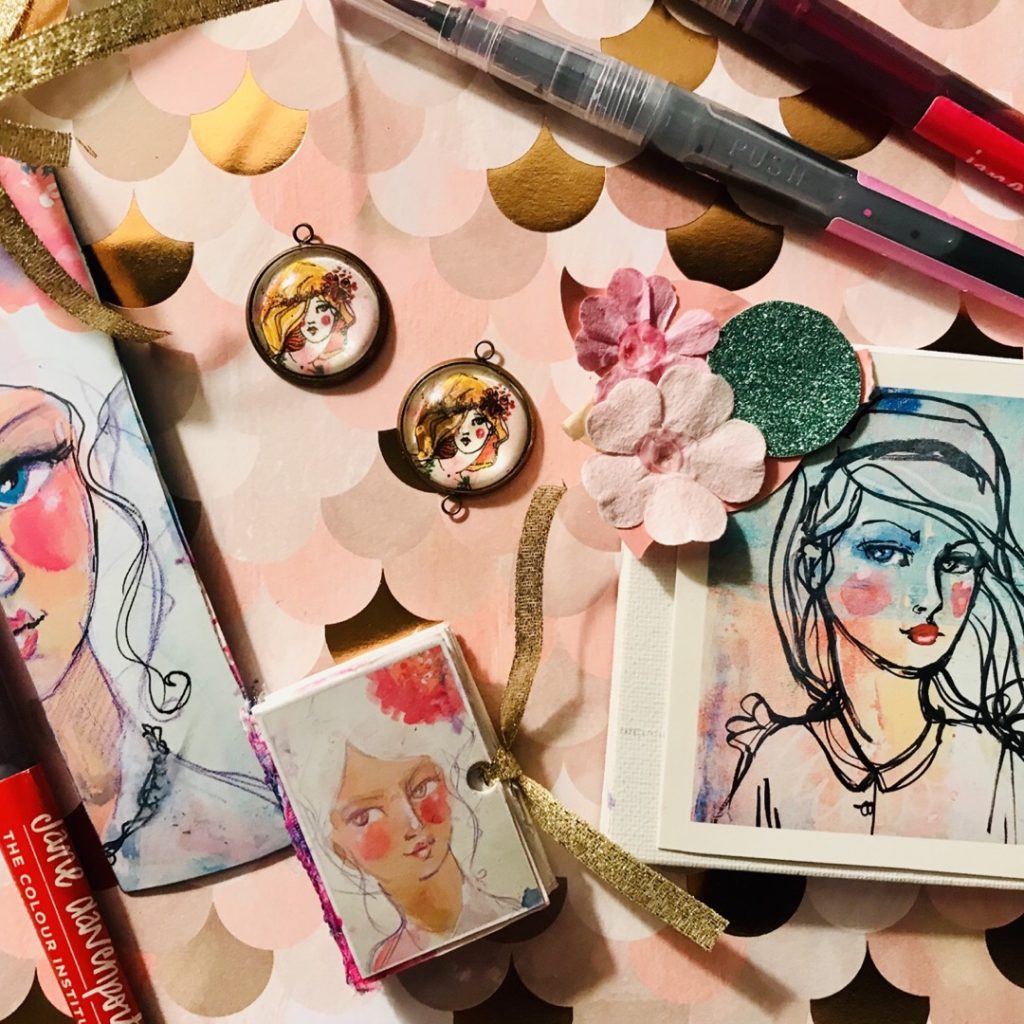
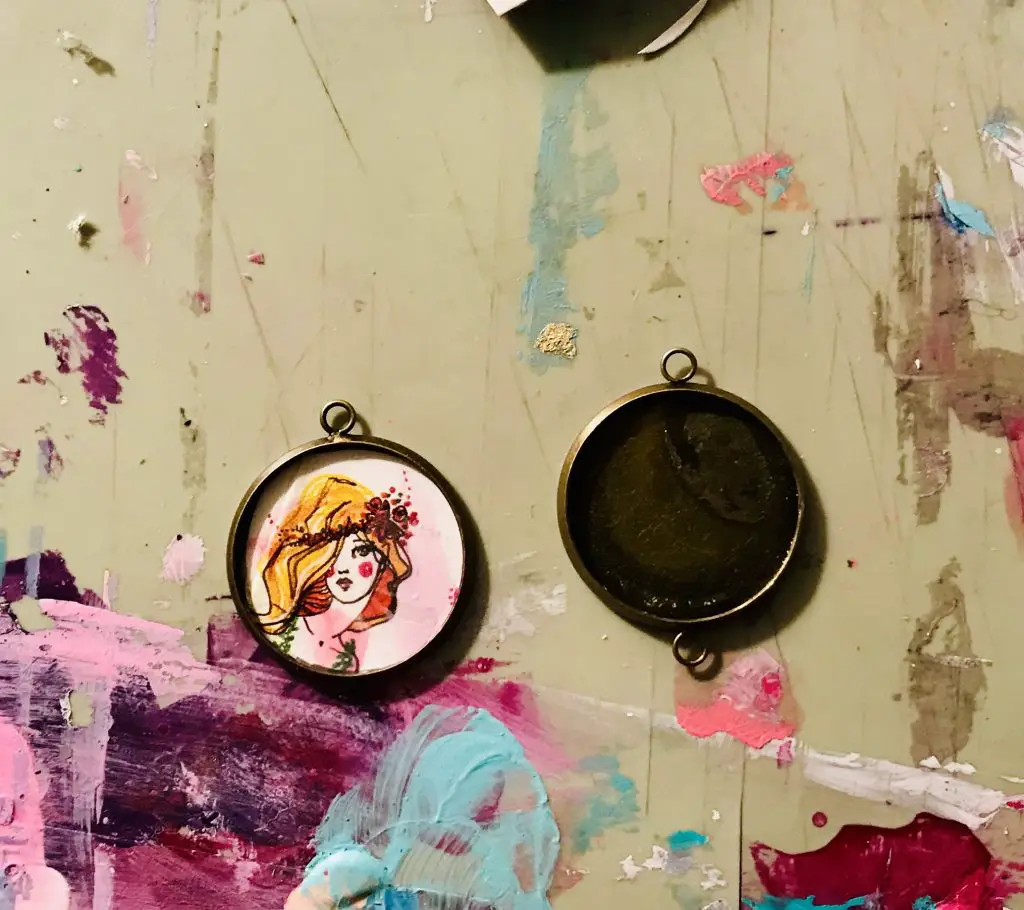
Pendants
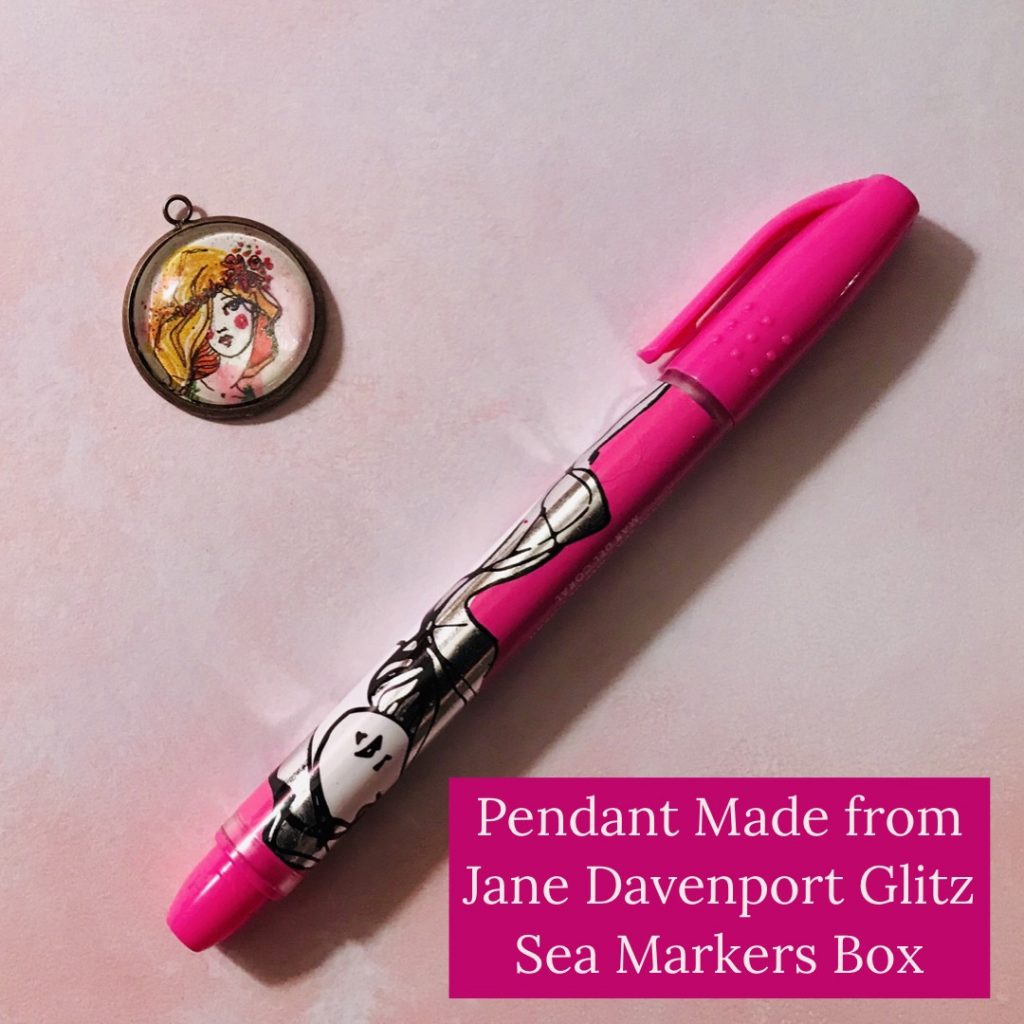
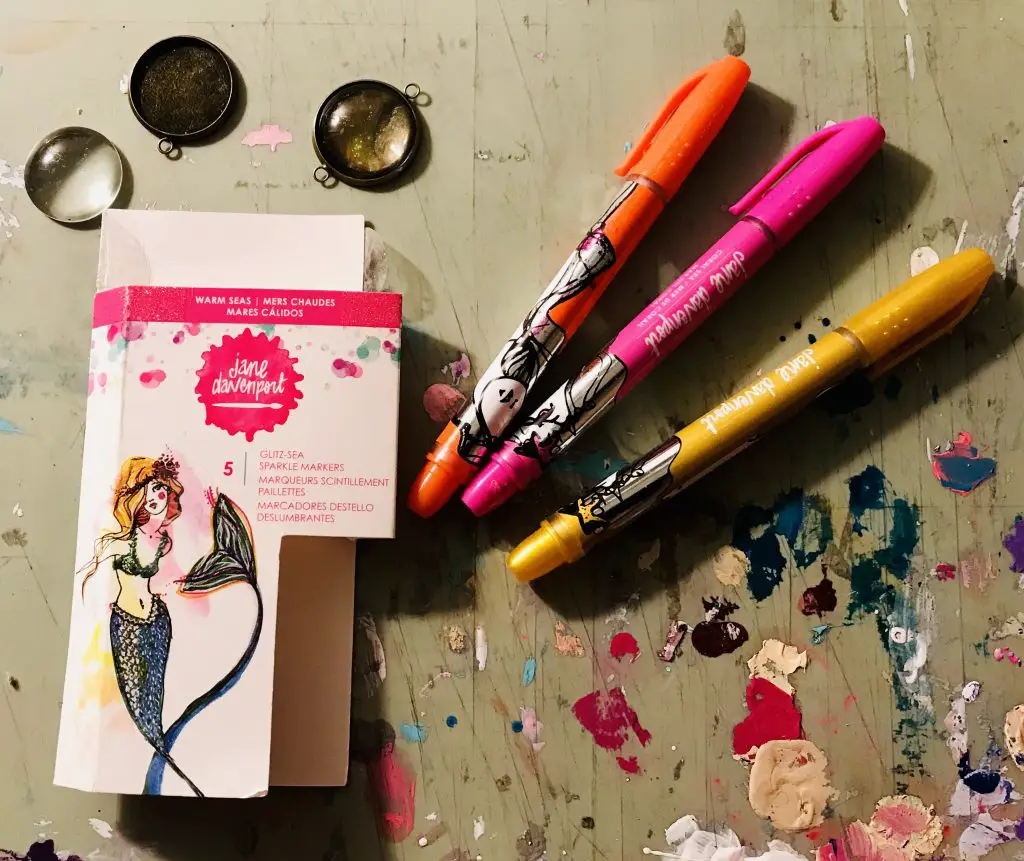
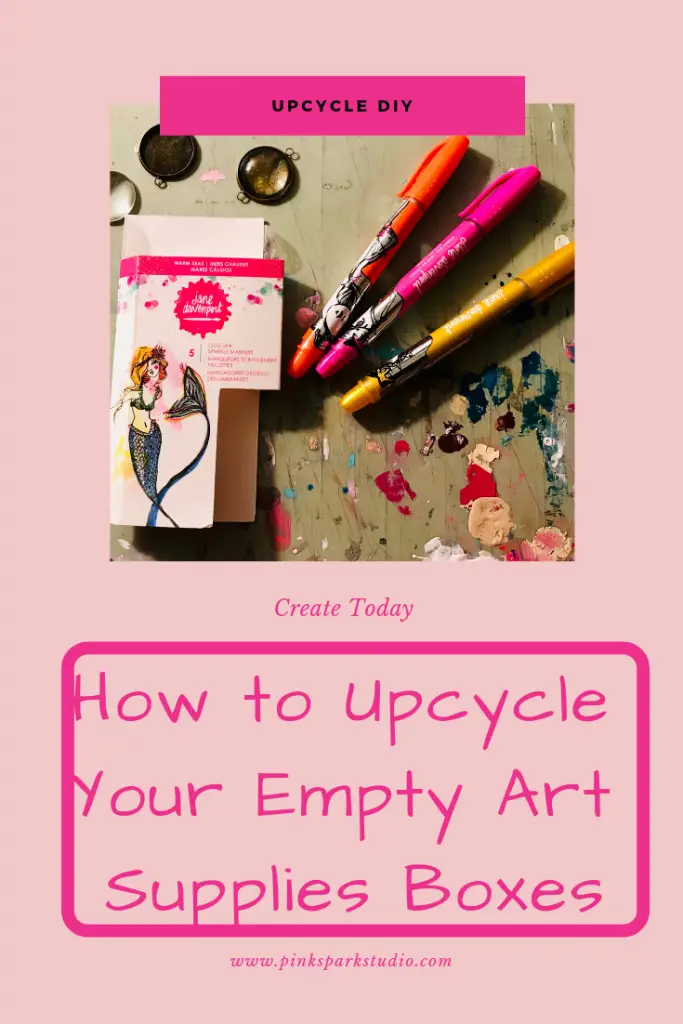
The first packages I used were from her Glitz Sea Markers. I received both sets for Christmas from my sister. I adore their sparkle and ease of use.
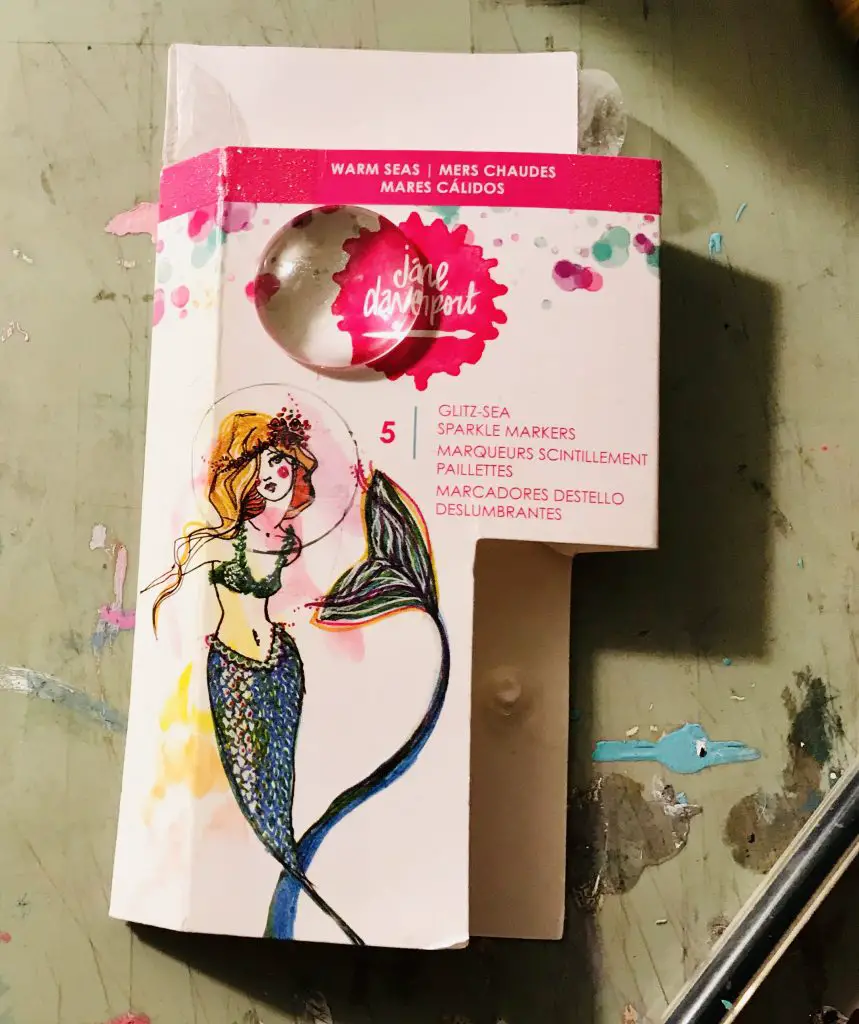
The boxes have a super pretty mermaid on them. I knew I couldn’t throw them out, I also didn’t want to store my markers in them.
I had some resin topped pendant charms laying around from a previous project. That’s when I decided to create pendants. If you don’t have any pendants these pretty ones from amazon work great.
The steps are pretty easy:
-
- Use the top of the pendant to trace around the face.
- Cut
- Glue the face to the back of the pendant. I used Mod Podge But Diamond Glaze actually works better.
- Let Dry
- Glue the resin top to the base
I used Mod Podge to glue both the top and bottom, however, Diamond Glaze is a much better option for glueing the top of the resin to the image.
I also added a small amount of glitter to give the mermaid a bit of sparkle.
I decided to make this mermaid a pendant because her face was the perfect size for the 1 inch pendant I had.
Don’t throw away the tail. There is still plenty of options left for it.
Bookmark
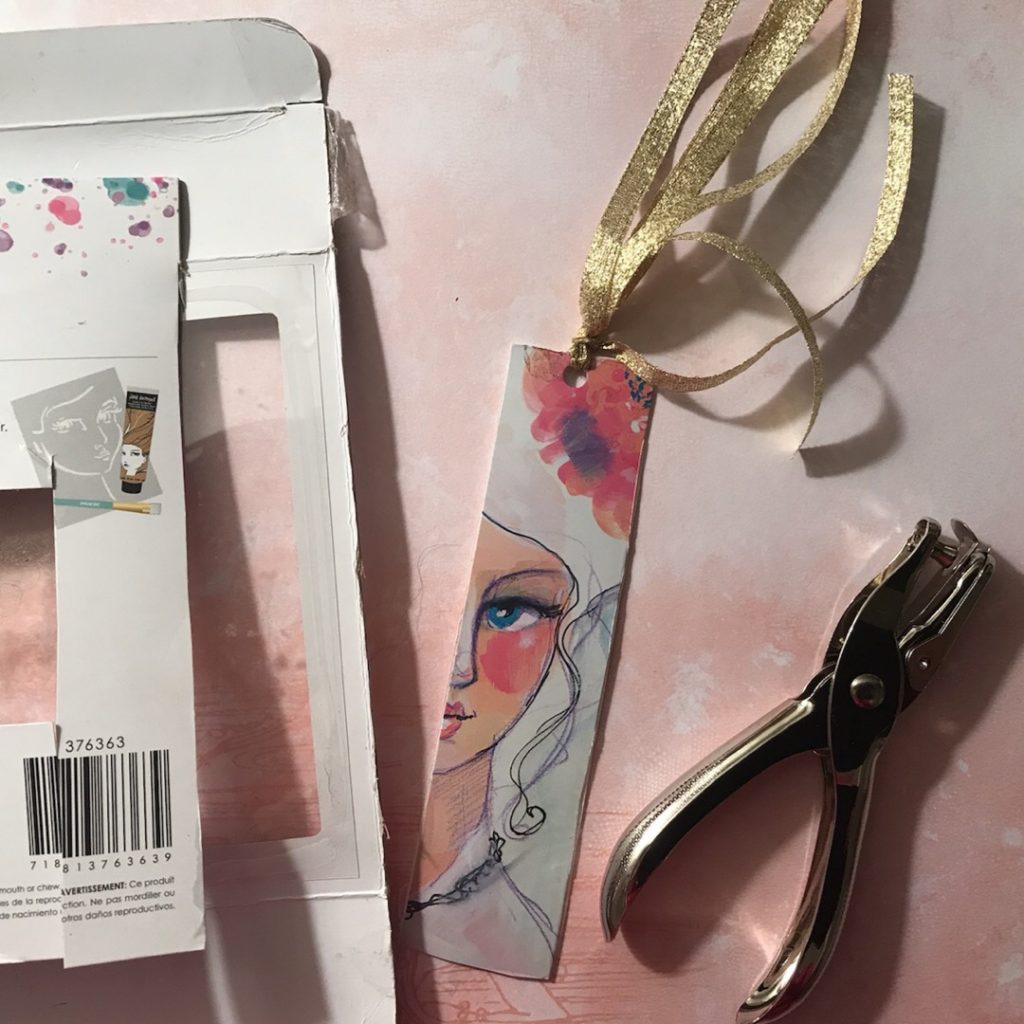
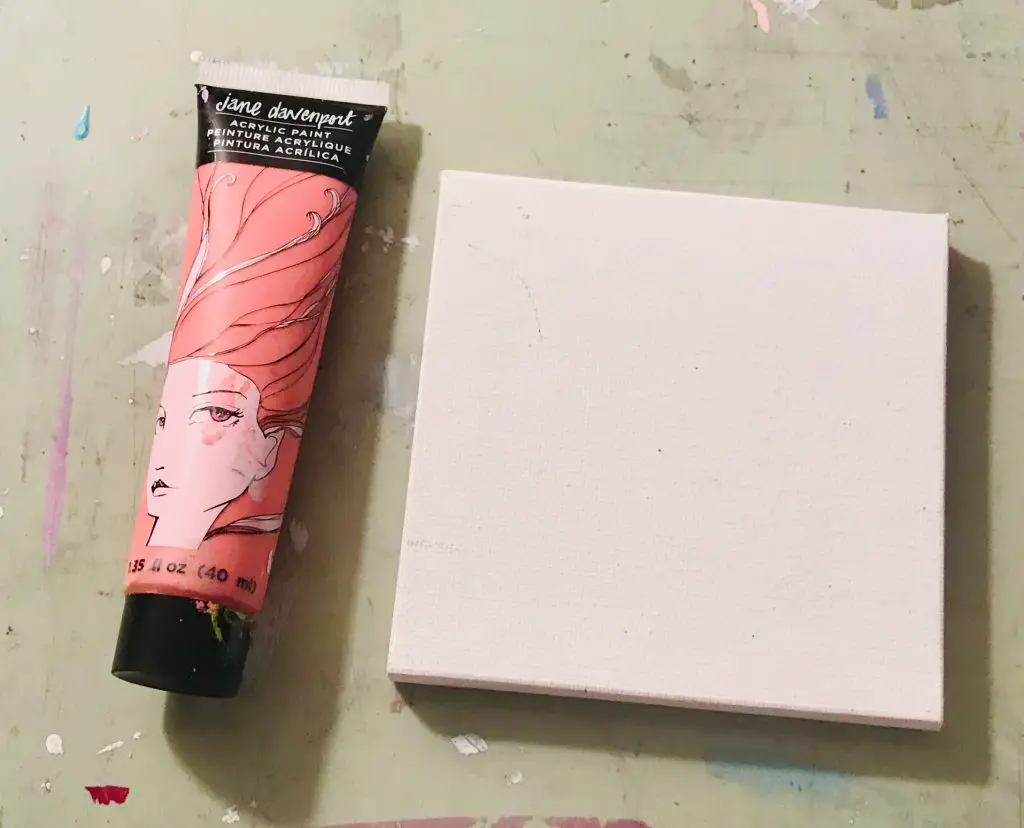
The packaging for Jane Davenport’s acrylic paint is beautiful. It’s covered with her signature whimsical faces.
I took the side if the box and cut out the lovely figure. You can use this as is as a bookmark, or, you can snaz it up.
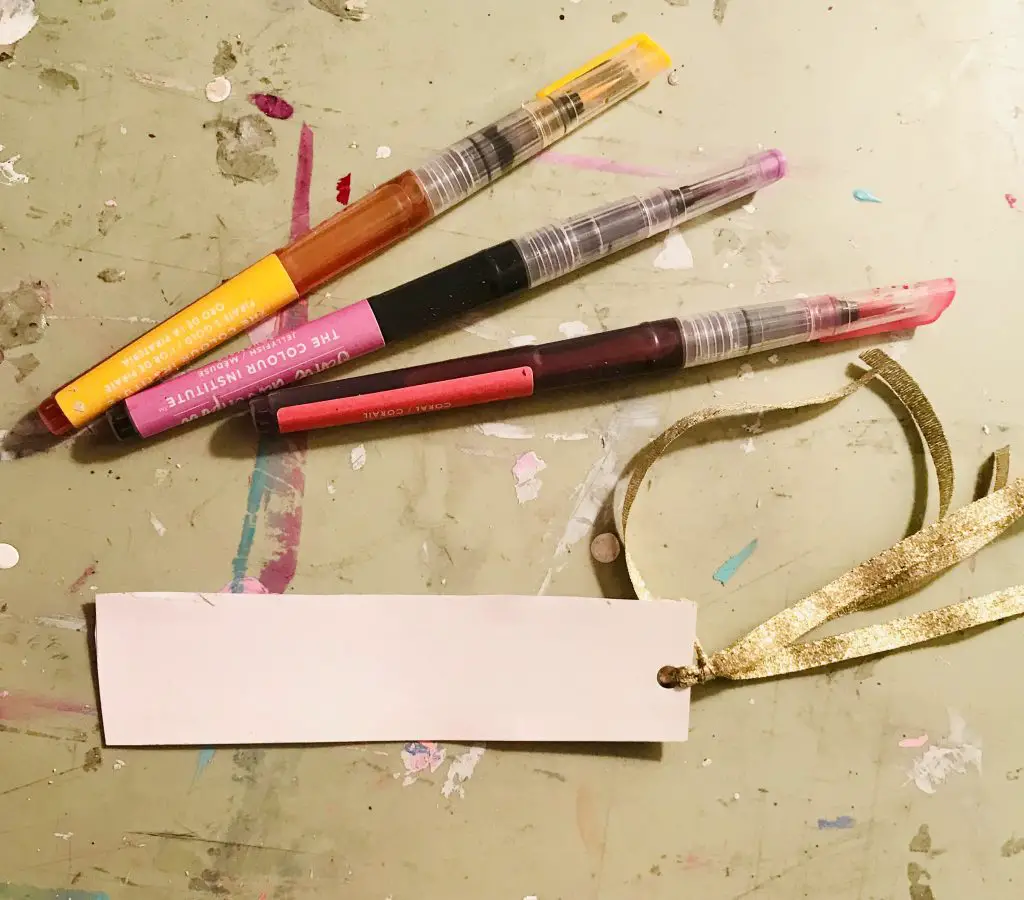
- I traced around the shape on a pice of watercolor paper.
- I cut it out and glued it to the back
- Took a hole punch to the top
- Added some ribbon
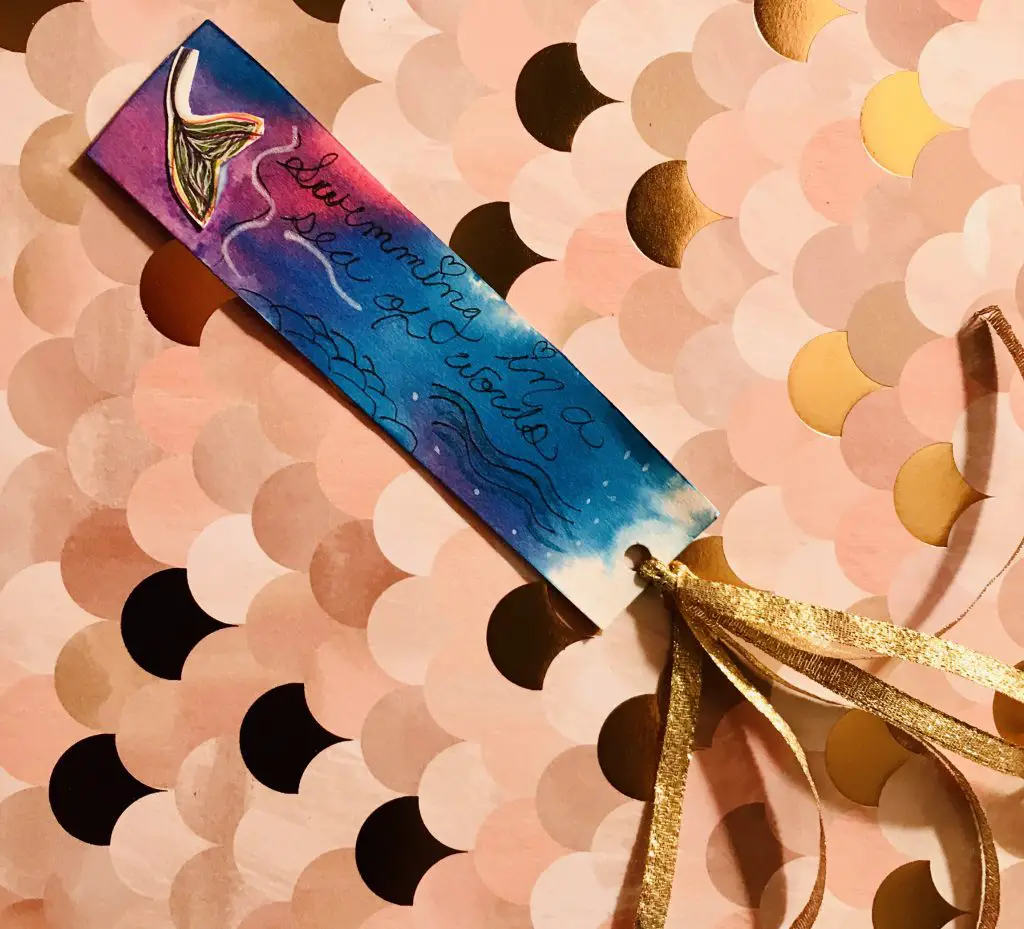
- Decorated the back
I now have a lovely bookmark. I can use it in one her books, or any other novel that’s current,y covering my nightstand. I can never get enough bookmarks.
You can also take the leftover tail and use it to decorate the back of the bookmark.
Mini books
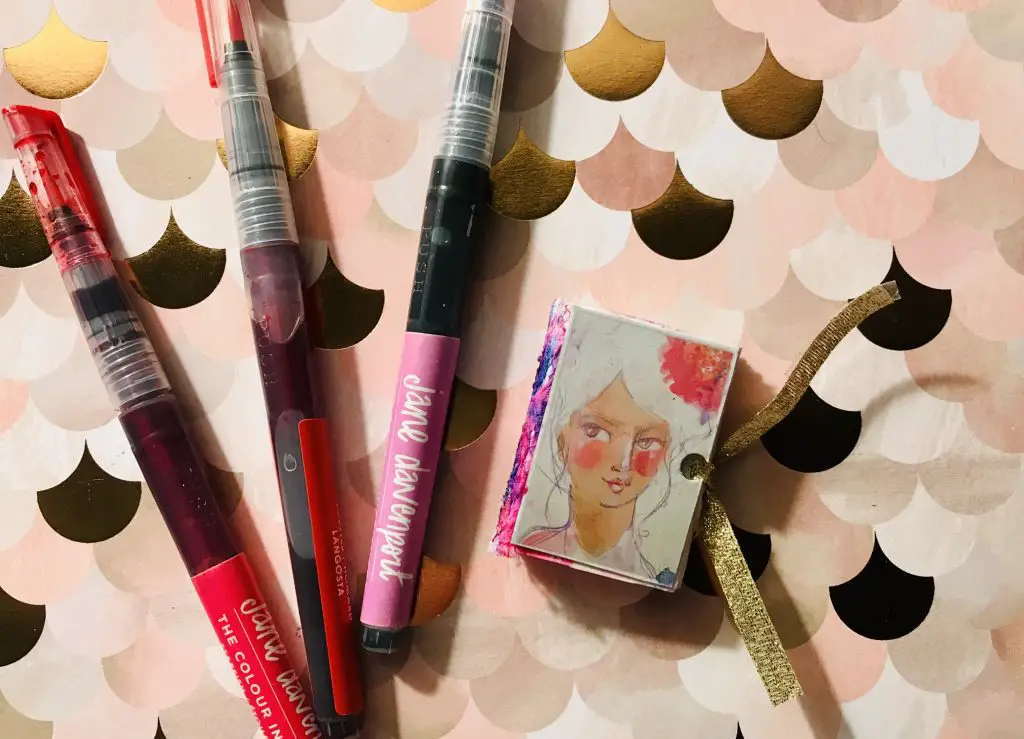
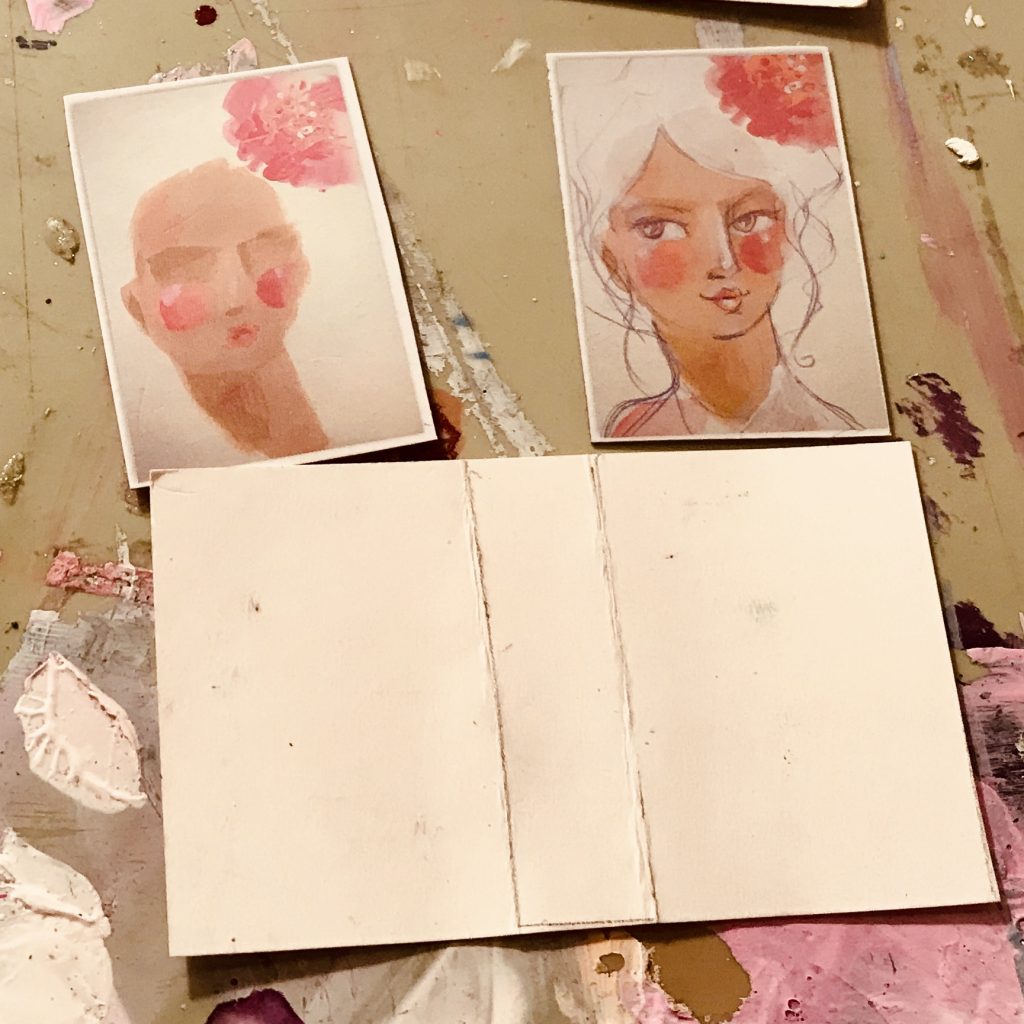
The back of Jane Davenport’s acrylic paint has three small faces. They show the various stages of a face being painted.
I cut two of these out to make a mini book. I love making handmade books, be it an art journal, Junk journal, or art book. These two faces made the perfect front and back cover.
I adore making books. I’ll be writing more about that soon. So watch my page!
For this book I wanted it to be easy. I have 2 year old, so I don’t have much time as it is. When you’re tight on time you soon discover you don’t have to follow all the steps to projects you read on-line. You can improvise and do what works for you.
So, here’s how I made my mini book.
- I cut out the pictures for the covers
- I spaced between them to the size I wanted the spine
- Traced them onto thin cardboard (I used the part of the box I wasn’t using
- I made the cover from the cardboard I plan on gluing the faces on later
- I used the above template for measuring the pages
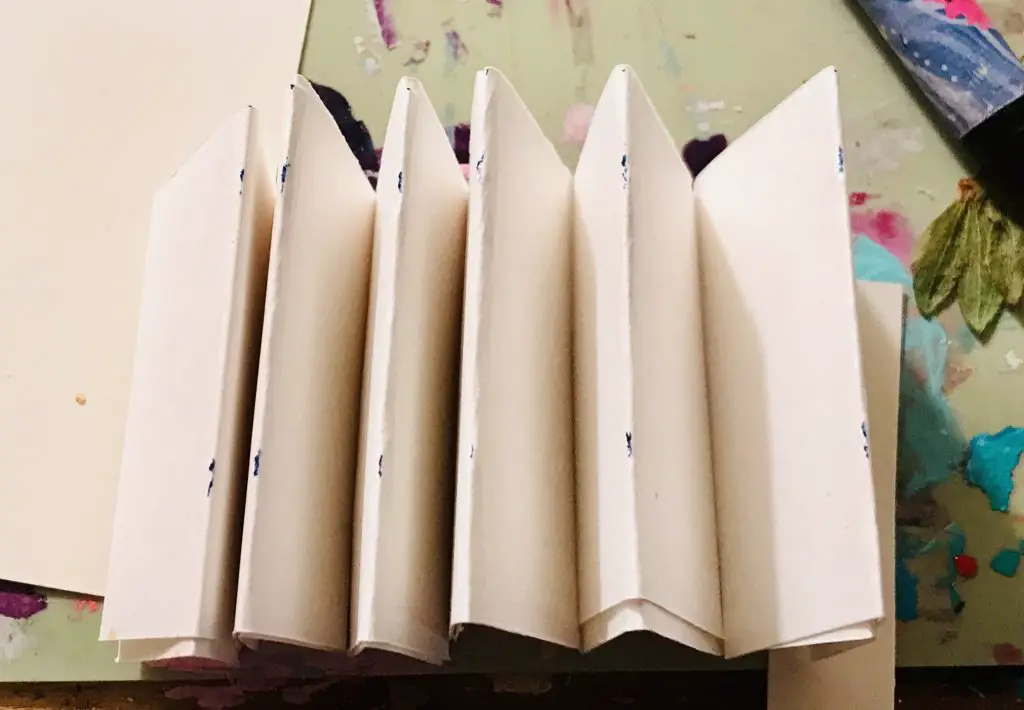
- I used mixed media paper so I can use it as a mini art journal
- Cut the paper
- Make signatures. I used three pages per signature
- You can use a kettle stitch to bind this. That is how I sew up my art journals.
- I tried something new
- I sewed each signature and the glued a page of each signature to a matching signature
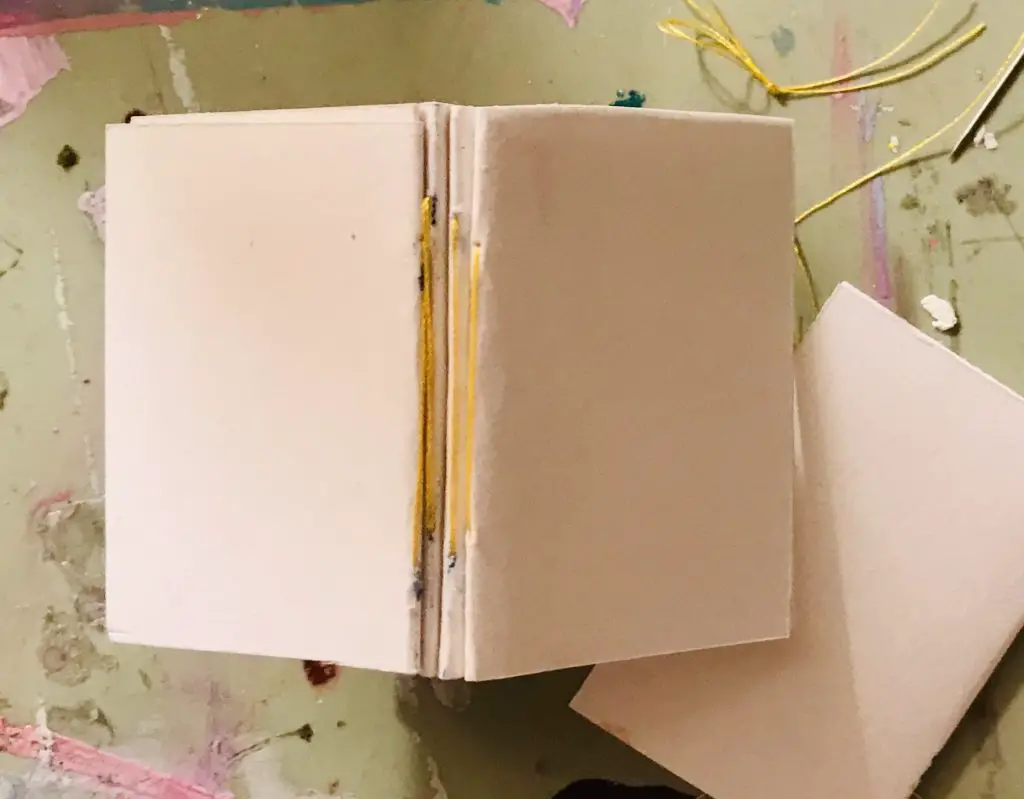
- I then took the front and back page and glued it to the front and back inside cover.
- I painted a piece of lace with JD Mermaid Markers
- Glued the lace to the spine
- Glued the front and back cover
- I made a small hole in the front and back
- Tied a string for my closure
![]()
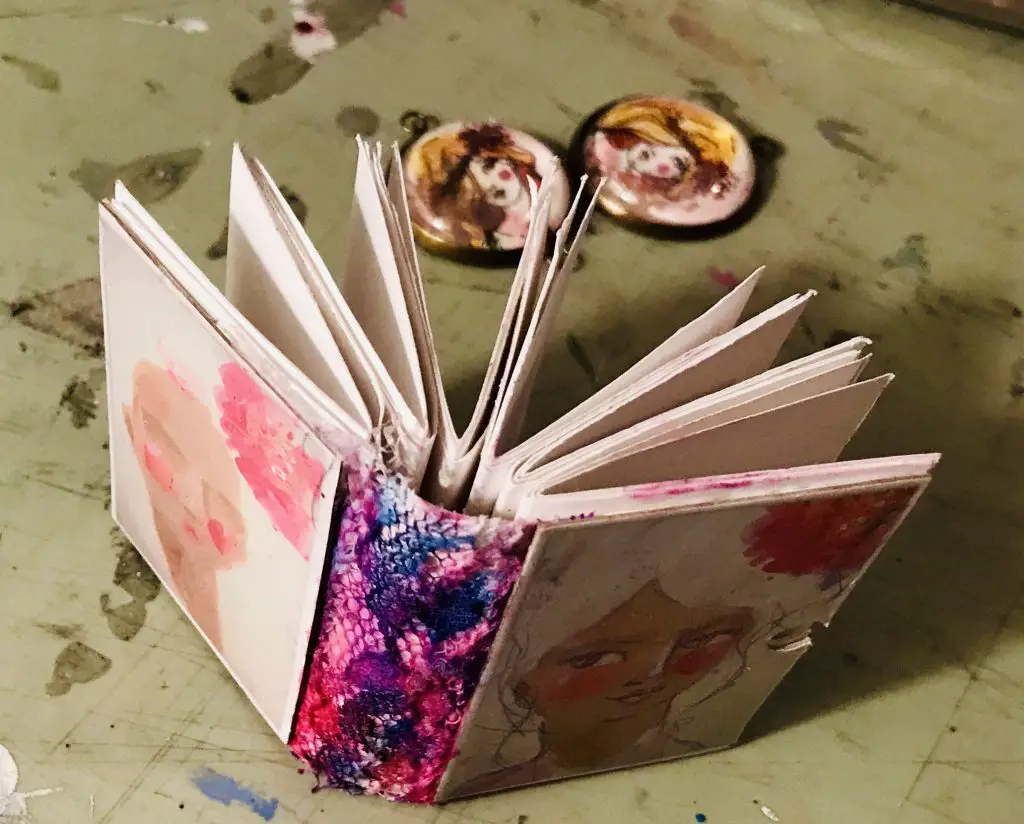
Tadah! You now have a mini book upcycled from your art supplies packing. My mini book has a ton of pages. You can add as many or few as you like.
I have one face left. I don’t know exactly what I want I want to do with it, yet. Here are some ideas:
- Attach trim in bottom and jump rings on top and make a necklace
- Decorate it and make it an embellishment for a Junk journal
- Use it as a collage element
- Mini book mark
Mini Canvas
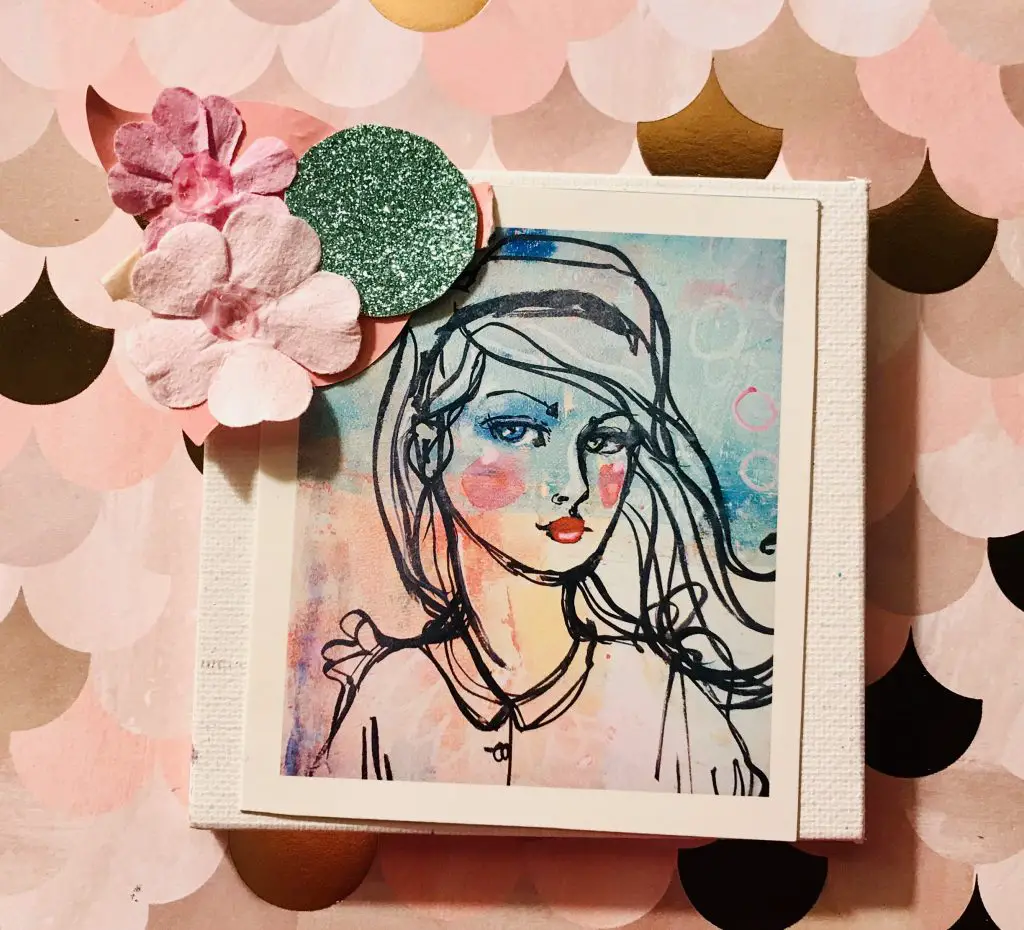
Have you ever seen these fun mini canvases at your local art store, or even Wal-Mart? I love them. I had a blank one on hand and decided to use my cutout from the Mermaid Markers to decorate it.
This one is pretty simple. I simply cutout the picture, glued it to the canvas, and then decorated around it. I’m pretty sure I want to color the white, I’m just so indecisive at the moment over the color. I also had more flowers around it, but my 2 year old decided she needed the flowers and pulled them all of. Mom life, what can you do.
There is really a lot of potential for these. If I could stay awake long enough after my daughter falls asleep mine probably would look way better.
However, I’m sure you get the idea. So, have fun!
Endless Possibilities
There are so many possibilities to what you can create with pretty packaging, especially with Jane Davenport’s packaging.
Let your imagination go crazy. I find that creativity breeds creativity and once you get going you re imagination starts to grow and pretty soon your knee deep in your own beautiful art work.
I’d love to see what you create. Feel free to share it on my Facebook Page
Leave a Reply