This post contains affiliate links. We may earn money or products contained in this post. Please click my disclosure policy to learn more.
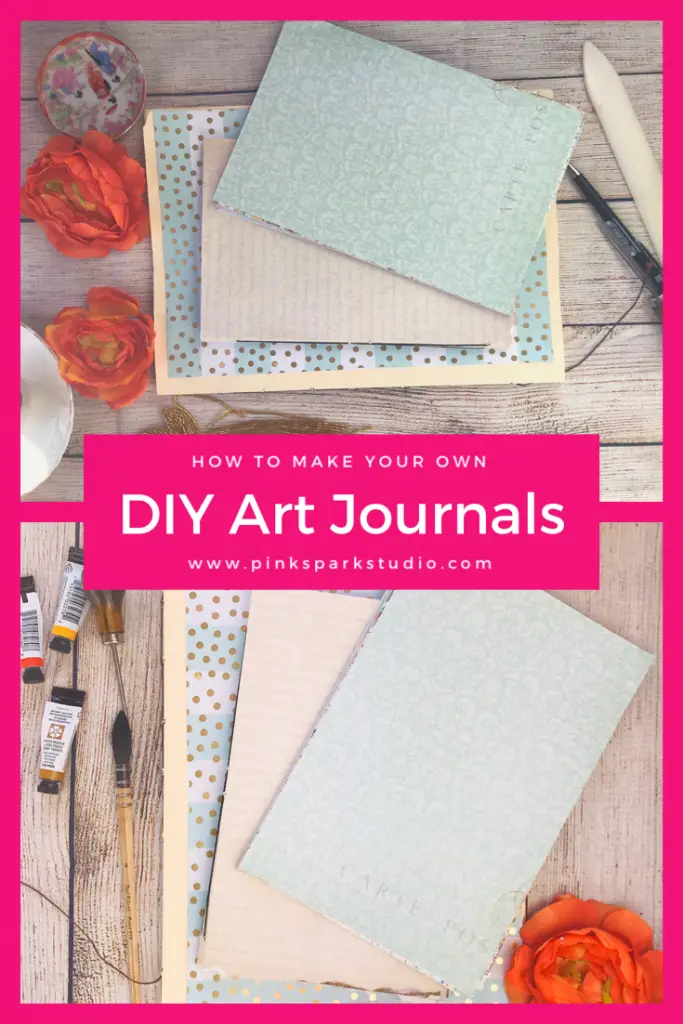
Make your own DIY art journals
I am addicted to making my own DIY art journals. A DIY art journal is a piece of art in its own right. I have experimented making DIY art journals and sketchbooks with various kinds of mediums.
I don’t like to waste materials so I get creative on how to use up my scraps. There is something superbly thrilling when you transform random objects into great and fun works of art. It’s a feeling of accomplishment and it always inspires me to keep creating more art.
I made these art journals with materials I had around the house. The great thing about art journaling is that anything can become an art journal.

DIY ART Journal Supplies
I used various papers for each DIY art journal in this tutorial. Besides the paper here is a list of things that are helpful when making your own journals all of which can be bought online.
Upcycling Old Maps into DIY Art Journals
I adore making art from maps and atlases. DIY art journals made from maps are so pretty and bring with them a sense of adventure.
If you have a nicely bound atlas you can use it as is. You will still want to prep the pages to accept paints and other art supplies, though. I’ll discuss that in a moment. You can also read my tutorial on making an art journal from an old book. It is basically the same as for an atlas that is a hardcover book.

However, you may have maps or atlases that are not so well bound or are loose, or you just want to rip the pages out and make your journal exactly as you want it. That’s what we’re going to do. So, I hope you’re ready to get messy and have some fun.
I have a fun spiral bound atlas of Great Britain I got from a library book sale. If you love books, making art journals from books then you should check your local library for any sales. They sell them even cheaper than Goodwill. However, Goodwill and any thrift store is a great place to find materials for making DIY art journals.
Step 1.) Gathering your pages
The first thing I did was rip out my pages. Next. I trimmed them with a slide cutter to get rid of the perforated edge. There is no rule on how many pages an art journal has to have. Perhaps you just want a few pages. That’s completely fine. Having less pages can make it easier to fill.


Step 2.) Prepping you pages
I folded my pages in half. This made the size of my journal about the size of an average book. I love this size because I can throw it in my purse and take hot around with me.
I used a bone folder to smooth the edges and get crips creases. My bone folder is not made from real bone. The idea of using real bone kinda freaked me out. Seriously, where do they get the bones? The packages never say! As someone who has watched a lot of mystery and crime tv shows my imagination went wild. So, I opted for a plastic bone folder. It is super durable and works just as well. I got mine in this beautiful book binding kit. It has everything I needed.

These next two steps are totally interchangeable.
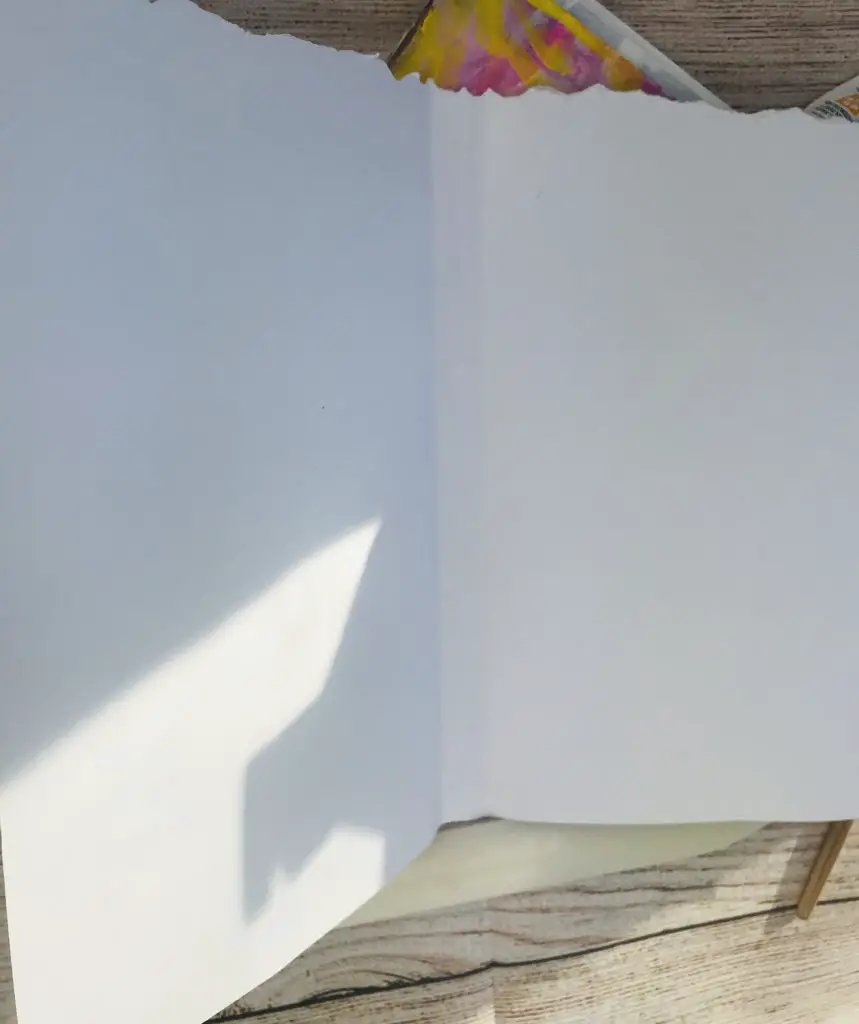
Step 3.) Prime your pages
Pages of atlases are usually glossy. You can’t draw or paint on glossy paper very well. Plus, the map may be super vibrant and a bit distracting, so toning it down a bit is a must. I paint on a light layer of white gesso over the page. This lets you draw and paint on top of the pages with out issue. You’ll also still see the map underneath but it’ll be tamed down a bit.

Step 4.) Bind your pages
This method is really simple. All you need is some wash tape. I take two folded pages and I tape them together and fold them over so the tape is on the inside. Then you take your next page and tape it to these pages. Simple as that. You can tape as may pages together as you like. Once you are finished you can tape the outside edge to help keep everything together.

Step 5.) Create a cover
All I do to create a simple cover is measure out a piece of decorative paper. Make sure I have a front and back piece. Then attach it to the first and last page of the art journal. I just use glue or Mod Podge.

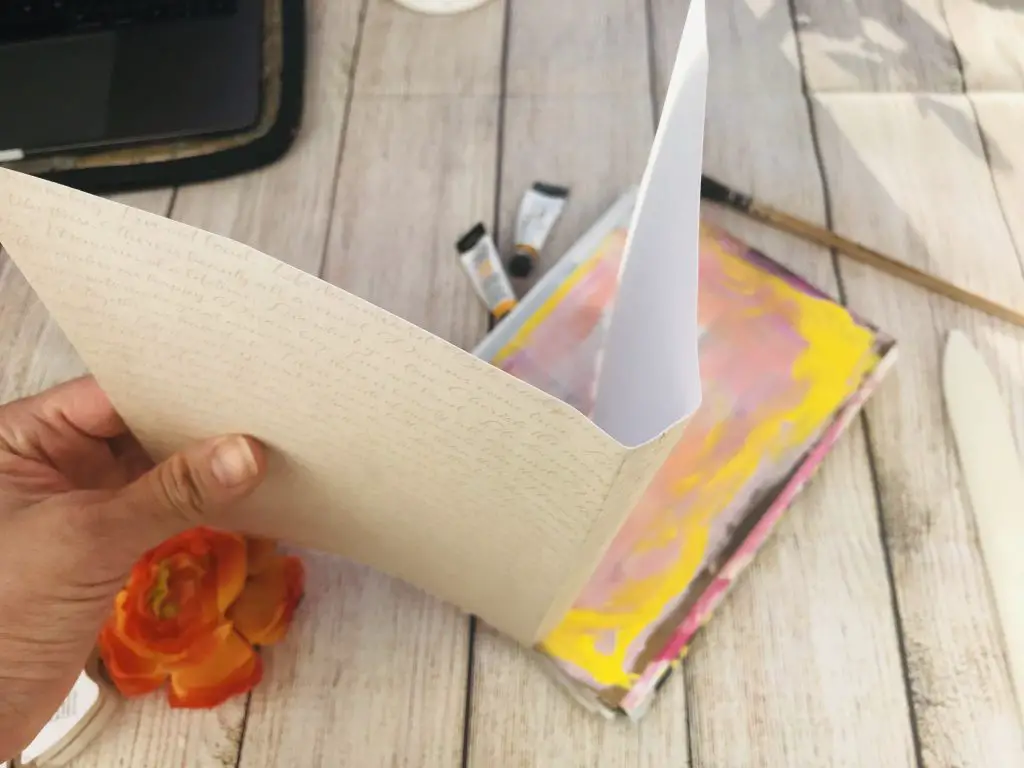
DIY Art Journal from Thick Pages
I didn’t know exactly what to call these papers. The paper I am using is from an old magazine called Bella Grace. The pages are not glossy and they are more like card stock or thick construction paper and not like the type of paper you find in a magazine like Glamour. These DIY art journals are so much fun because the images on the paper make for really fun details in you art journal pages.

Step 1.) Prep your pages
Pull out all the pages you want to use and follow the above method from the map example.

Step 2.) Organize your signatures
A signature is a grouping of pages that are bound together. A book is make of many signatures, the number varying according to the book. I am taking three pages per signature and making three signatures in total.

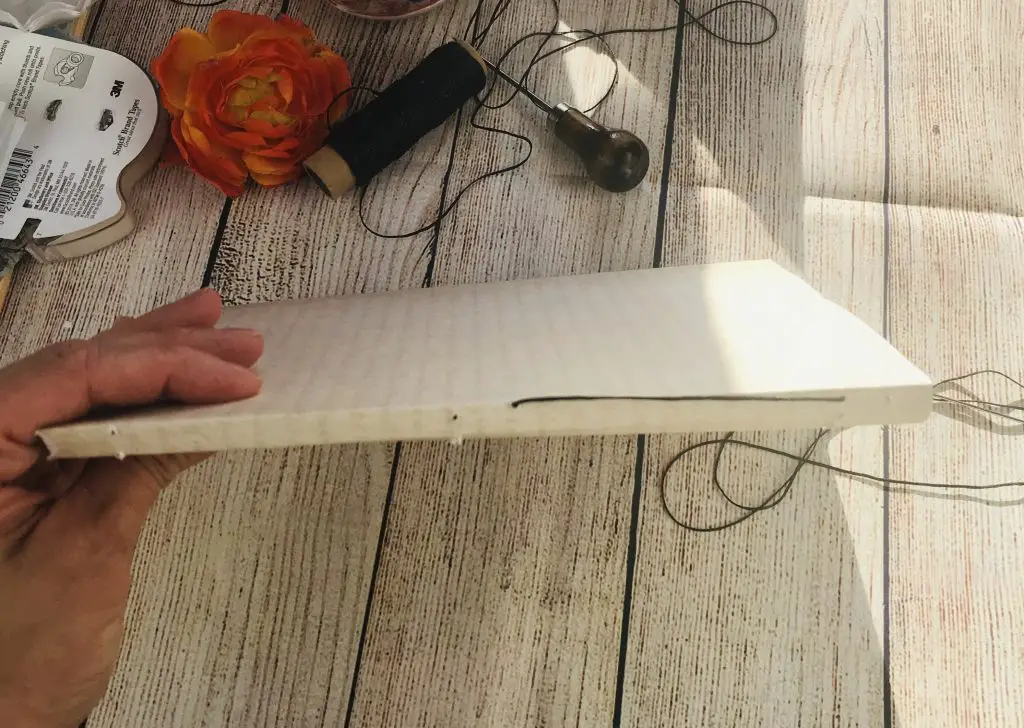
Step 4.) Measure your Cover
I make my cover out of one pice of paper. I measure the width of the spine so it will fit my signatures comfortably. If you want to make your paper durable you can cover the front and back sides with Mod Podge. I did that with this journal. I really love the texture it created.

Step 5.) Sew in your signatures
I use a very simple sewing technique called the pamphlet stitch. I used the waxed thread that came in the bookbinding kit because it makes sewing so easy and the thread doesn’t tangle.
- Measure three sections. You can cut a separate piece of paper and use this as a guide so all your holes are even.

- Use an awl or similar sharp object to punch holes.
- I sew back to front. I take my last signature and align it with the last row of holes.
- Take your thread and thread through the middle hole leaving a good tail.

- Sew through the outside and into the top hole.
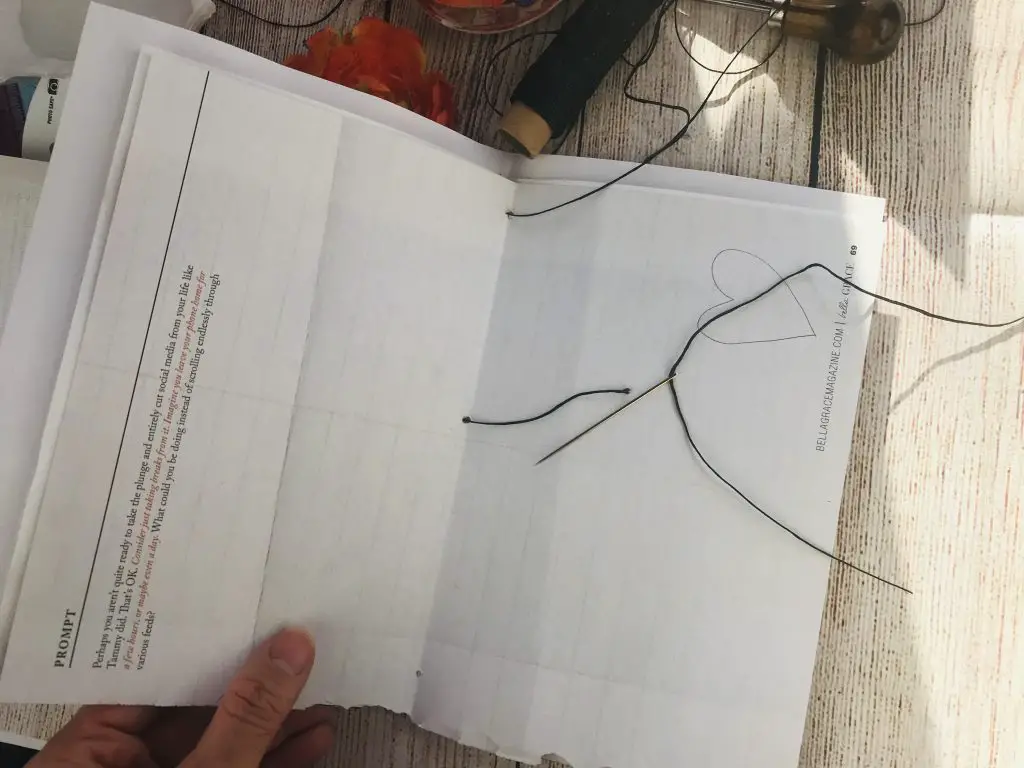
- Take the thread and sew it out tieback of the middle hole.
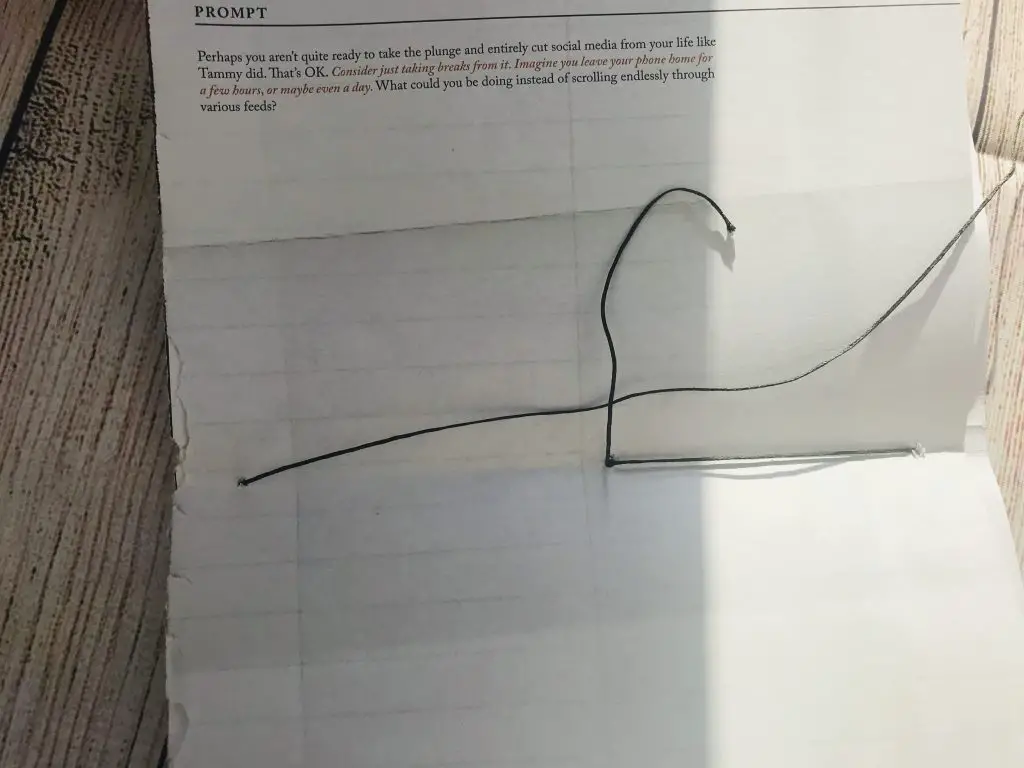
- Sew out the back and into the bottom hole. Line your thread into the center. Tie it.
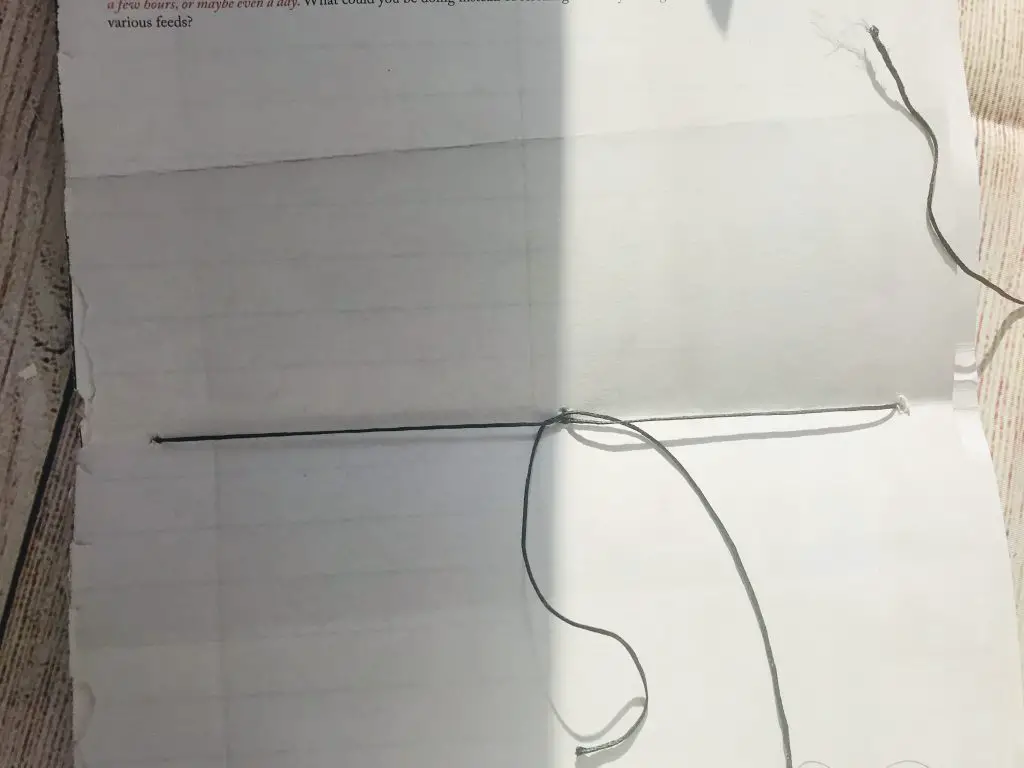
- Repeat.
If you found this tutorial helpful buy me a coffee and help support my site. Thank you!
Make Your own DIY Art Journal with File Folders
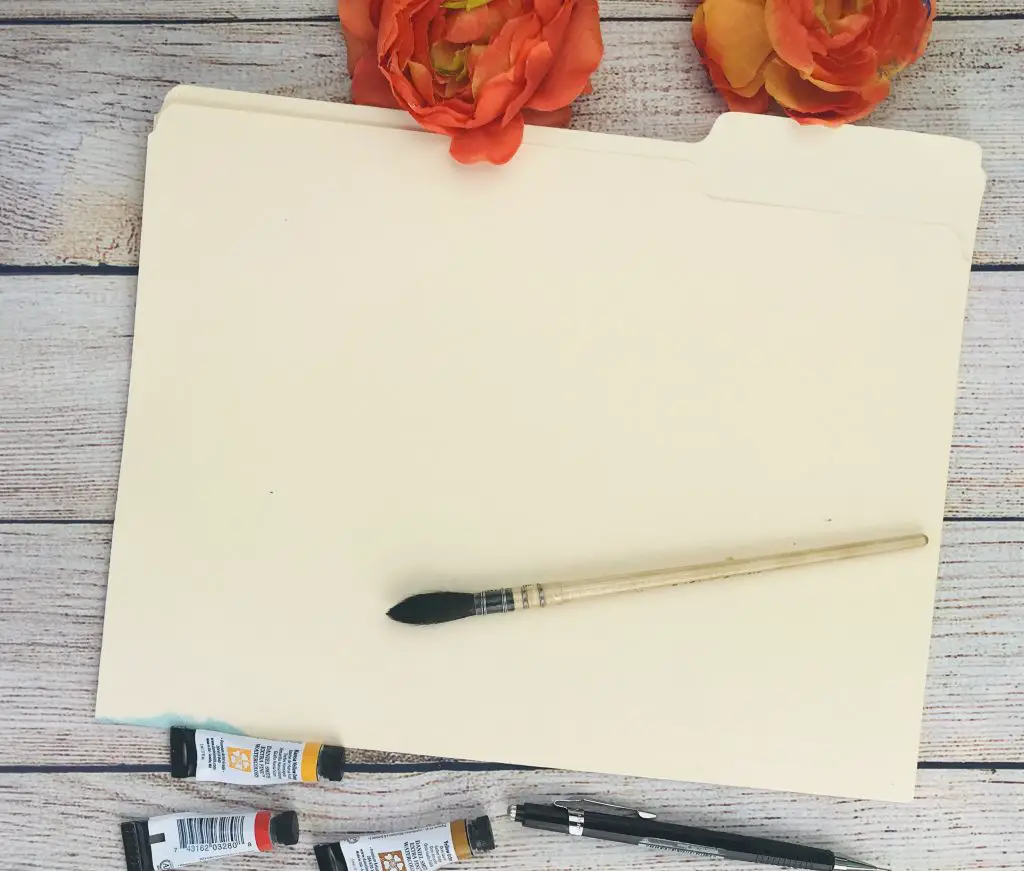
This is a really fun way to make an art journal. Chances are you may even have some file folders laying around.
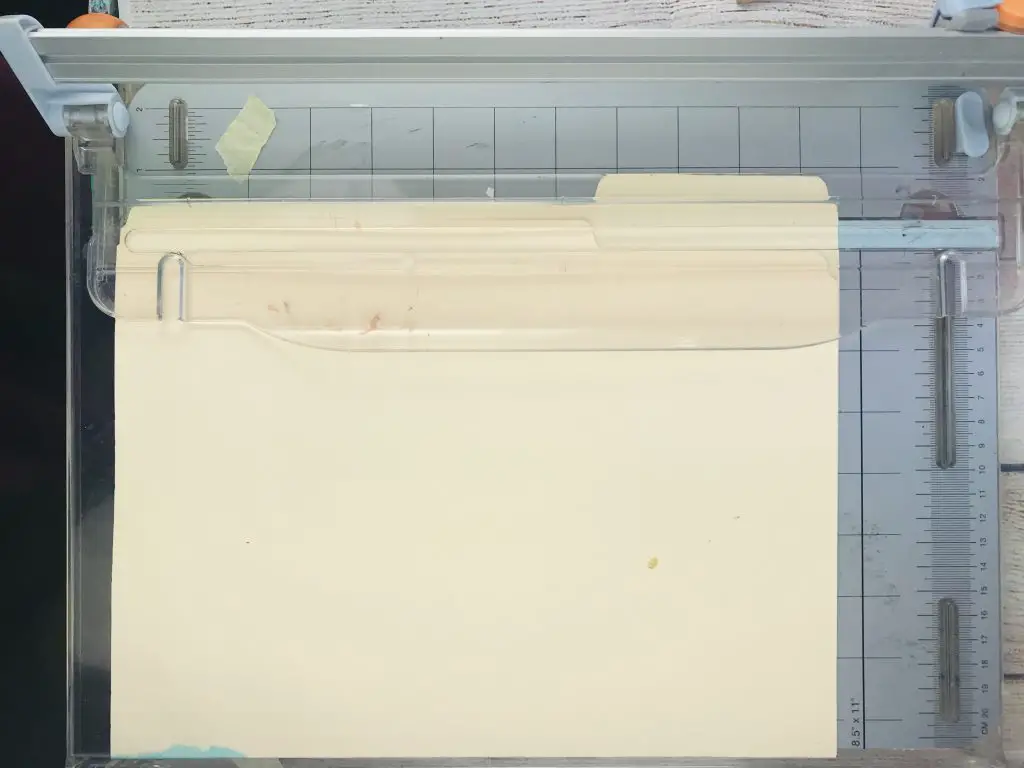
Step 1.) Gather Your Files
Gather the file folders you want to use for your art journal. You can choose as many or as few files as you want.
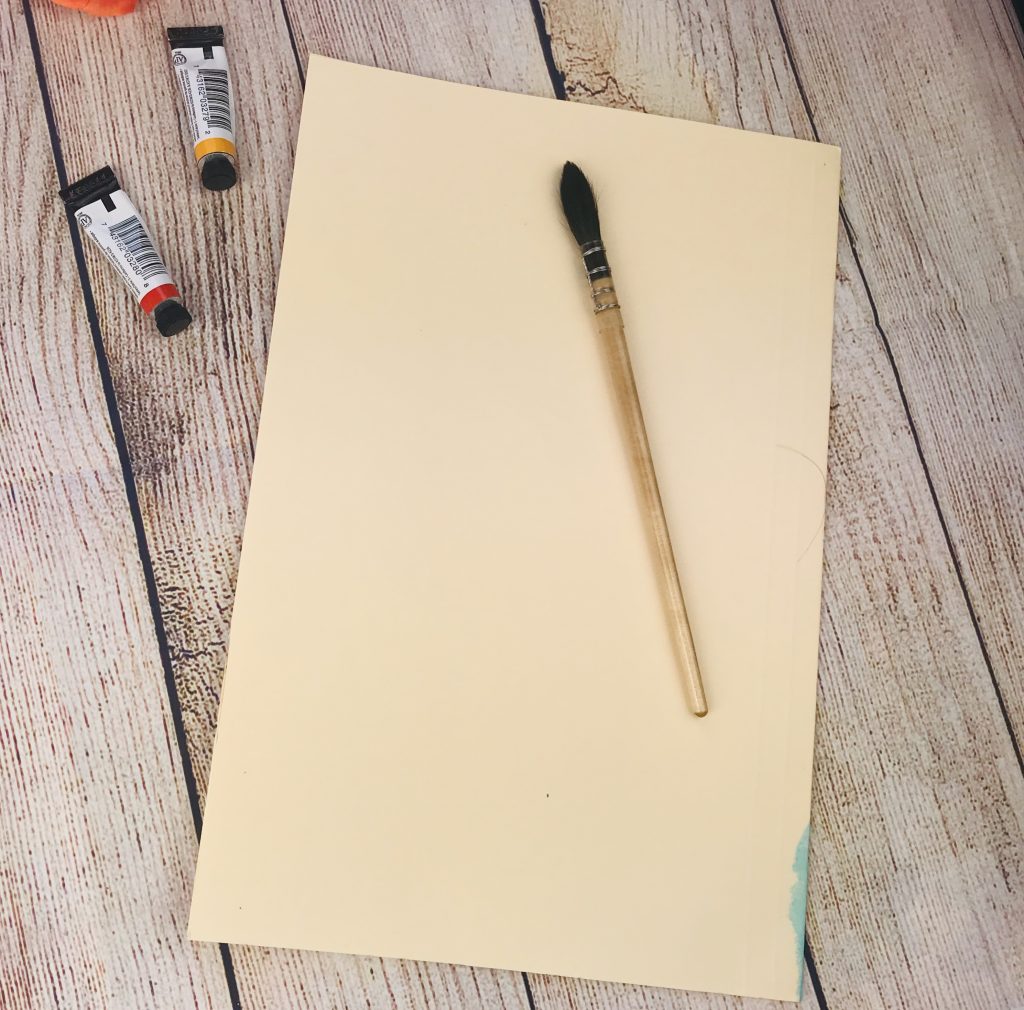
Step 2.) Prep Your File Folders
I chose to cut off the taps of my file folders. You can keep yours. It all depends on the look and style of your journal. You can also prep your folders with a little gesso.
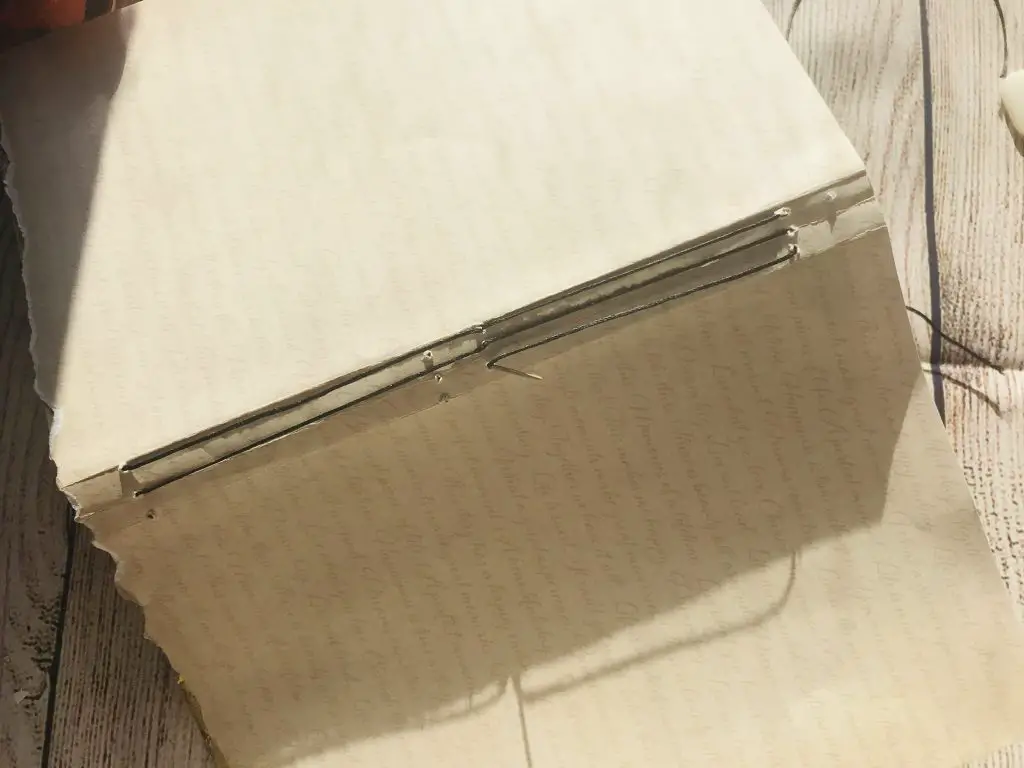
Step 3.) Sew
I chose to sew my file folders using the kettle stick. This Youtube Video by Sea Lemon gives an amazing tutorial on how to sew this stitch.
If you do not want to sew your file folder journals you can tape them. I use duct tape and tape it the same way as the map journal was taped with washi tape.
Share Your Art with Me
Id love to see the DIY art journals you make! You can jump over to my private Facebook Group and share your beautiful artwork.
If you love art tutorials you should give Skillshare a try. It’s an on-line streaming service of thousands of classes. They have art, design, technology, and so many more topics. You can try them free for free for a week with this link.
I’ve been using Skillshare ever since I found out about them, I had tried other similar services and was not that impressed. When I found Skillshare I couldn’t stop watching. All the classes are included in the trail and once it’s over it’s a small month fee that also gets you 100% access to all the classes.
DIY Make Your Own Art Journals
Leave a Reply