This post contains affiliate links. We may earn money or products contained in this post. Please click my disclosure policy to learn more.
How to make a tea bag art journal
I’ve seen so much wonderful art made with tea bags. I just love the idea of mixing two of my favorite things together. So, I started saving all my tea bags, well most of my tea bags, to make my own tea art. Then, I decided that I wanted a way to save the tea bag art in one place and thus the idea of making a tea bag art journal was born.
I started making these about a year ago. Finally, I decided to write about them. Sometimes it just takes me a while to get things out. Do you know what I mean? Times have been crazy and tea has definitely helped me through it. There is something specifically soothing about making the perfect cup of tea.
Many tea bags now come with fun tags that have cute sayings on them. I love saving these little moments and now with these little journals I can save them in a special way.
Making a tea bag art journal is a fun, low pressure, yet creative way of making art out of things you use around the house. I feel like it’s something I’d find in Beatrice Potter’s cottage.
You don’t need many supplies to make these journals. I’ll show you several ways to make these journals so hopefully no matter what your supplies look like your able to make one of these journals. Below we’ll look at the supplies used.
Tea Bag Art Journal Supply List
You don’t need all the supplies listed below. This is just a list of everything I’ll be using. Each tea bag art journal will have the supplies listed for that individual journal.
- Tea Bags
- Washi Tape
- Book Binding Kit
- Pens
- Jane Davenport Mermaid Markers
- Stapler
- Gesso
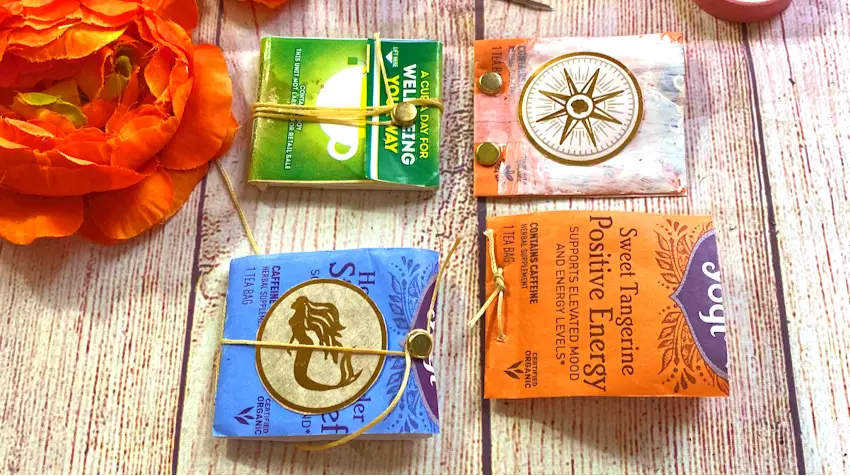
Tea Bag Art Journal
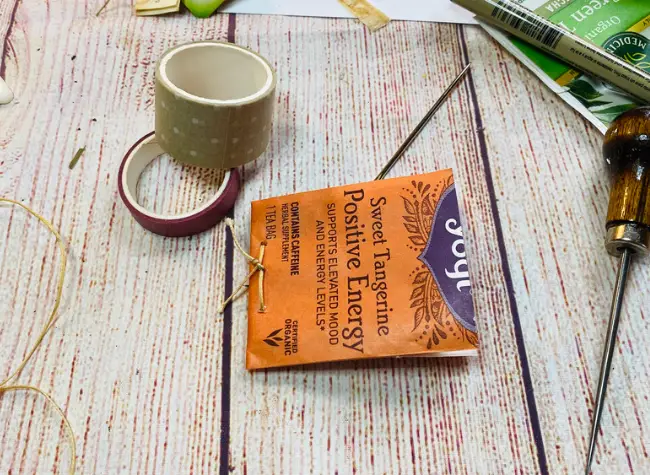
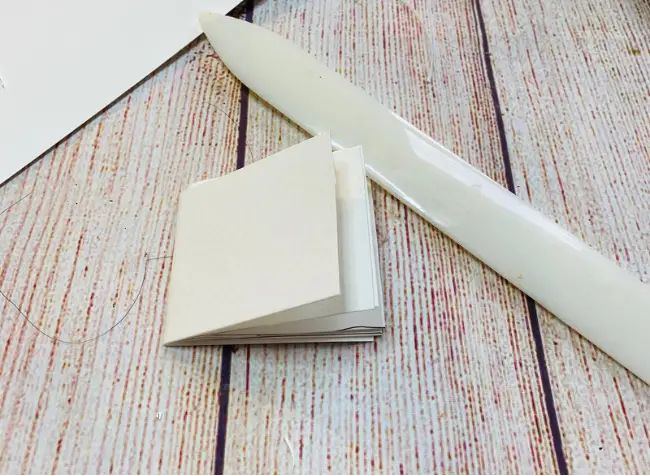
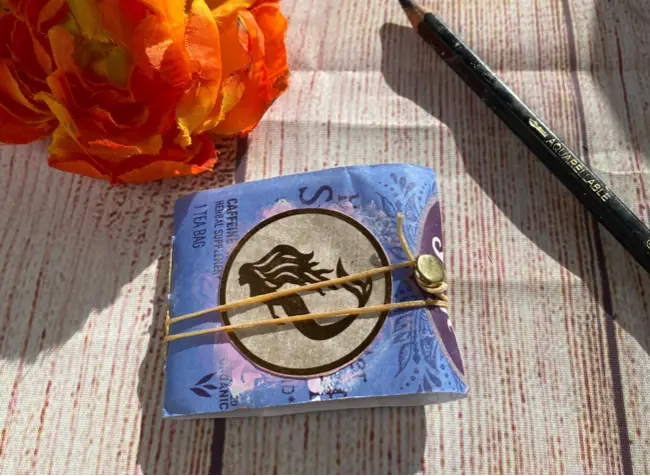
The first tea bag art journal will be made with tea bags, the bag the tea comes in, and waxed thread. I’ll be using my awl and a large book binding needle with waxed thread. All the sewing items came from my Bookbinding kit you can check it out here.
Step 1.)
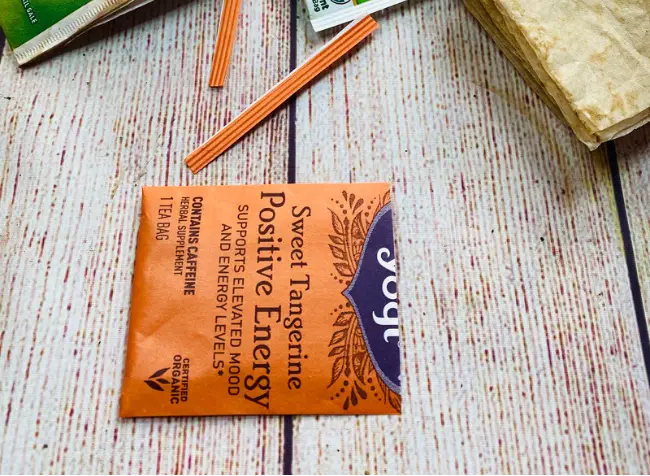
First, gather your tea bags. Next, cut the tops off and dump out the tea.
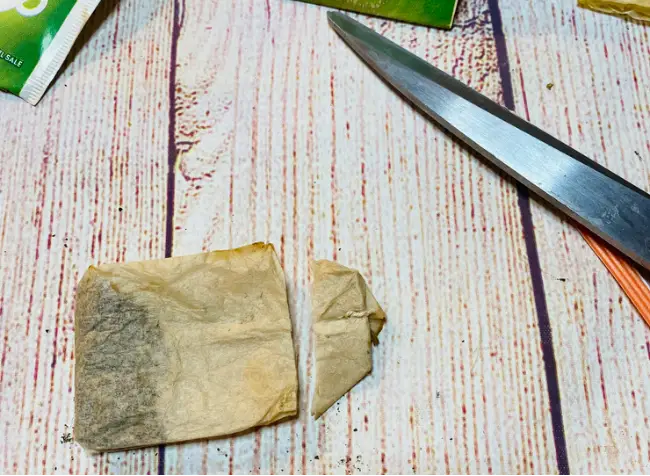
Step 2.)
Next, cut the side of the tea bags and clean out any remaining tea. I just brush off and stuck on bits. I make sure that I don’t cut the center of the bags, as well.
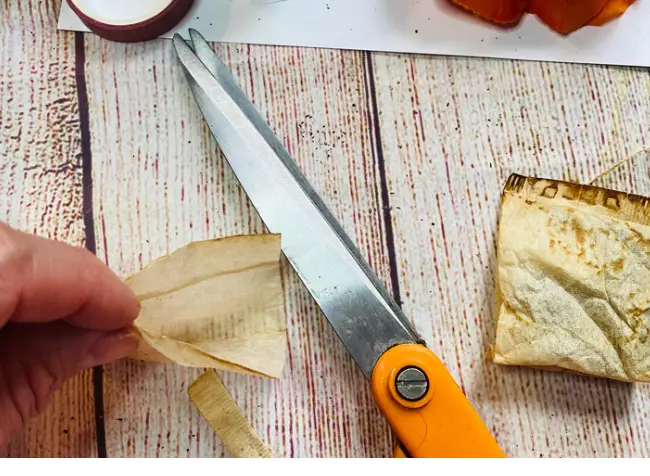
Step 3.)
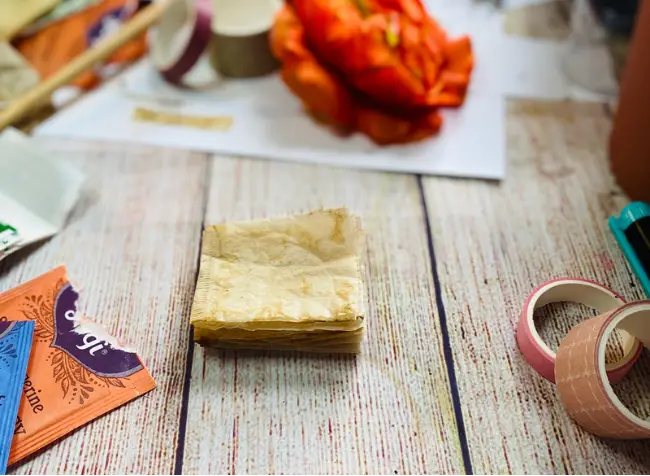
Now, gather the tea bags. I use about 3-5. You can trim the ends so they are all the same size.

Step 4.)
Now, trim your cover tea bag and cut the sides.
Step 5.)
Make sure your tea bags are all stacked evenly and place inside your cover.

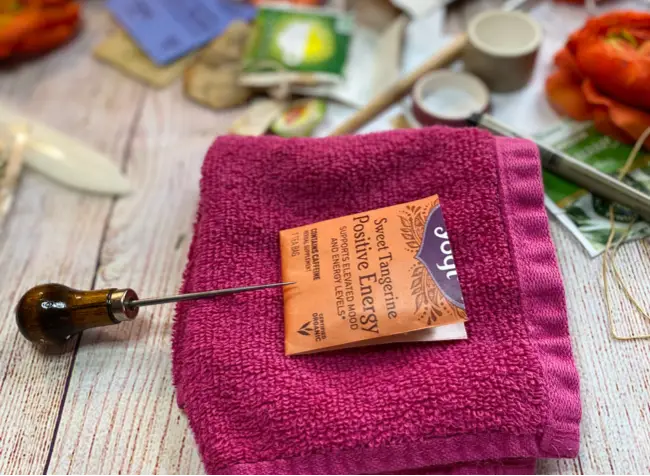
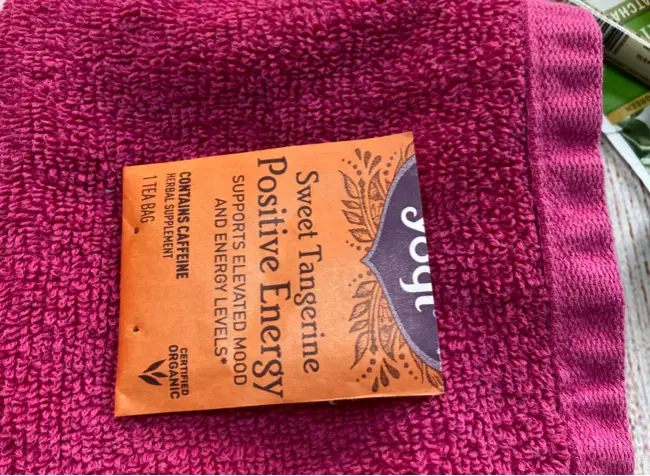
Step 6.)
Next, place something soft underneath and use your awl to punch two holes in the cover.
Step 8.)
Take some waxed tread and sew your book together and tie the ends.
This is my favorite way to make tea bag journals. I love the simple look with the waxed thread. It just makes me happy to look at.
Tea Bag Journal Binding Method #2
This tea bag art journal is pretty much the same as the one above. The only thing we’re going to change is the way we bind the journal. So follow steps 1-7.
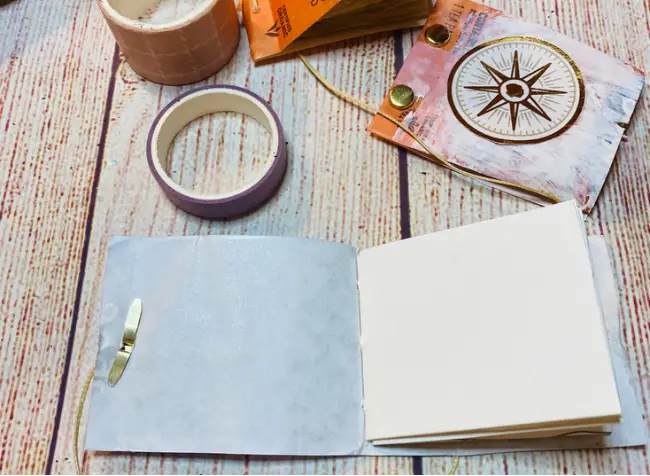
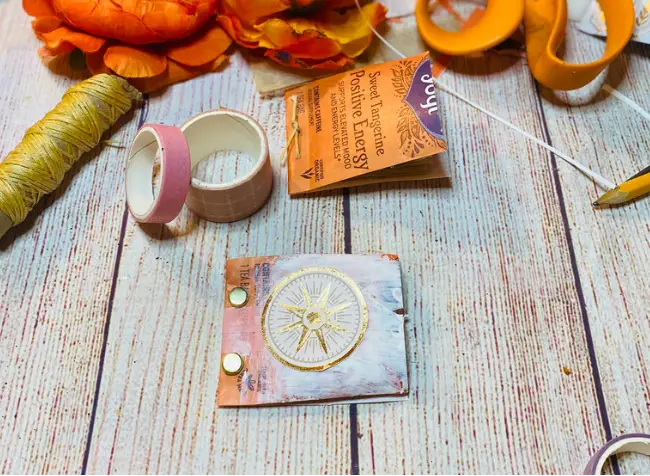
Now, that you have two nice holes in your journal simply insert little brads into each hole and secure them. You can also get a set of brads that also comes with metal fasteners to secure the hole and a hole punch.
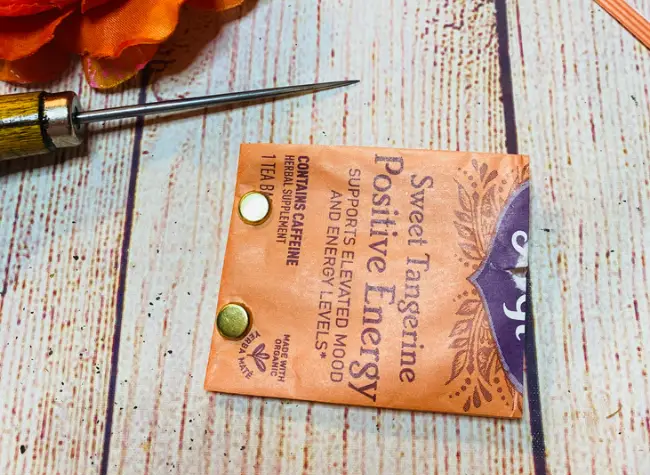
This method is really easy since you can get these brads pretty cheaply at most stores. You don’t have to sew at all. They also look really pretty. They add a nice detail to your cover.
![]()
If you found this tutorial helpful buy me a virtual coffee and help support this blog.
Tea Bag Journal binding method #3
Hopefully you are enjoying drinking lots of warm and comforting tea to make these journals!
Again, follow steps 1-7.
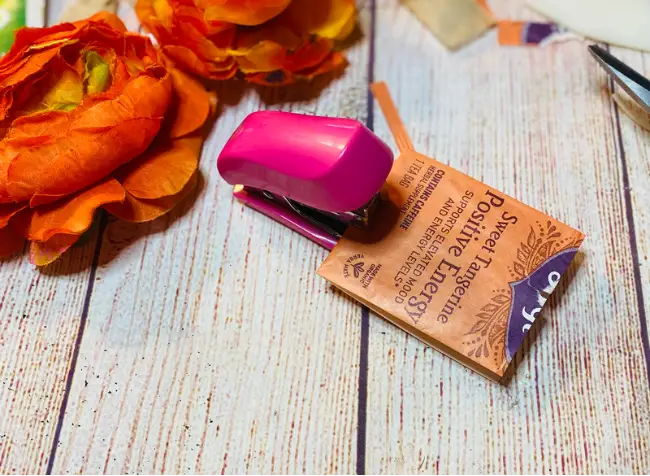
Now, instead of punching holes use a stapler and staple the journal together. Since tea bag paper is pretty thin you shouldn’t have any trouble.
Tea Bag Journal binging method #4
For the method your only going to follow steps 1-4. You’ll also need washi tape.
Take a piece of tape and attach all the seams of the bags together.
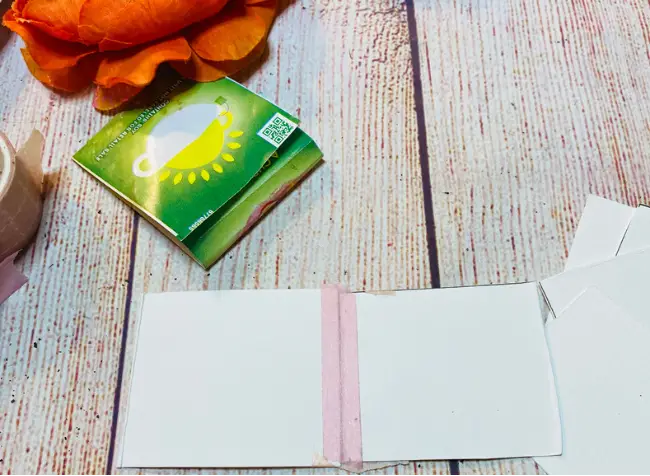
Next, tape the outside of the binding if necessary.
Finally, tape the tea bags to the inside
Remember, not all washi tape is created equal. Some tape you will find sticks better than others.
Tea Bag Journal Idea #2
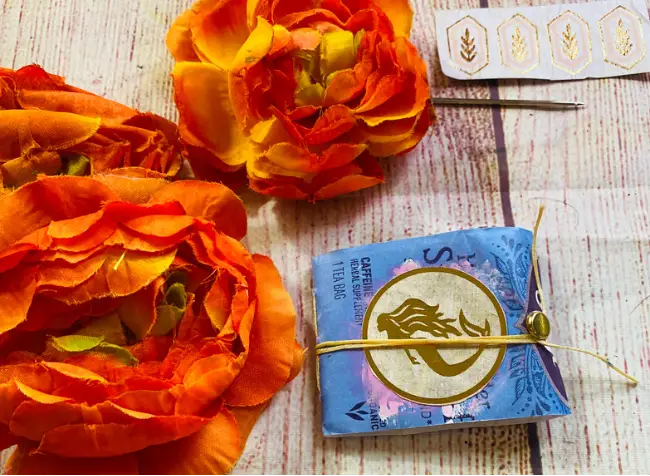
This tea bag journal is made up of all the bags that hold the actual teas. You can look back at all the pretty bags and the names of the teas. Sometimes I find reading the titles to be soothing.
Remember, when you go to make art on these bags the inside is usually made of a waxed coating. So, you’ll have to use some gesso or acrylic paint. This may show signs of wear through the years. However, if your careful with your journals they will probably last very well.
You can use any of the methods above to bind this journal. The imports things is to have fun.
Tea Bag Journal Idea #3
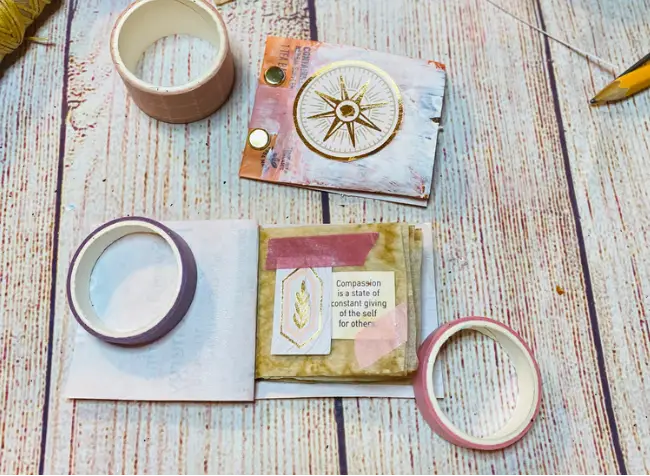
This method involves using some watercolor or mixed media paper for the inside pages. You’ll use a tea bag as the cover. This makes a darling little journal that you can use all your lovely art supplies in while still keeping the cozy feel of the tea bag.
This journal will also be sturdier, which is always a bonus.
Step 1.)
Measure your paper. I use a tea bag unfolded and trimmed as a template to trace out on my mixed media paper.
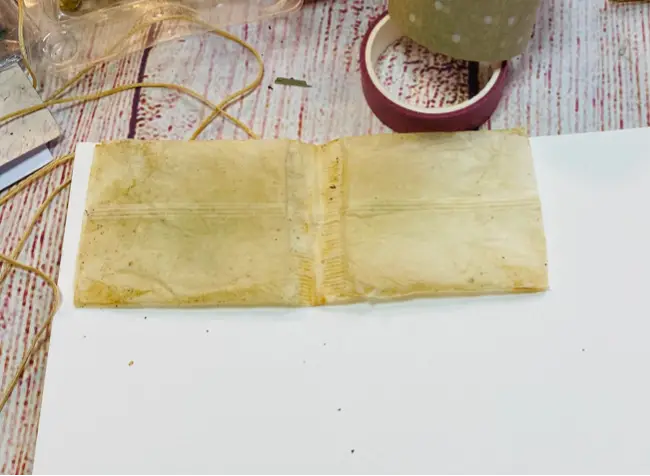
I usually only use three folded sheets of paper for these journals. I don’t want them to be too bulky. I like them to stay small and cute.
Step 2.)
Once you have your templates cut out you’ll want to fold them in half. I use a bone folder to make crisp edges. This also helps,to make the edges fit better inside of each other and in your book. If you don’t have a bone folder use something similar.
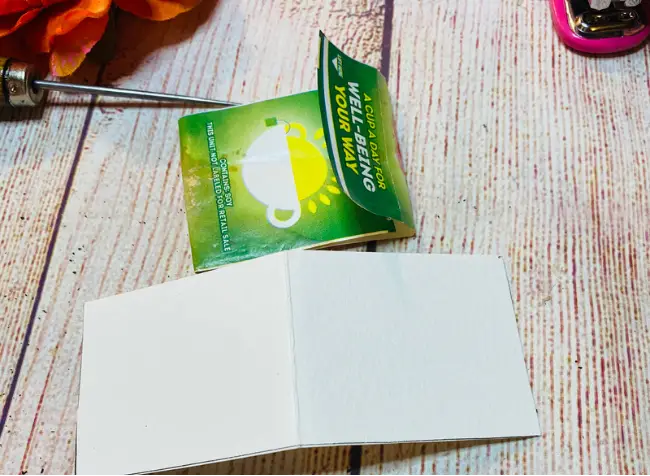
Step 3.)
Insert you folded sheets of paper inside of each other. I usually trim the edges because the sheets if paper in the middle stick out just a tad bit.
Step 4.)
Use any method you like from the above tutorials to bind your journal
Making closures for your Tea Bag Art Journals
Sometimes I want a way to keep my journal closed. I like all my daydreams to be safely bound up so nothing falls out. Let’s look at a simple way to add a closure to your journal.
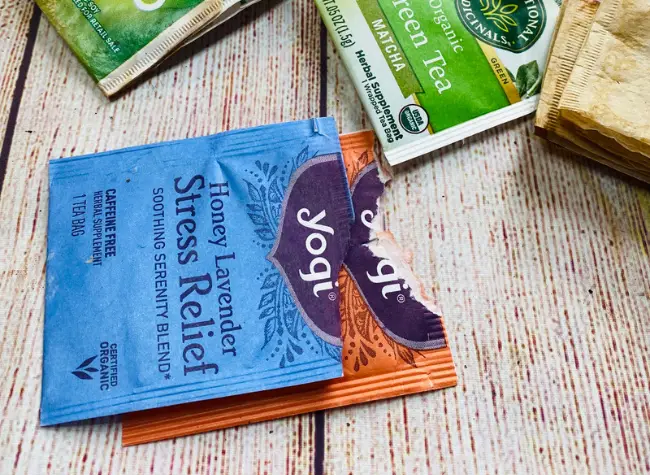
There are a couple different designs for bags that tea come in as show below. I’ll call the one simple and the other flap. This works for either style. Again, the awl and waxed thread os from my bookbinding kit that I mentioned earlier.
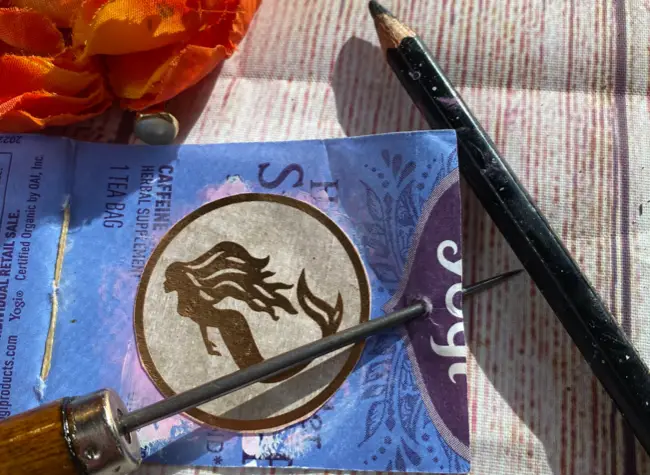
Step 1.)
For the simple tea bag all you have to do is poke a hole in the cover close to the edge, but not too close. Then, add a brad.
Step 2.)
Take some waxed thread and measure the amount of thread you’ll need. I like to have enough thread to wrap around at least two times.
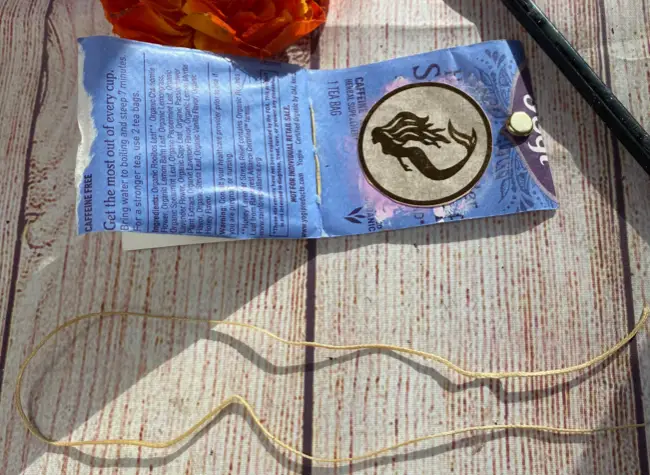
Step 3.)
Tie the thread onto the brad, wrap it around your hound and then around the brad. Just don’t tie it this time.
Tea Bag Journal Page ideas
Now, that you have your journal all bound and ready it’s time to start creating!
You can start with the cover if you want. I like to decorate my covers, though sometimes I do leave it as is.
Cover Ideas
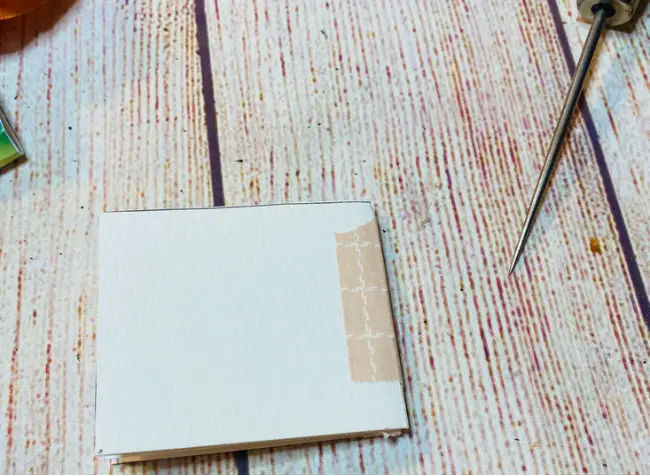
For this cover idea I applied a light uneven coat of gesso. Then, I added a piece of ephemera.
You could easily replicate this in various ways. You could use different colors of paint, add stamps, book pages, or other bits of ephemera.
How to fill your Tea Bag Art Journal
This is the super fun part! You get to start using your tiny journal and making it all your own. Now, don’t let fear of the blank page stop you from creating in these tiny wonders of joy.
I used ephemera scraps and Washi tape.
Idea 1.)
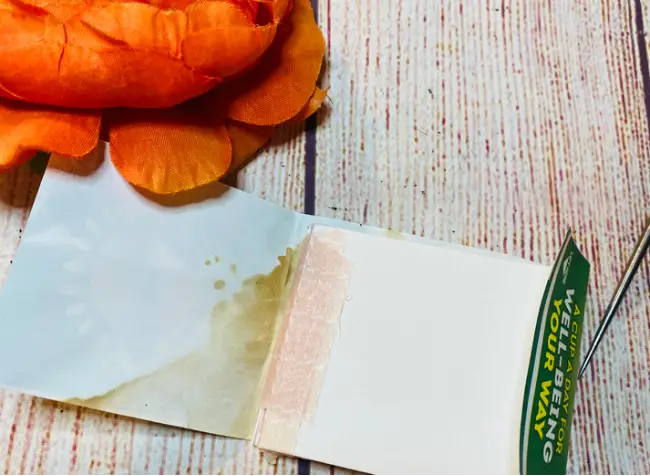
Tea bags aren’t that big. So, that means you don’t need much to fill the page.
A little washi tape and the tape that came on the tea bag make a beautiful yet simple art journal page.
Idea 2.)
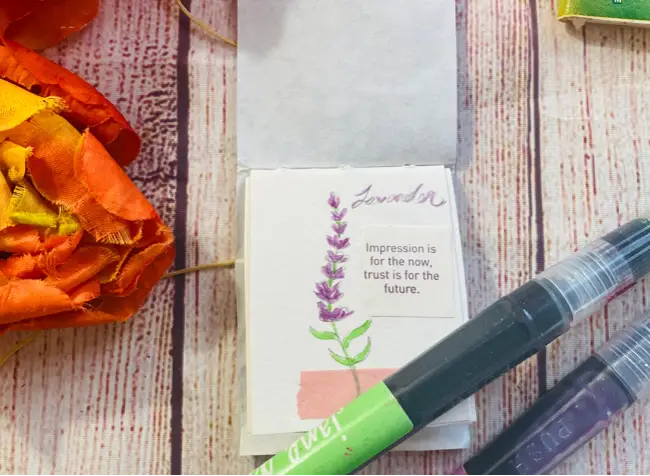
Tea is made from herbs and flowers. So, what better subject matter to create in your tea bag art journal than flowers and herbs. I feel like lavender is one of the most beautiful flowers. It’s soothing to look at and it makes life so much better.
This is just a simple little sketch painted with Jane Davenports mermaid markers. I used a little Washi tape to accent the page and one of my tea tags. Viola! A beautiful tea bag art journal page.
Idea 3.)
Tea bag paper is very light and fragile. It gives itself to loose and whimsical paintings.
I slightly sketched my fiddle fig plant and then used my Jane Davenport mermaid markers to create a loose painting. You can see that the paint does bleed, a lot. That was the look I was going for. I didn’t want anything to feel constrained. Tea is loose and fluid and magical.
When creating in your own tea bag art journal feel free to color outside the lines and make a mess. Messes can be beautiful.

Tea Bag Art Journaling
I hope you have found this tutorial helpful and have decided to make your own tea bag art journal. Get creative and have fun because art is fun and life is better when we’re creating.
I’d love to see your art. Feel free to join me in my private Facebook group. You can share your art and ask any questions you may have. Hope to see you there!
![]()
If you found this tutorial helpful please buy me a virtual coffee and help support this blog.

Leave a Reply