This post contains affiliate links. We may earn money or products contained in this post. Please click my disclosure policy to learn more.
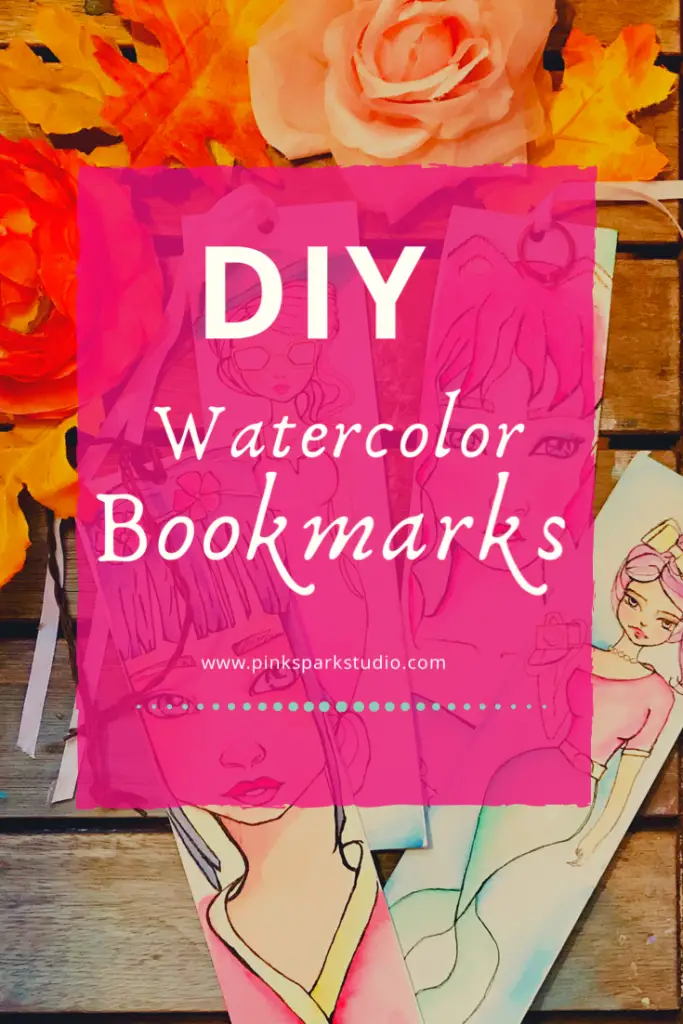
DIY Watercolor Bookmarks
Are you a bookaholic? I know I am, most of my home is covered by books. One problem I always seem to run into is not having bookmark to save my page. I also don’t always find bookmarks that spark my fancy. So, one day I decided it was time to DIY watercolor bookmarks. No more recipes, pencils or folded spines. Time to create personal art for my books.
I like to add my art to everything I can. I want an artful life surrounded by things that inspire me or are just plain fun.
You do not need to be an expert artist in order to make your own super fantastic bookmarks. You just need some supplies and willingness to have some fun.
Supplies for DIY Watercolor Bookmarks
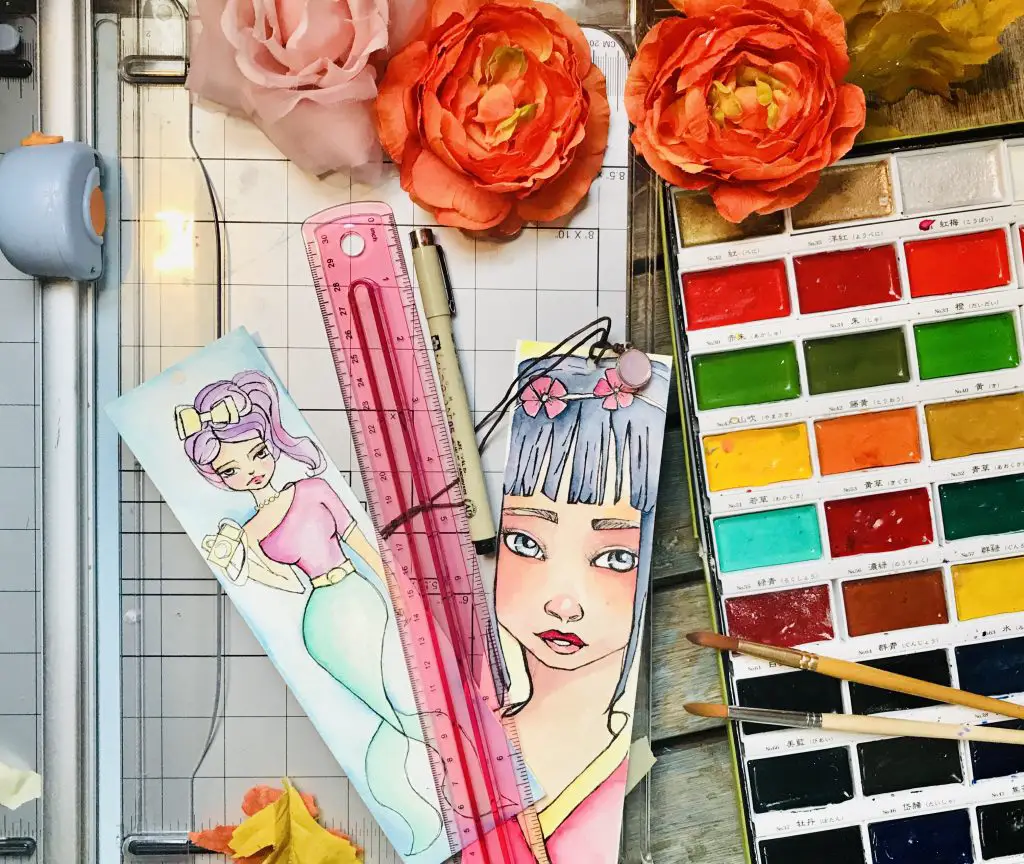
These are the supplies I used are pretty simple. . You can use whatever you have or whatever is closet to this things I list. Or, go crazy and buy all of these supplies because buying art supplies is a joy all in’t own.
Step.1) Measuring your DIY Bookmarks
If you’ve bought as many book marks as I have you know they come in varying sizes. Though, they generally have a certain range they fall into. Since I’ll be drawing and painting on my DIY bookmarks I’m using a larger size. Feel free to use whatever size best suits you.
The easiest way to measure out your bookmarks is to take a bookmark you already love and just trace it on your paper.
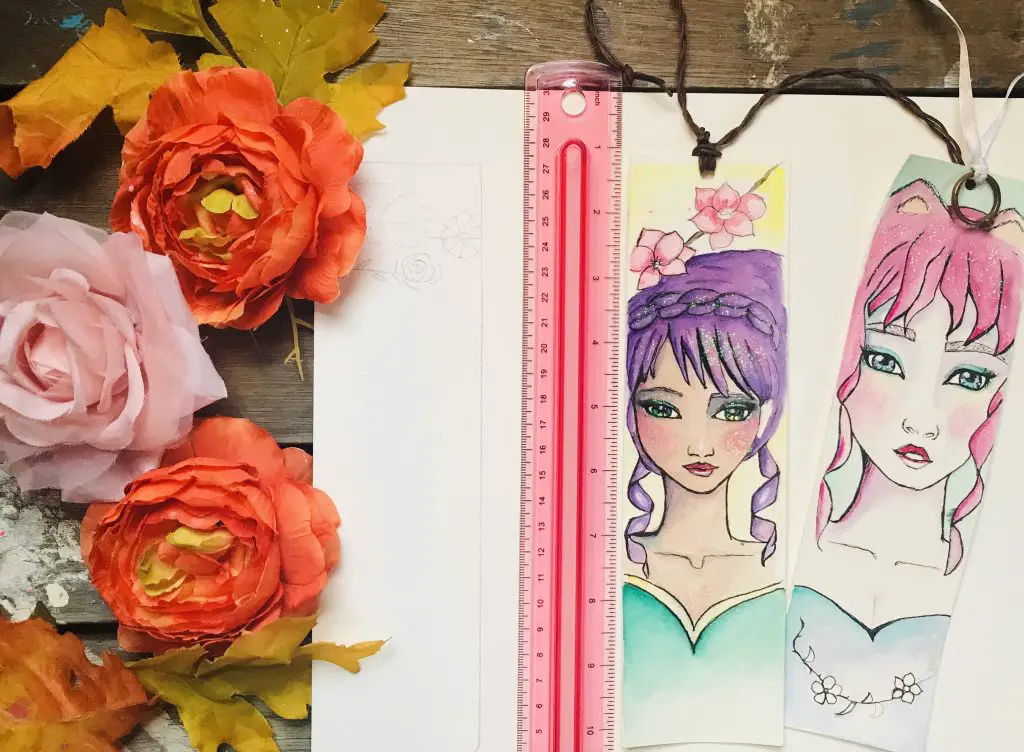
My bookmarks measure 9 x 2 1/2.
You can get 4 bookmarks if you’re using 9×12 paper and 5 if you’re suing 11×14.
I use Arches watercolor paper because its thick and high quality. I want my bookmarks to last, they’ll be used a lot. If your paper is too thin you risk them ripping or falling apart.
So reiterate, the first step is to trace out the bookmarks you plan on making on your paper. It’s pretty simple. Next we’ll talk about designing your bookmarks.
Step 2.) Creating your DIY Watercolor Bookmark Designs
Now that you have your outlines drawn it’s time to design them. Here are some ideas you can use to make your DIY watercolor bookmarks personalized to fit your tastes.
Book Quotes
You can use your favorite book quotes to adorn your bookmarks. My lettering skills are not that great. So, I don’t have very fun or fancy letters, however, I still write them. I don’t let a little thing like messy handwriting stop me. If you would like to learn how to become a proficient hand letterer I suggest taking some classes on Skillshare.
Skillshare is an on-line streaming source for thousands of classes. They have a super large amount of art classes. I have tried several of these different on-line art class providers and Skillshare is the best in my opinion.
They have tons of classes that teach hand lettering. The classes are al broken down into easy to follow along segments. I’m addicted to taking classes on Skillshare. You can read about my favorite Watercolor classes here.
The best thing about Skillshare is that you can get two weeks free. That is plenty of time to take a bunch of classes and see if it works for you. If you don’t like it you can cancel and you won’t get charged. I tested this out before I recommended it.
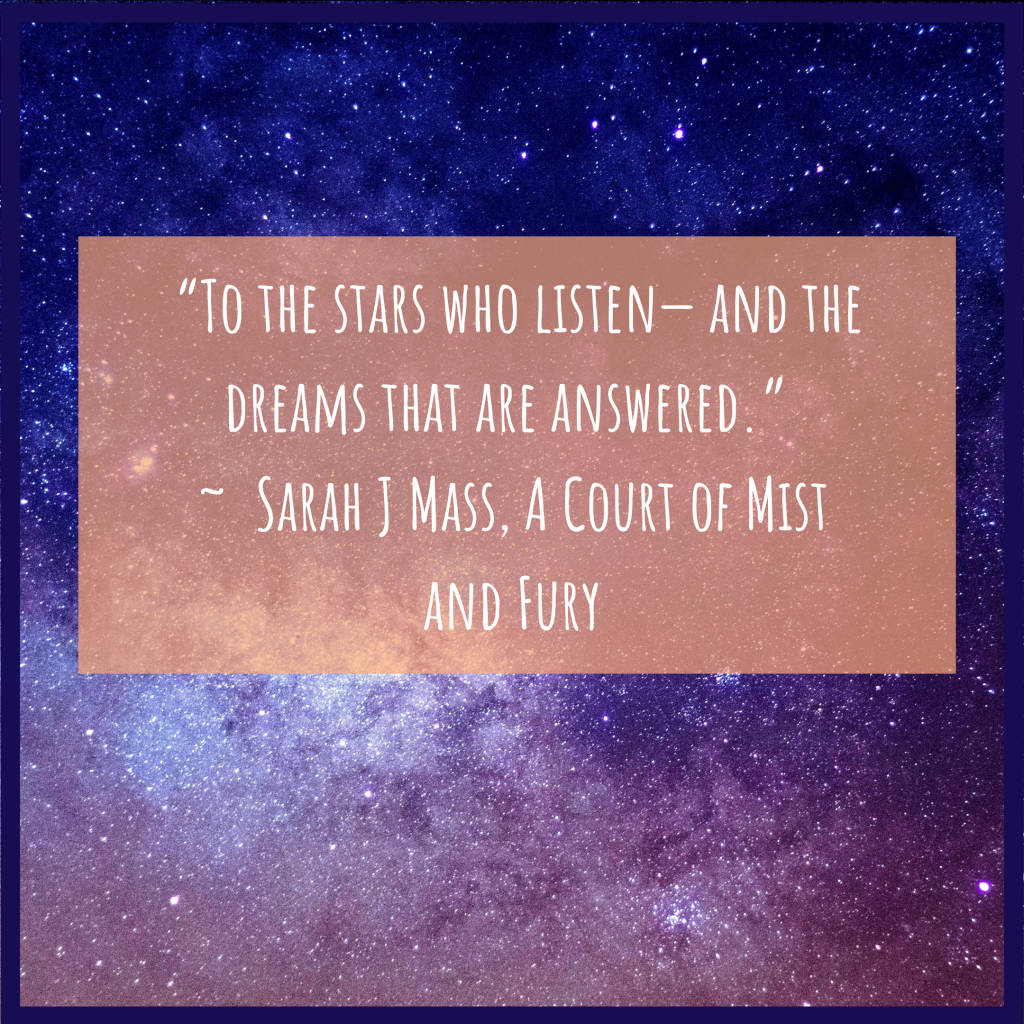
Watercolor Galaxies
Watercolor galaxies are super easy to paint and you can play around with tons of different colors. You can read my easy to follow tutorial on watercolor galaxies here.
Watercolor doodles
Doodles are a brilliant and fun art form. They bring a loose playfulness that allows you to have fun while creating engaging images.
Here are some ideas for your doodles:
- Flowers
- Animals
- houses/buildings
There are a couple of easy ways to begin your DIY doodle bookmarks.
You can create a watercolor wash on your chosen colors and then doodle on top. Or, you can doodle first, then add loose watercolor on top.
Create Your Own characters

My first watercolor DIY bookmarks were fashion mermaids. I painted four mermaids with fun accessories. The back ground was just a simple color.
I also create some fantasy inspired girls.
This is a fun way to practice drawing faces and bodies while also giving your characters personalities. You can add drinks, cameras, bows.
I drew my girls with a pencil, inked them with a micron, lightly erased the pencil and then painted them. Pretty simple.
Stencils and stamps
Stencils and stamps are always a great way to add art to a project. You can make a watercolor wash, and stamp images across your bookmark, or use a stencil to create something beautiful.
You can paint both sides or just one. It’s your bookmark, make it personal.
Step 3.) Finalizing Your DIY Watercolor Bookmark Design
Once you have figured out what you want to create it’s time to drawn and paint your design on your bookmark. If you are new to watercolors and feel a bit of trepidation jump over to my Watercolor for Beginners article for some helpful advice to get you started.
Step 4.) Cut out your DIY Watercolor Bookmarks
I use a slide cutter for everything. I absolutely adore it. You get nice, smooth cuts every time. You can also just use a pair of scissors.
![]()
If you found this tutorial helpful buy me a coffee and help support my blog.
Step 5.) Embellishing your DIY Watercolor Bookmarks
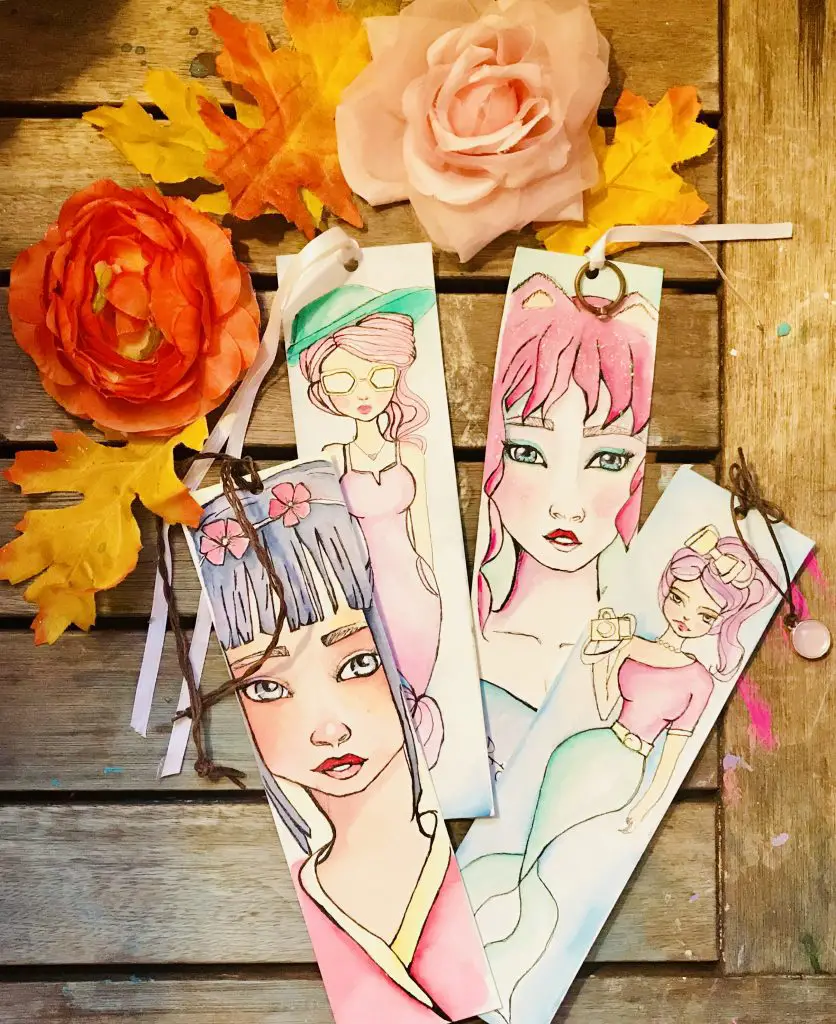
You can also add ribbons, tassels, and charms
This is easy. Grab a hole punch, punch a hole and tie on your ribbons.
You can use any ribbons or tassels you want.
You can also add glitter. Before you get scared that you’re going to leave a trail of glitter in every book you read let me show you how to prevent this.
- Step one, add Mod Podge where you want the glitter.
- Add Glitter
- Let Dry
- Add a layer of mod podge over the glitter
Once you add the last layer of Mod Podge your glitter is now sealed and will not make every book you read look like it belonged to a fairy.
Step 6.) Sealing your DIY Watercolor bookmarks
There are two methods I use to seal my bookmarks.
Matte Varnish or Gloss Varnish
Mod Podge will leave a thicker layer over your bookmark. It can also slightly smear your paint. I still use it without too much smudgeing or issue.
I don’t really use varnish. Mostly because I always forget to buy it. However, if you want to learn more you can watch this Youtube video that I feel does an excellent job of demonstrating how to use varnish.
I don’t seal all of my bookmarks. This is something you can play around with and if you’re not too prone to spill you probably don’t have to worry much about sealing them.
When making DIY watercolor bookmarks, or any kind of DIY bookmark, the most important thing is to have fun and don’t be afraid to get creative. Don’t worry about making mistakes, be afraid of holding back.
I’d love to answer any questions and see your bookmarks! Jump over to my private Facebook group and share away!
![]() If you found this tutorial helpful buy me a coffee and support my blog.
If you found this tutorial helpful buy me a coffee and support my blog.
Leave a Reply